BBQ Beef and Sausage Meatballs

This is great for parties, and you can make it ahead of time!

3 Pounds lean Ground Beef

1/2  Pound Gluten Free Pork Sausage ( I used the mildly seasoned, but you prefer you can use spicey sausage)

1- 8oz. Block of Cream Cheese (softened)

2 Teaspoons Gluten Free Season Salt

1 Teaspoon Gluten Free pure Garlic Powder

1/2 Cup Gluten Free Barbeque sauce ( I used Sweet Baby Ray’s original)

Topping: 1-2 cups of more Gluten free Barbeque sauce, depending on how much sauce you prefer.

Preheat oven to 375*

Place all ingredients into a large mixing bowl and dive in with your hands. ( you should wear gloves, it gets a little messy!) To mix well, it will take awhile. Then when all ingredients are incorporated, roll into balls or use a 1 ½ inch scoop. Place each ball onto a greased sheet pan. Bake for 30 to 35 minutes or until firm and browned. Remove from oven and place meatballs into a covered storage container, (also draining off any grease)and refrigerate until ready to serve. (These can be made several days ahead of time, if refrigerated)

Top with more barbeque sauce when ready to reheat and serve.  Place back onto sheet pan and brush with more barbeque sauce onto each ball and bake at 400* for 8 minutes, or until well coated. Remove from oven and serve. I like to put a toothpick into each BBQ ball to serve.

This will make about 3 dozen meatballs. Depending on how big you make them.

This is an updated version of my getting ready for the Holidays Gluten Free cooking

Gluten Free Slow Cooker Cream of Chicken Soup

(also Preservative Free)

3 Pounds Chicken Breast

(I buy 3 lbs. of organic 1farmpoultry.com/ frozen chicken breast and just let it thaw in the fridge overnight) here is the link to their Facebook page. https://www.facebook.com/profile.php?id=100081300885697

1 stick Salted Butter

3 – 14.5 oz. Can of Swanson 100% natural Chicken Broth (with no MSG)

2 Teaspoons Salt

1/3 Cup Argo Gluten Free Corn Starch

Wash chicken breasts, and place in crockpot whole. Chunk up the butter and place on top of chicken, sprinkle with salt, then pour in the cans of broth. Set crockpot on low for 6-8 hours. In that amount of time, chicken breast will be completely cooked and tender. Turn crock pot up on high heat, and dip out some of the liquid into a small mixing bowl, add corn starch, and whisk together. Add this back to crockpot, leaving the lid off, for 10 – 15 minutes. When liquid starts to thicken turn off heat. Using a potato masher, mash all of the chicken breast and it will shred the chicken into small pieces. Let cool, and dip out about 1 ¾ cups into 5 small plastic storage containers, dividing equally. Label and date, and freeze until ready to use. This will make enough to equal about 5 – 14 oz. cans.For those of us that cannot eat a can of soup boughten from the grocery store, this recipe will be a staple for the Holidays.

It is real food no chemicals, no preservatives, & and it is much better tasting than what you can buy in the store. Hope you enjoy it!

Fresh Pumpkin Bread

Fresh Pumpkin Bread!

¼ Cup Gluten free Oil

2 Cups fresh Pumpkin puree
Or ( 15 oz. Can 100% Pumpkin with no additives) ( I use Libby’s)

1 1/2 Cups GF Flour ( I used Better Batter)

2 Large Eggs beaten

1 1/4 Cups Brown Sugar packed

1 Teaspoon Additive Free Nutmeg

1 Teaspoon Additive Free Cinnamon

½ Teaspoon Additive Free Ground Cloves

1 Tablespoon GF Baking Powder

1 Teaspoon Baking Soda

Preheat oven to 350*

In large mixing bowl whisk together sugar, spices, baking powder, baking soda and GF flour, making sure there are no lumps. Fold in eggs, oil and pumpkin , then using electric mixer blend all ingredients together until it makes a smooth batter. Dividing batter evenly pour into greased loaf pans. ( I used 4 mini pans, 5 1/2in. x 3 in) Bake for 35- 40 minutes or until wooden toothpick inserted into center loaf comes back clean. Remove from oven and let cool.
Enjoy!

Fresh Pumpkin Pie

I decided to make both! Pumpkin pie and Pumpkin Bread! I’ll add the Bread recipe later.

Fresh Pumpkin Pie

1 Cup Freshly cooked Pumpkin Puree ( you can use canned pumpkin if you wish)

1 Teaspoon Gluten Free Ground Cinnamon

¼ Teaspoon Gluten Free Ground Nutmeg

¼ Teaspoon Gluten Free Ground Cloves

1 ½  Cups Dark Brown Sugar Packed

2 Eggs

¼ Cup softened Butter ( or Oil)

1 – 14oz. Can of sweetened condensed Milk

1- 9in. Unbaked Gluten Free Pie Crust

Preheat oven to 375*

In large mixing bowl add all ingredients and mix well with electric mixer until pie filling is smooth and well blended. Pour into unbaked pie crust. Be sure to cover edges of pie crust with foil or use a crust shield around the edges, otherwise it will burn. Place pie in oven and bake for 50-55 minutes or until pie is not runny in the center. It will still be slightly jiggly, but almost set. When done remove from oven and let cool completely before serving.

Enjoy!

Asian Pork

Asian Pork

Asian Pork

1 pound Ground Pork or Turkey

1 Medium head Broccoli Chopped

3 Medium Green garden Onions Chopped

1 Large Clove of Garlic, Minced

2 Tablespoons Brown Sugar

1 8oz. Can crushed Pineapple with juice ( in water not syrup)

3 Tablespoons GF Coconut Amino Acids. (or you can use Gluten Free soy sauce)

In medium size skillet brown ground pork or Turkey until no longer pink. Stir in remaining ingredients, cover and let simmer on medium heat for 5 to 7 minutes. Turn off heat, and serve over rice or quinoa. Enjoy!

Fresh Garden Salad

MVIMG_20200618_173437

We love this Fresh Summer Salad at our house. I hope you will give it a try!

Fresh Garden Salad

2 medium Cucumbers ( about 7-8 inches long)

6-8 Garden Onions( scallions) or one large sweet onion

2 medium Tomatoes

1 Large Bell Pepper

1 Cup Gluten Free Italian Dressing, ( We like Ken’s Steak House Northern Zesty Italian)

Peel and cube cucumbers, chop onions along with the greens or tops, deseed bell pepper and chop along with tomatoes. Place in large bowl toss with dressing, and refrigerate until vegetables are cold and serve.

Enjoy!

Strawberry Cheesecake

MVIMG_20200604_181040Strawberry Cheesecake

1  1/2 Cups purred Strawberries with juice

2- 8 oz. Blocks of Cream Cheese ( I use Philadelphia brand)

1/2 Cup Granulated Sugar

1 envelope unflavored Gelatin ( Knox brand is Gluten Free)

1 Gluten Free Graham Cracker pie crust.

About 1/2 Cup fresh strawberries sliced in half for garnish.

In medium size sauce pan add strawberries and cream cheese. Place on medium heat and stir until cheese is melted. In a small bowl whisk together gelatin and sugar. Keep stirring strawberries and cheese until mixture starts to bubble. Then stir in sugar and gelatin, let mixture come to a slow boil and remove from heat. Pour into pie crust and refrigerate until firm. Garnish with fresh strawberries and enjoy!


Broccoli Ham Cheese Egg Bites

MVIMG_20200525_122301

MVIMG_20200525_105053

8 Large Eggs beaten ( I use Duck Eggs, so if you use smaller eggs, you should add 4  more)

1 Head of Fresh Broccoli ( about 2 1/2-3 Cups chopped)

3 Garden Onions with the green tops , chopped

3 cups Freshly grated Cheddar Cheese

1 Tablespoon Garlic Powder

2 Cups Chopped Ham

Preheat oven to 350*

In large mixing bowl, beat eggs, add chopped broccoli, onions, cheese, garlic powder, and Ham. Mix well and spoon mixture into greased mini muffins cups. Bake at 350* for 20-25 minutes or until set and brown on top.

You can also use regular size muffin or cupcake pan. Just bake longer, for about 30 minutes.

This will make about 2 1/2 dozen mini muffins and about 16 regular.


Crockpot Ranch Pork Chops

MVIMG_20200429_182045

Crockpot Ranch Pork Chops

4- 1/2 inch Pork Chops

8 Teaspoons Gluten Free dry Ranch Seasoning

2 Tablespoons Oil

In large crockpot (mine is a 6 quart). Oil the entire bottom and sides. Rub each side of pork chops with one teaspoon of dry Ranch Seasoning. Place chops in the bottom of crockpot and cover with lid. Turn on low for 6-8 hours, or on high for 4 hours. Pork Chops should be browned around the edges when cooked through. You can turn half way through cooking, but it’s not necessary. Enjoy!


Spring Time Gluten Free Meal

MVIMG_20200326_181321

Just wanted to show you our supper tonight. Wild caught fish, ( Sandbass) Wild Onions and Eggs, and Morel Mushrooms.

Wild Onions and Eggs

1 1/2 Cups cut Onions
2 Tablespoons Oil ( or bacon grease)
1/4 Cup Water
6 Large Eggs
2 Teaspoons Salt

Cut root end off of onions, wash well and drain water. In a medium size mixing bowl cut Onions into 1 inch lengths. Add oil to 8 inch skillet, spreading to cover bottom completely. Spread cut Onions evenly over bottom add water and cover with lid. Place on medium to high heat. When onions start to steam move lid over slightly so that it will let steam escape. Let cook about 8-10 minutes stirring a couple of times and replacing lid each time. When onions are fork tender at the bulb end, break eggs into bowl and beat with fork until yolks are broken and mixed. Remove lid from skillet and pour eggs over onions. Replace lid until eggs start to cook and turn white around the edges. Slide spatula around the edges so that eggs won’t stick. Continue to do this until eggs are cooked through. You may want to turn eggs and onions over to make sure all is well done. Remove from heat when eggs are no longer runny. Enjoy!

Low Carb Peanut Butter Banana Brownies

Peanut Butter Banana Brownies

We’ve been so busy here on the farm. I do our own book keeping and tax season is a busy time, along with the fun jobs of baby calves and planting.  So it’s been awhile since I’ve had a chance to work up a new recipe. I’ve had this one on my mind for a while. Hope you enjoy it!

Peanut butter Banana Low Carb Brownies

1/2 Cup Crunchy Natural Peanut Butter

2 Ripe Bananas

3 Large Eggs ( I use Duck Eggs)

1/2 Cup Local Honey ( I use Clover Sourced Honey)

1/2 Cup Stevia ( Or if you want it really sweet, you can use ½ Cup Brown Sugar)

1/4 Cup ground Chia Seeds

2 Cups Gluten Free Almond Flour

1 Teaspoon Baking Powder

Preheat oven to 350*

In medium size mixing bowl add peanut butter, bananas, eggs and honey. Blend well with electric mixer, then fold in remaining ingredients until wet, then blend with mixer again until all dry ingredients are well incorporated. Pour into a greased 9×9 inch baking pan, or round pan if you wish. Bake 30 minutes or until brown and set in the center. Enjoy!

Optional: You can also add GF Chocolate Chips

Note: these are not overly sweet, I like to heat them up and have them for breakfast.

Air Fryer Roasted Carrots

AirFryerRoasted Carrots

Air Fryer Roasted Carrots

1 Pound whole Carrots

2 Tablespoons Light Olive Oil

2 Teaspoon Dried Basil (make sure all herbs and spices are Gluten Free)

2 Teaspoons Garlic Powder

1 Teaspoon Dried Oregano

1/2 Teaspoon Salt

4 Tablespoons Butter

Wash, peel and slice carrots in half lengthwise. Lay them flat onto the metal air fryer roasting pan. Drizzle carrots with oil and sprinkle with herps and salt. Place pan into air fryer on middle rack and set temp. at 400* for 20 minutes. Half way through cooking time turn carrots over,  dot with butter and let the carrots roast for the rest of the cooking time, or until fork tender. If carrots need to cook longer return to fryer and cook until done. Remove from fryer and serve. Enjoy!

Ginger,Garlic, Pepper Chicken Skillet

PicsArt_02-03-06.46.04

Need to kick up your Immune system? Try this recipe.

Ginger, Garlic, Pepper Chicken Skillet

2 Tablespoons Olive Oil
1 1/2 pounds Chicken Breast strips
1/2 Teaspoon Salt
2 large Bell Peppers ( cut into 1/4 inch strips)
2 Tablespoons grated fresh Ginger
2 Tabalspoons crushed Garlic ,( about 3-4 large cloves)
1 Cup GF Chicken Broth
2 Tablespoons GF Worcester sauce ( Lea & Perrins is Gluten Free)
In large Skillet on high heat add olive oil, and chicken strips. Brown chicken for 8- 10 minutes with the lid on, turning chicken over half way through. Until chicken is cooked through. Turn heat down to medium sprinkle chicken with salt then cut strips into 1 inch chunks. Add peppers, ginger, garlic, broth and Worcester sauce. Cover and let simmer 20 -30 minutes stirring occasionally until peppers are fork tender. Remove from heat and serve with rice or GF pasta.
Enjoy!

Mini Caramel Pecan Pies

MVIMG_20191212_102506

Mini Caramel Pecan Pies

1 Package , Gluten Free Caramels

1 Cup Pecan halves

Ingredients for Crust

1 egg

¼ cup oil

4 0z. Cream cheese ( I use Philadelphia cream cheese)

2/3 Cup Gluten Free Flour ( I like Betty Crocker, or Better Batter)

1/3 Cup Gluten Free Corn Starch

Place all ingredients for Crust in food processor on high until blended. Place dough in refrigerator for at least 15 minutes. It just makes dough easier to work with. (You can leave this in the fridge overnight if it is sealed).

Heat oven to 350* F.

When dough is cooled line mini muffin pan with paper liners. Flour your hands with a small amount of GF Flour and dip out a small ball of dough ( about a 1 inch ball) and roll with your hands to make it firm. Place one ball of dough into each paper cup and using your thumb or a floured dough plunger to push an indention into each ball making a mini pie crust. Make sure dough comes up the sides and to the top of the paper liners. When you have finished all of the mini pie crusts place muffin pan into oven. Bake for 14-15 minutes or until crusts are baked through and starting to brown around the edges. This should make 20- 24 mini pie crusts.

When pie crusts are done remove from oven, while they are still hot, place a pecan half into the bottom of the pie shell, add a caramel to each,( caramels will melt down into pie shell) then top with another pecan. Let cool and serve! Enjoy!

Pork Fajitas

PicsArt_10-19-03.09.31

Pork Fajitas

4- 5 cooked Pork Chops

1 -20oz. Bag of Frozen Pepper and Onion strips

2-3 Teaspoons Chili Powder ( Depending on how much you like Chili)

2 Teaspoons Ground Cumin

1-2 Teaspoon Garlic Powder (according to taste)

1 Teaspoon Salt ( or to your taste)

1 Teaspoon Ground Black Pepper

Slice cooked pork chops diagonally into 1/4 inch strips. Add meat to a greased 10 inch skillet, then pour peppers and onions over pork. Place skillet over medium high heat. Add spices sprinkling evenly over mixture. Stir then cover and let simmer 5-6 minutes. Stir to cook evenly until mixture is hot and bubbling. Remove from heat and serve with Gluten Free tortillas or Chips. Enjoy!

Shepherd’s Pie

Shepherds Pie

Shepherd’s Pie

Left over Beef Stew

Left over Mashed Potatoes

Optional: Grated Cheddar Cheese

Preheat oven to 400*

Using the left over Beef Stew, drain liquid off of meat and vegetables. Then spread beef and vegetables mixture into a greased baking dish. (9×13 glass pan if you have enough left overs) Warm up the left over mashed potatoes in the microwave for about a minute. Then using a large spoon dip out the potatoes and dollop evenly over beef mixture. Then spread mashed potatoes, covering beef and veggies, then place pan in hot oven and bake for 20-30 minutes. If you are using cheese, the last 5 minutes of baking time spread cheese evenly over potatoes and bake until melted and slightly brown. Remove from oven and serve warm. Enjoy!

Note: If you don’t have left over Beef Stew, here are the ingredients, with the exception of the cheese and Mashed Potatoes.  Remember to drain all of the liquids for the Shepherd’s Pie.

1 Pound Ground Beef

1 Large Onion (Chopped)

2 Cups Cooked Potatoes with liquid ( this is the potatoes that you cooked earlier in the week) Or you can use canned diced potatoes

1 Tablespoon Garlic Powder

1 Teaspoon Ground Black Pepper

2 Teaspoons Seasoning Salt

2 Teaspoons Regular Salt

1 -28oz. Can of Tomatoes

1 -15 oz. Can of Whole Corn

1 14.5oz. Can Cut Green Beans

1 14.5oz. Can Sliced Carrots


Chicken Taquitos

PicsArt_10-19-09.50.09

Chicken Taquitos

Using the Roasted Chicken that you made earlier in the week, remove all of the meat from the bones and shred with a fork, removing any skin that remains. 

2 Cups cooked shredded Chicken
1 1/2 Cups Freshly Grated Cheddar Cheese
2-3 chopped Jalapeño Peppers ( I like the mild peppers)
6-7 Gluten Free Corn Flour or White Tortillas ( the ones available to me are the Mission Brand)

Brush the outside of each tortilla with oil and then fill the inside with meat, cheese, and peppers to the edge of the tortilla closest to you. Leaving a space at the open ends. Start rolling up tortilla, then when you get to the edge dip your fingers in cold water and wet the edge to seal the seam. When you fill all of the tortillas, place them with the oiled seam side down into the air fryer pan. Place pan in air fryer and set the fryer on 400* for 8-10 minutes. Turn Taquitos over half way through cooking time. Remember to check them at about 8 minutes. Some fryers are more powerful than others.

If you don’t have an air fryer, then place filled tortilla in hot oil, (enough oil to cover taquitos) seam side down and fry until crisp on bottom side, then turn and fry other side. Remove and drain on paper towels. Serve with Gluten Free Salsa or Cheese Dip. Enjoy!

Easy Cheese Dip Recipe:

 1- 32oz. Box of Velveeta Cheese ( Queso or Yellow which ever you prefer) (Cube block of cheese, when you get it out of the box.)

1-   10oz. Can of Original Rotel Diced Tomatoes and Peppers

Pour Rotel in large mixing bowl and add cubed cheese. Place in microwave on high for about 5 minutes. Remove and stir, put back in microwave if it is still lumpy for a couple more minutes or until smooth. Serve warm!

Quick Beef Stew

Beef Stew.jpg

Quick Beef Stew

1 Pound Ground Beef

1 Large Onion (Chopped)

2 Cups Cooked Potatoes with liquid ( this is the potatoes that you cooked earlier in the week)

1 Tablespoon Garlic Powder

1 Teaspoon Ground Black Pepper

2 Teaspoons Seasoning Salt

2 Teaspoons Regular Salt

1 -28oz. Can of Tomatoes

1 -15 oz. Can of Whole Corn

1 14.5oz. Can Cut Green Beans

1 14.5oz. Can Sliced Carrots

In large stock pot crumble ground beef and chopped onion. Cook on medium high heat stirring and continuing to break apart meat until it is browned. Add all seasoning and continue to stir so that meat doesn’t stick. When all the pink is gone and meat is cooked through, start adding all of the vegetables with the liquid. Turn heat up and cover with lid until stew starts to boil and continue to stir occasionally. Then turn down to medium and let simmer for another 5 minutes. Turn heat off and serve warm. This goes great with the corn bread muffins or corn dodgers you made earlier this week.

Note: Remember to keep leftovers for Shepherd’s Pie. 


Mashed Potatoes

Mashed Potatoes.png

Mashed Potatoes

I usually buy White Russet potatoes, you can use any variety that you like. Russets also cook faster than some varieties like Reds or even Yukon Gold.  I use 1 medium potato per person, but since we are prepping for 3 meals, you will need to use 3 per person. So if you are cooking for 4, then use 12 potatoes.

This recipe is in conjunction with my on going series of Meal Planning and Prep.

INGREDIENTS:

12- 14 Potatoes, (depending on size, a medium potato is about 3 ½ to 4 inches long) If you have small potatoes then use 2.

2 Teaspoons salt ( use 1 teaspoon in water before boiling)

½ Cup Salted Butter or butter substitute ( =1 stick butter)

Wash and peel potatoes, removing any bad spots. Then cut potatoes into about ½ to 1 inch cubes. Place cubes into large sauce pan and cover with water about an inch above the potatoes. Add 1 teaspoon of salt and place pot one burner. Turn burner to high. When potatoes start to boil, set timer for 10 minutes. ( Do not remove pot from heat, cover with lid loosely, stirring occasionally) * After ten minutes, dip out 2 cups of potatoes and cover with liquid. Let them cool and place in refrigerator using an air tight container.* ( You will use these in the Beef Stew, later in the week)

Reset your timer on the rest of the potatoes still in the pot and let them continue to boil for another 10-15 minutes, or until fork tender.  When potatoes are very soft a fork will easily go through the potato, they are done. Remove from heat and drain liquid from potatoes into a heat proof bowl. To the pot add ½ cup butter, and 1 or 2 Teaspoons salt to potatoes, depending on your taste. Then mash the potatoes with potato masher or electric mixer. Butter will melt into hot potatoes as you mash them, remember to taste to see if you need more salt. If the potatoes are a little dry add more liquid as needed, using liquid that you drained from the potatoes. Only add a tablespoon or so at a time mashing until smooth and fluffy! ( Don’t over work the potatoes after mashing, it will cause them to be rubbery.)

Optional: If you prefer before serving you can top them with a little Garlic Powder, Chopped Scallions, Crumbled Bacon, etc. Whatever your family prefers.

Note: Remember to keep any leftover mashed potatoes.  Refrigerate storing them in a plastic sandwich bag. You can use these to make the Shepherd’s Pie.

Simple Gluten Free Meatloaf

PicsArt_10-19-09.57.46

Meatloaf

1 Lb. Lean Ground Beef

1/2 Lb. Gluten Free Pork Sausage ( I use J C Potter blue package)

3/4 Cup Gluten Free Oatmeal

1 Egg beaten

1 Teaspoon Salt

1 Teaspoon pure Garlic Powder ( not garlic salt)

1 Cup Gluten Free Ketchup

Preheat oven to 350*

In medium size mixing bowl mix ground beef, sausage, oatmeal and beaten egg, along with seasoning and 3/4 cup of ketchup. I use my hands to just get in there and squish it all together until well mixed. Then place mixture into a oiled 5×9 inch loaf pan, or a 9×9 casserole pan. ( I like to use a loaf pan so that I can slice it for sandwiches later) Shape meat mixture until smooth then top with remaining ketchup, spreading out evenly. Bake for 45- 50 minutes or until done. Cool and serve. Enjoy!

Banana Cream Breakfast Muffins

Banana cream muffins2

Banana Cream Breakfast Muffins

Batter:

1/4 Cup Buttermilk

5 Eggs

1/2 Stick softened Butter (or ¼ cup GF oil)

3 Large Ripe Bananas

1/4 Cup ground Chia Seeds

1/2 Cup chopped Pecans (optional)

1  Cup Gluten Free All-Purpose Flour ( I used Better Batter)

1 Cup Gluten Free finely ground Almond Flour

1 Tablespoon GF Baking powder

1/2Teaspoon Baking Soda

1 Cup Brown Sugar or Pyure Stevia Sweetener ( I used the sweetener)

Filing:

1 Ripe Banana

8 oz. plane Cream Cheese

2 Tablespoons White granulated Sugar

 Preheat oven to 325*F.

In large mixing bowl mix together, buttermilk, eggs, butter, bananas and ground chia seeds. Using electric mixer on high, blend together until there are no lumps left from the bananas. Then add the flours, baking powder, baking soda, sugar and nuts (if you use them). Fold in flour mixture, then blend well with electric mixer until all ingredients are smooth. Don’t over mix. Let batter set while you make the filling.

In medium size bowl mash peeled banana and cream cheese together with fork or pastry creamer. Add sugar and stir until smooth. Fill a piping bag with cream cheese mixture. You don’t have to use a decorator tip, but if you do use a large one. Close the end and set aside, until you get the muffin cups filled.

Line a muffin pan with liners and fill each with batter (about ¼ cup each )  I like to use a triggered ice cream scoop to do this. Then insert the tip of the piping bag into the center of each muffin and squeeze filling into the batter. ( I insert the tip about ½ way down into the batter)  Pulling back and lifting the bag as the filling comes out of the top. I like to swirl it around a bit on top of batter also. Do the same to each muffin until they are all filled.   Bake for 25-30 minutes or until muffins are brown on top and firm to the touch. When done remove from oven and let cool. This will make about 12-15 cupcake size muffins.   Enjoy!

Note: You may have air holes form in the center of muffins as they cool. If that happens, just make more banana cream and fill each with the creamy filing!


Gluten Free Tips and Tricks Starter Guide

Gluten free Gluten Free Starter Guide and Tips

It is extremely important when first starting to eat Gluten Free (staying away from anything that contains Wheat, Barley or Rye)  and heal your body try to stay away from processed GF prepackaged foods. There are some good ones out there, but be aware, Some of them maybe GF ingredients but they could be processed on the same lines as gluten containing ingredients. Some of them just out and out lie and slap that GF label on the package just to make money. It is illegal and several of them have been caught, but another one pops up all the time. So until you find the products that you can trust at first it is just safer to eat as clean as possible to begin with.

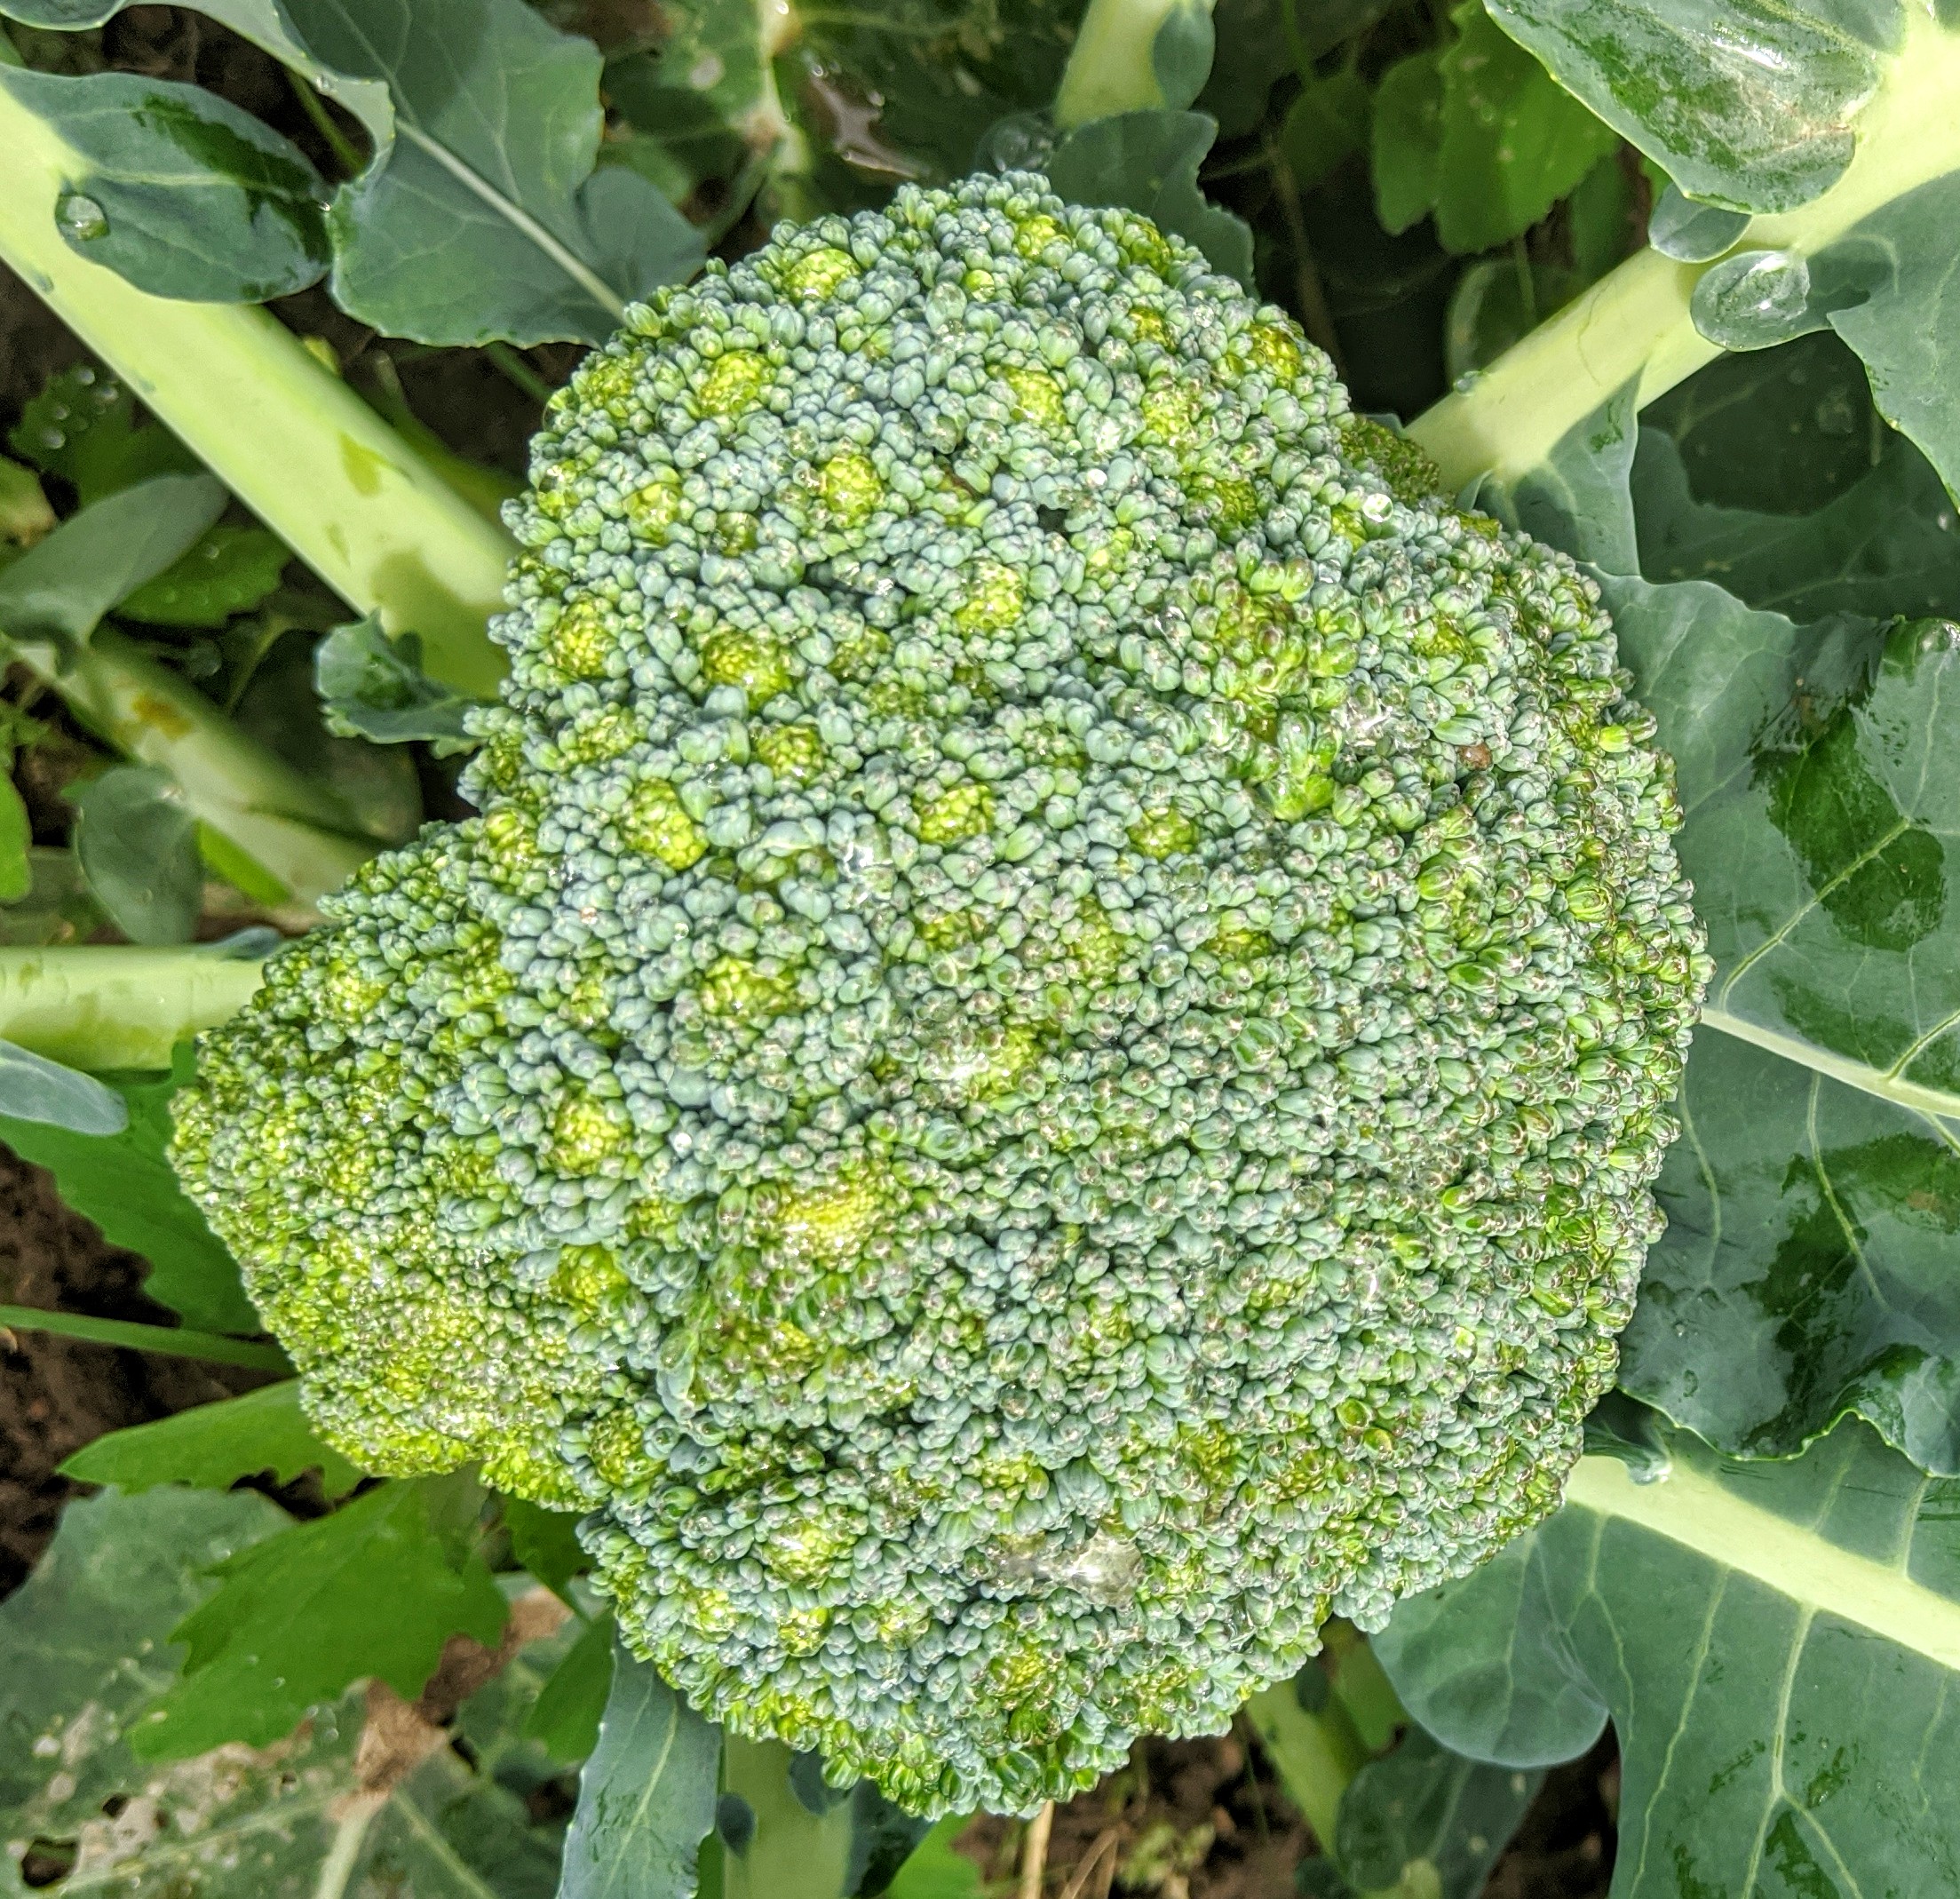
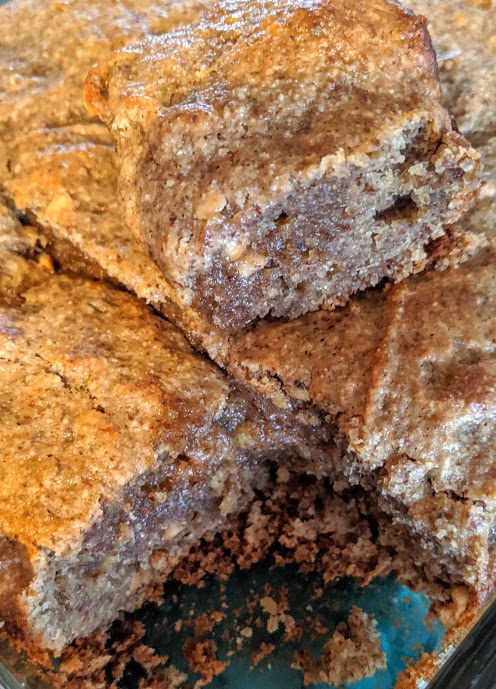
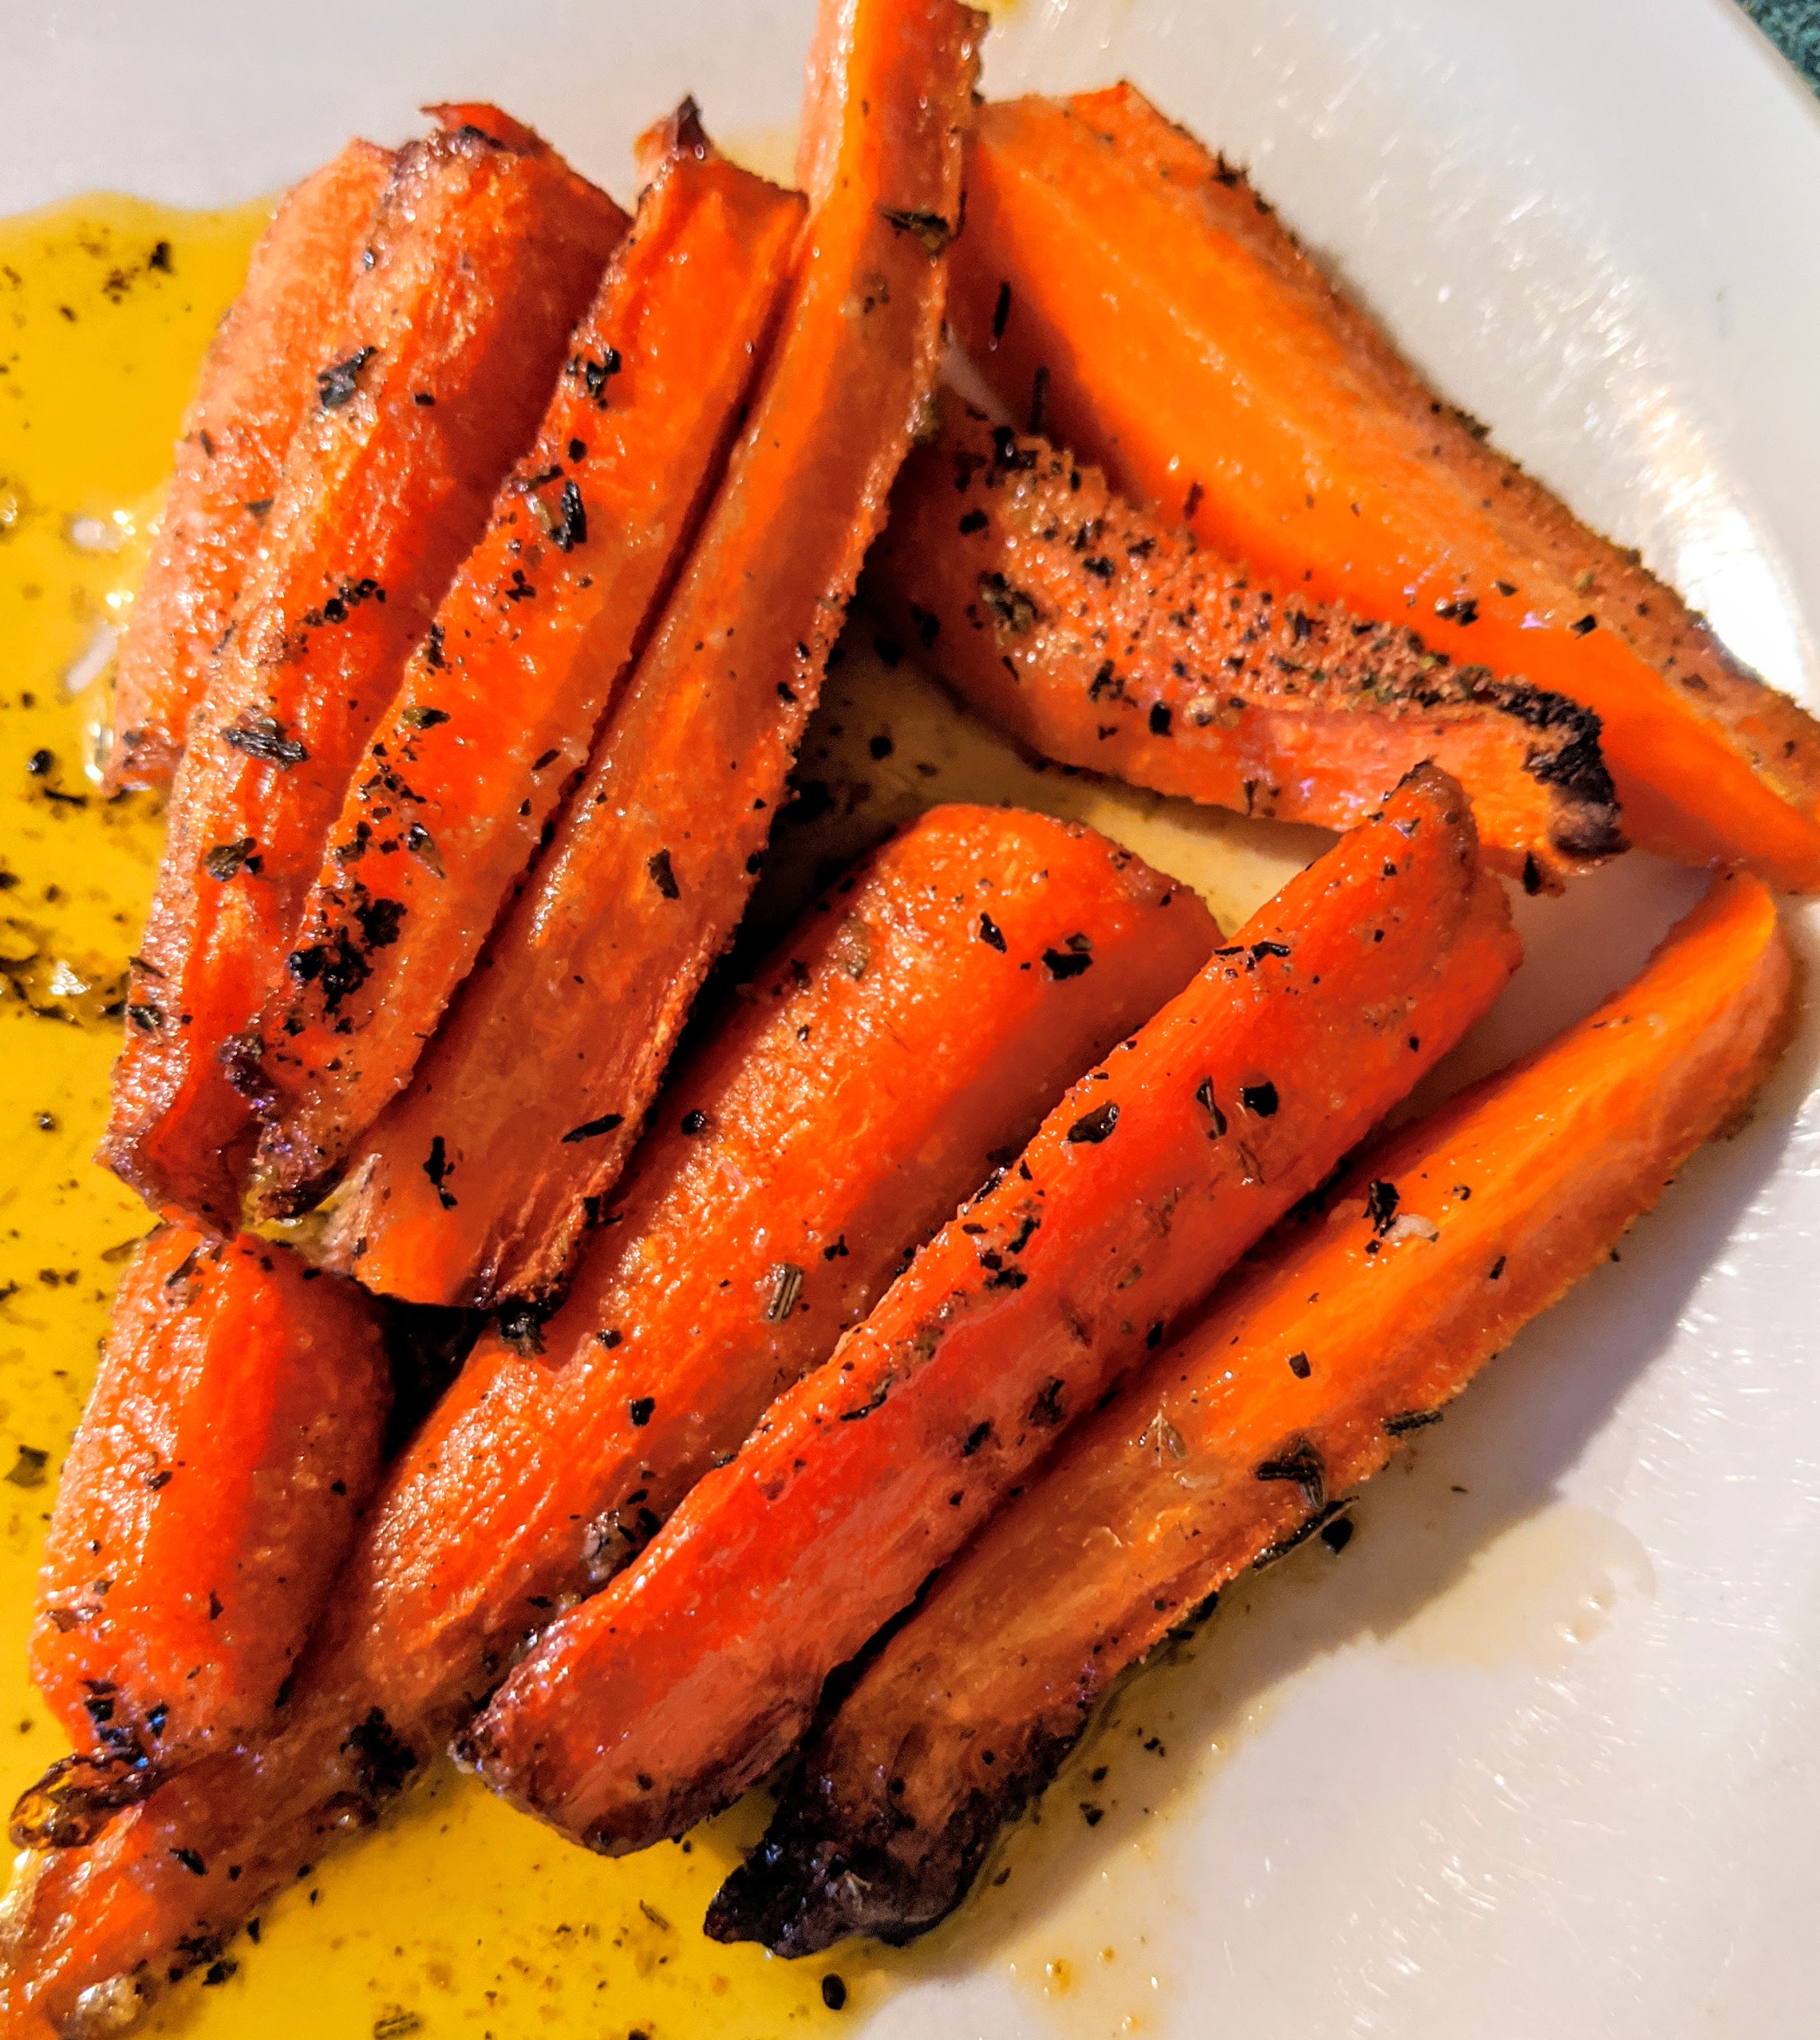
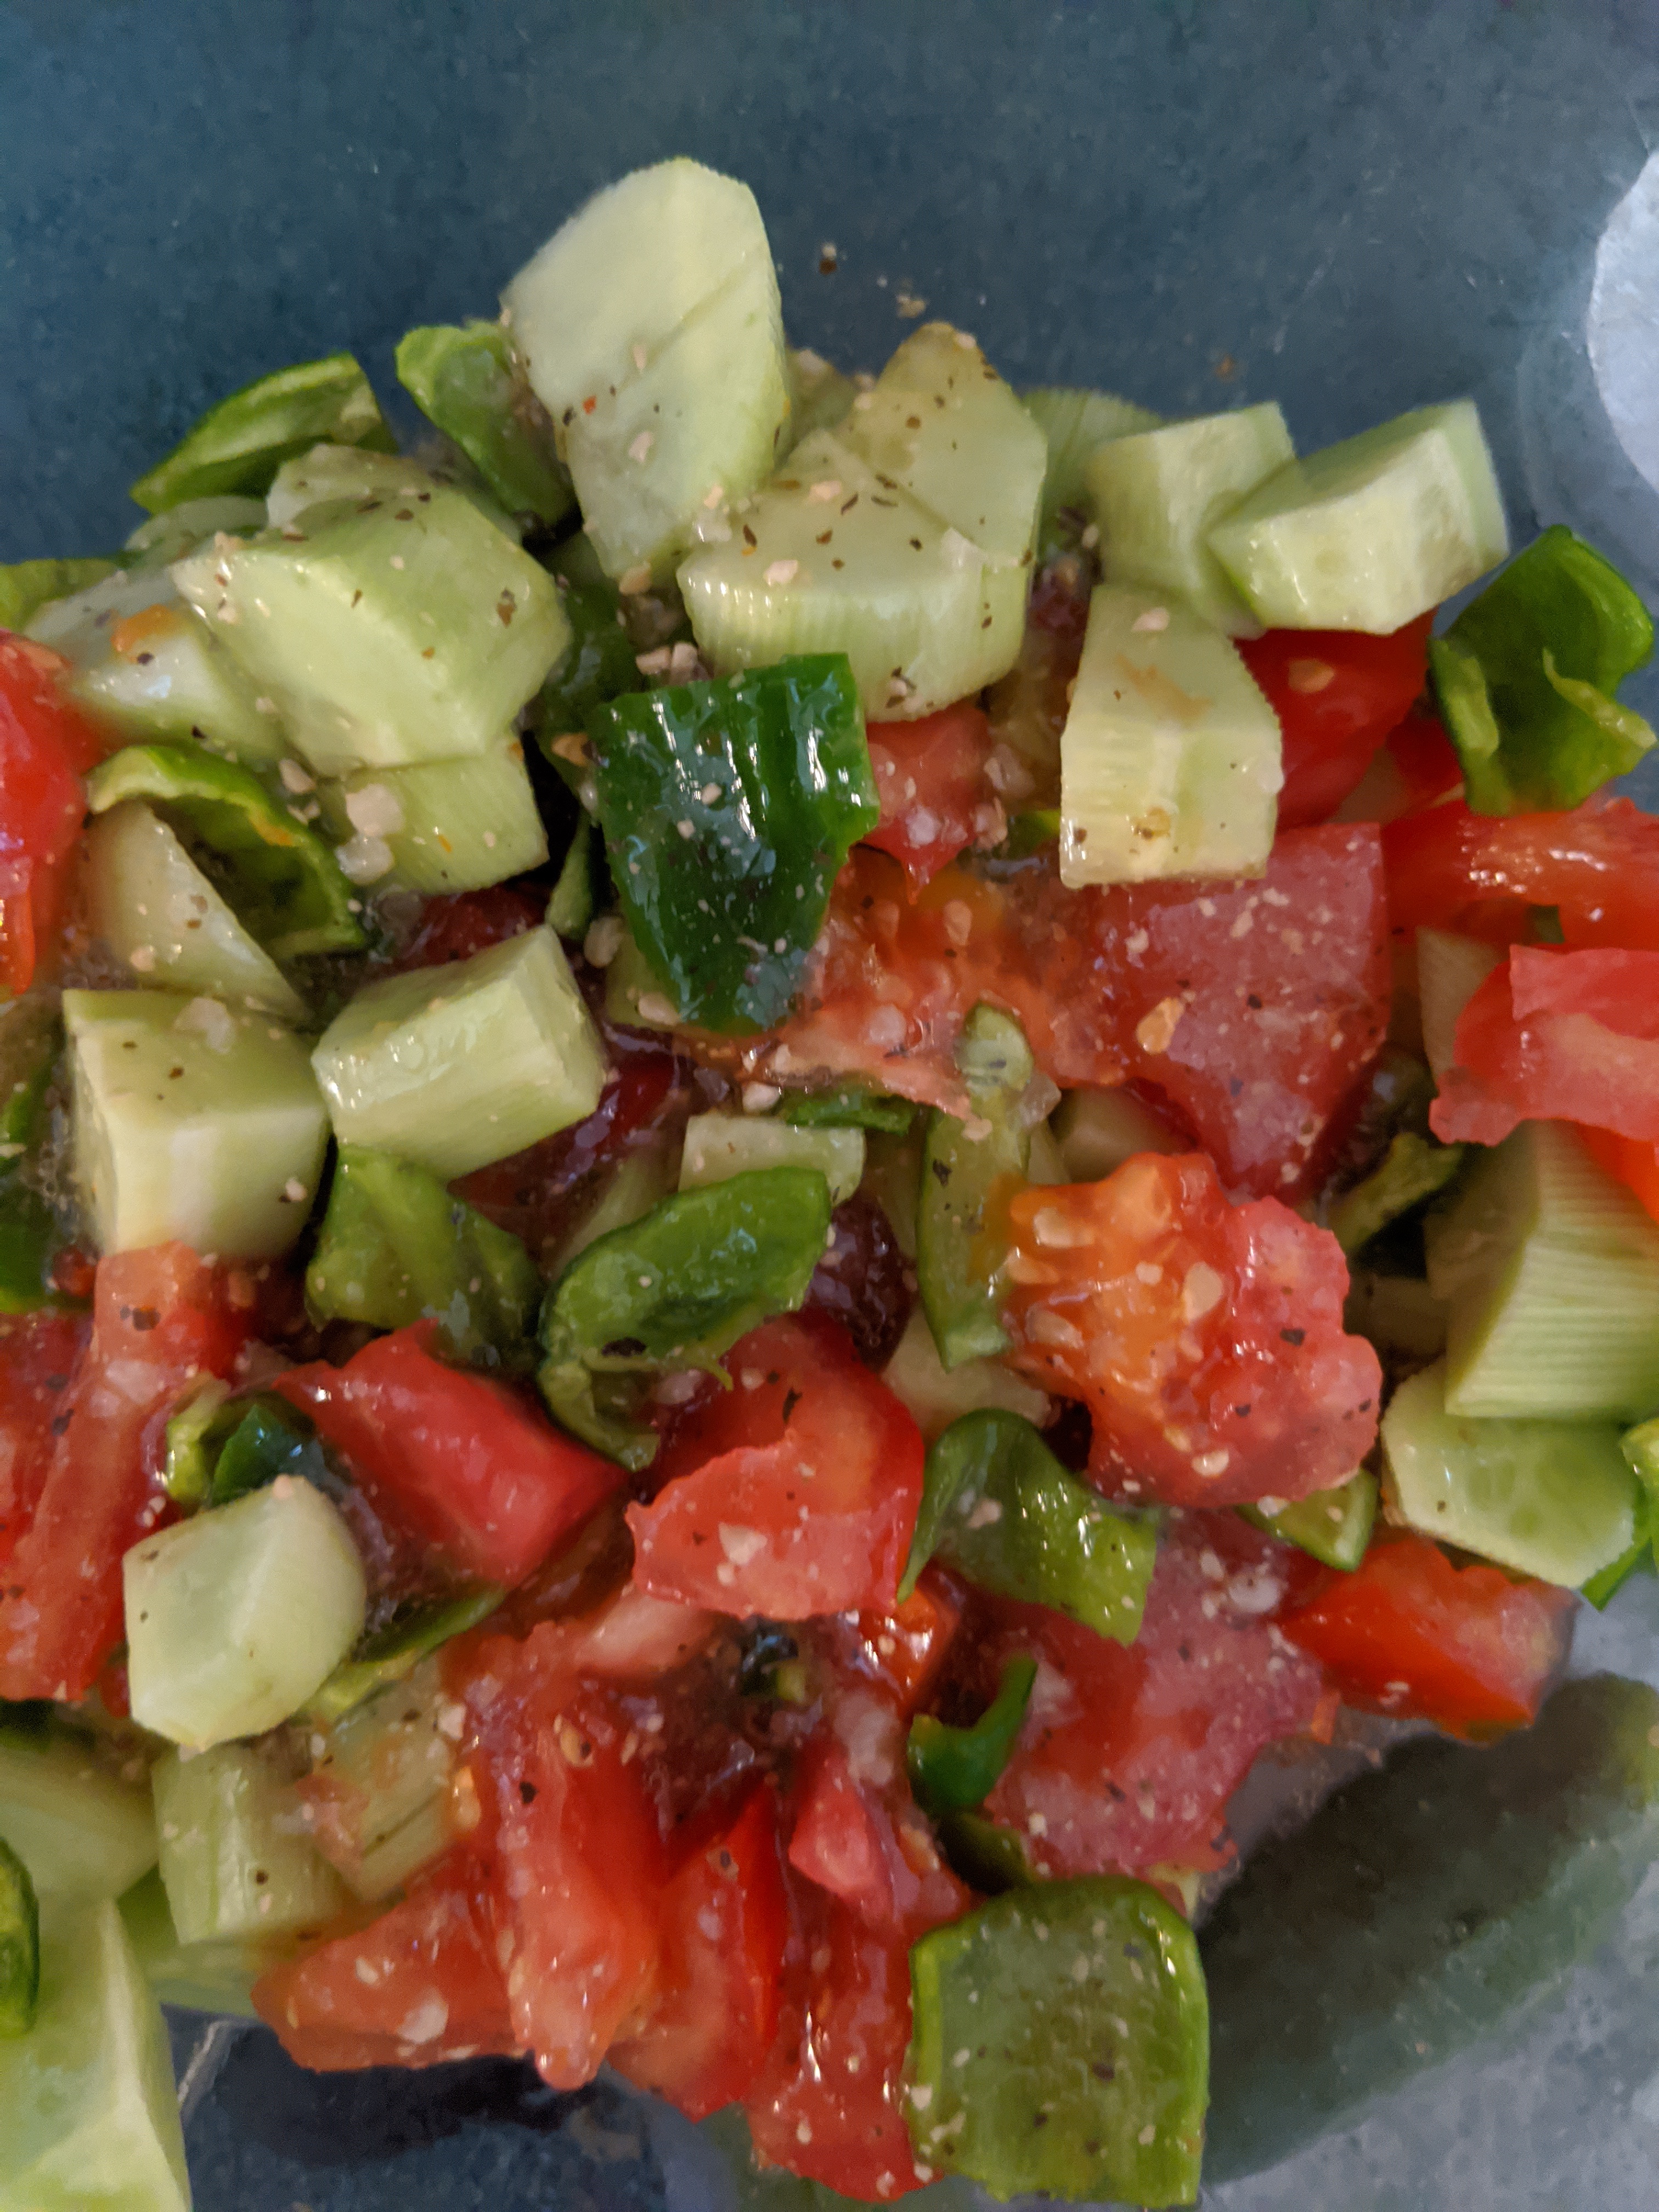
Fresh fruits and vegetables, Non- processed meats, etc.

Always wash fruits and vegetables with a white vinegar and warm water mixture, then rinse well.

Plain Milk and Dairy is Gluten Free, ( although some do have reactions to them, it may just take time to figure out what you react to.)

Be aware of Ice creams not all Ice cream is GF. You have to read labels.

Eggs are Gluten Free, ( I know some of this seems like a no brainer, but I have had people ask me these questions, and some people do react to eggs, my Mom is one of them, but it’s not because there is gluten in the eggs. We use Duck eggs and have no problems with them.)

 Always, Always!!! READ LABELS!!! I don’t care if you’ve purchased that same brand or product before and it was GF. Food companies change ingredients all the time! I have found this out the hard way.

Be very aware of Cross Contamination! If you use the same pans, bowls, and cooking utensils to cook gluten foods then use them to cook GF foods. You WILL cross contaminate yourself. Stainless steel is great, because it can be washed in the dishwasher and clean it thoroughly. Plastic, rubber, and wooden bowls can have scratches or cuts in them which will hold on to gluten.

Toasters are a big source of Cross Contamination! If your household is not going totally GF, then you need to have a separate toaster only for GF foods.

Hand towels, hot pad holders, anything with a soft or porous surface will hold gluten. I usually use paper towels to dry my hands. Just in case someone comes in with Gluten on their hands and doesn’t get it all off, then wipes it on the towel.

Also be aware of Soaps, Shampoos, Toothpaste, Shaving lotions, etc. Some of them do contain gluten.  

Oh and this is something that you just don’t think about until it happens to you. Someone else driving your car and eating gluten then getting it on your steering wheel.  People just don’t think about it. So I’m constantly cleaning my steering wheel, since we have teenage drivers around now.

Be aware of Spices, some of them are the real deal and only contain the spice that’s in the jar. Some of them are not, they add fillers. There are some brands that are pure spices.

Be aware of cellulose. Not all cellulose is GF. Some of it is made from Wheat and Barley Straw which does contain gluten.     
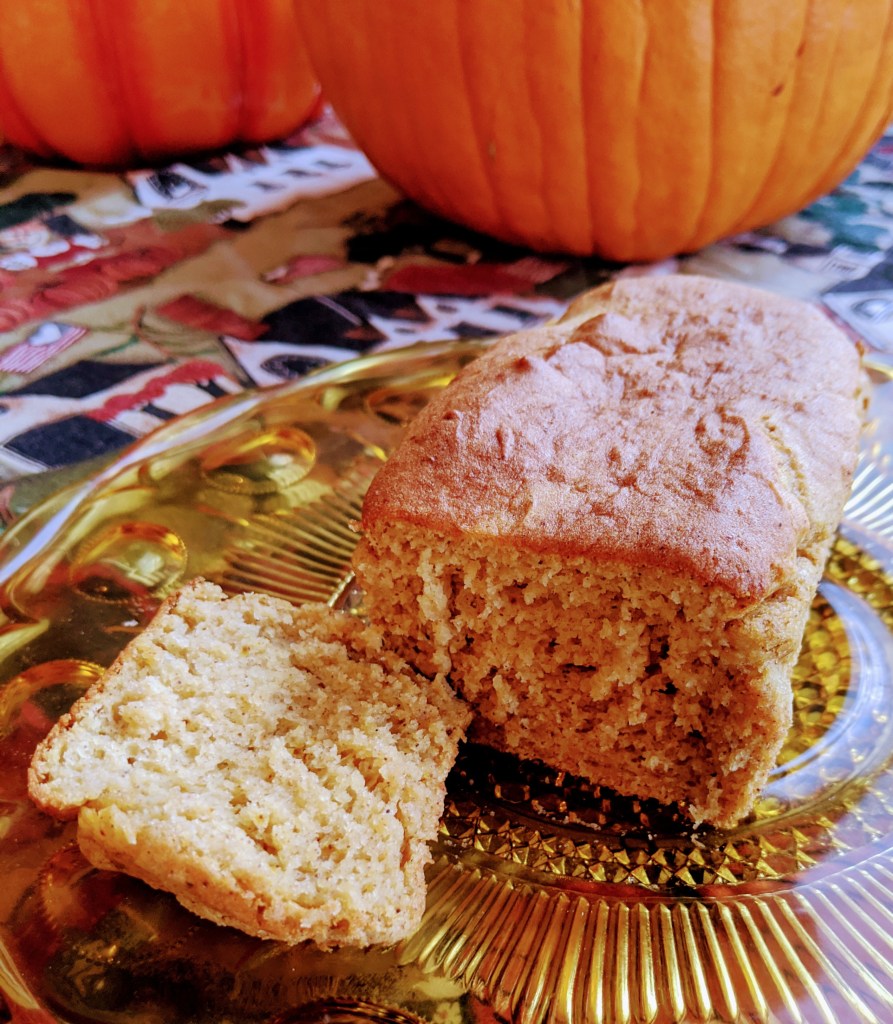
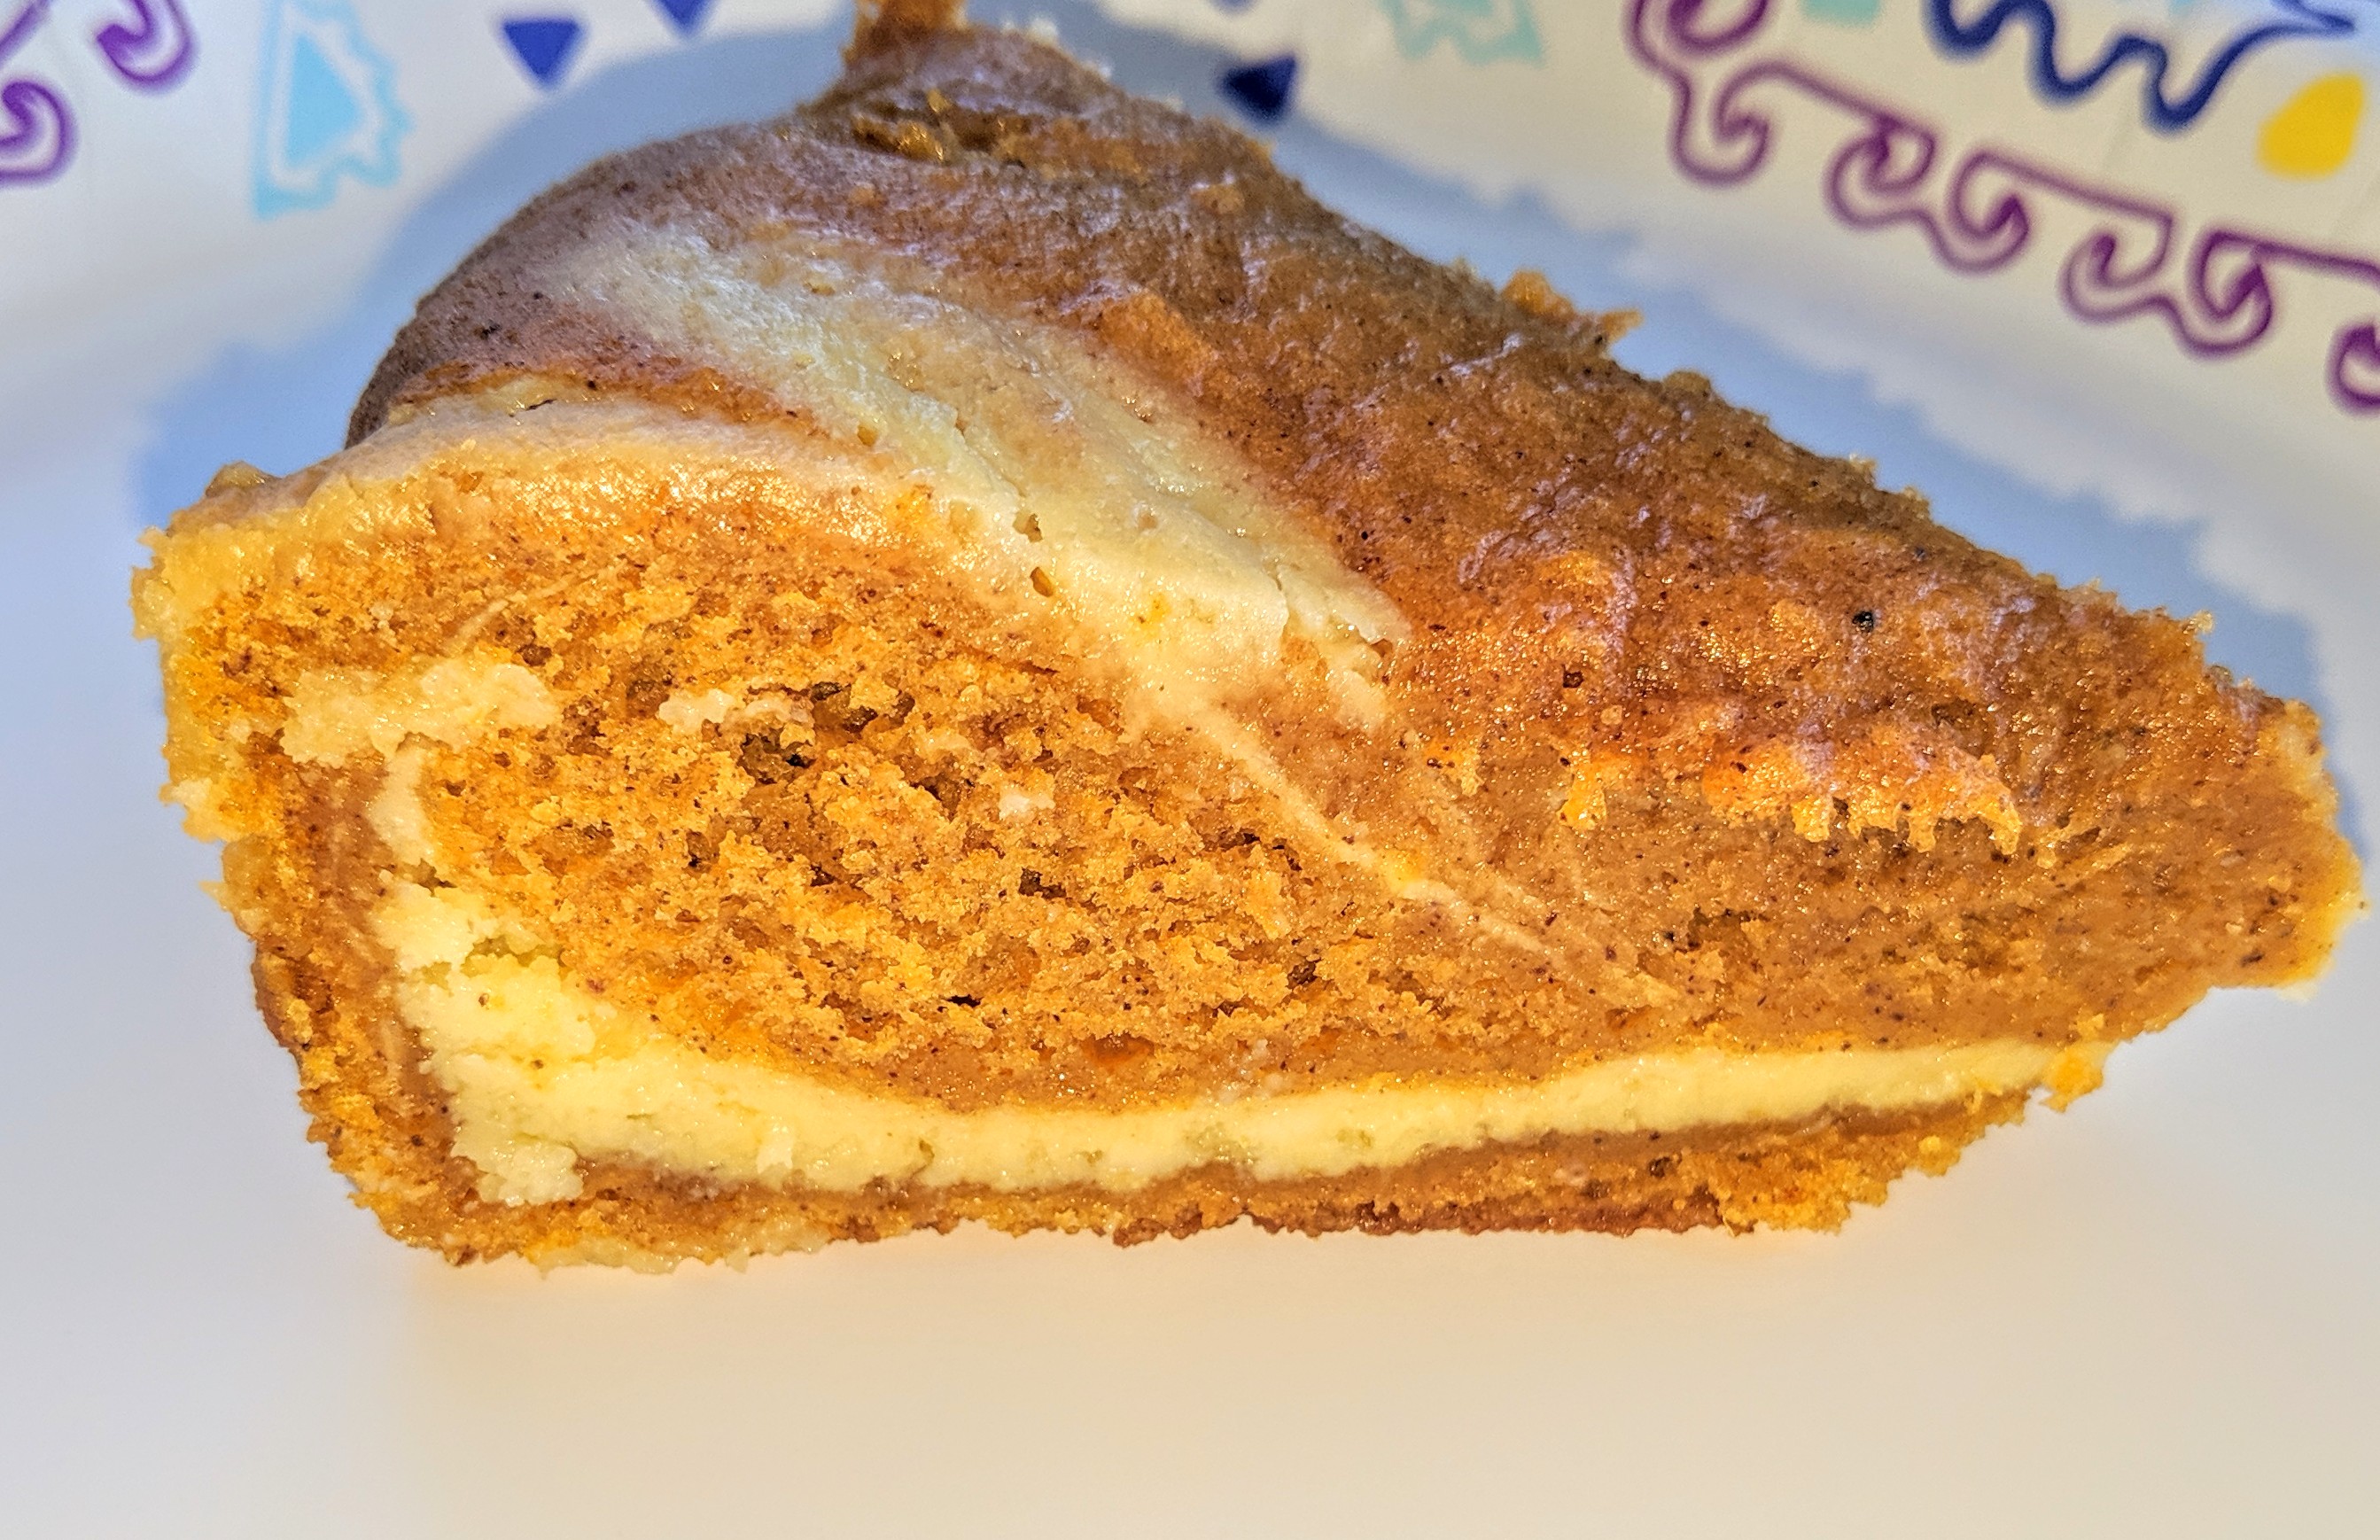
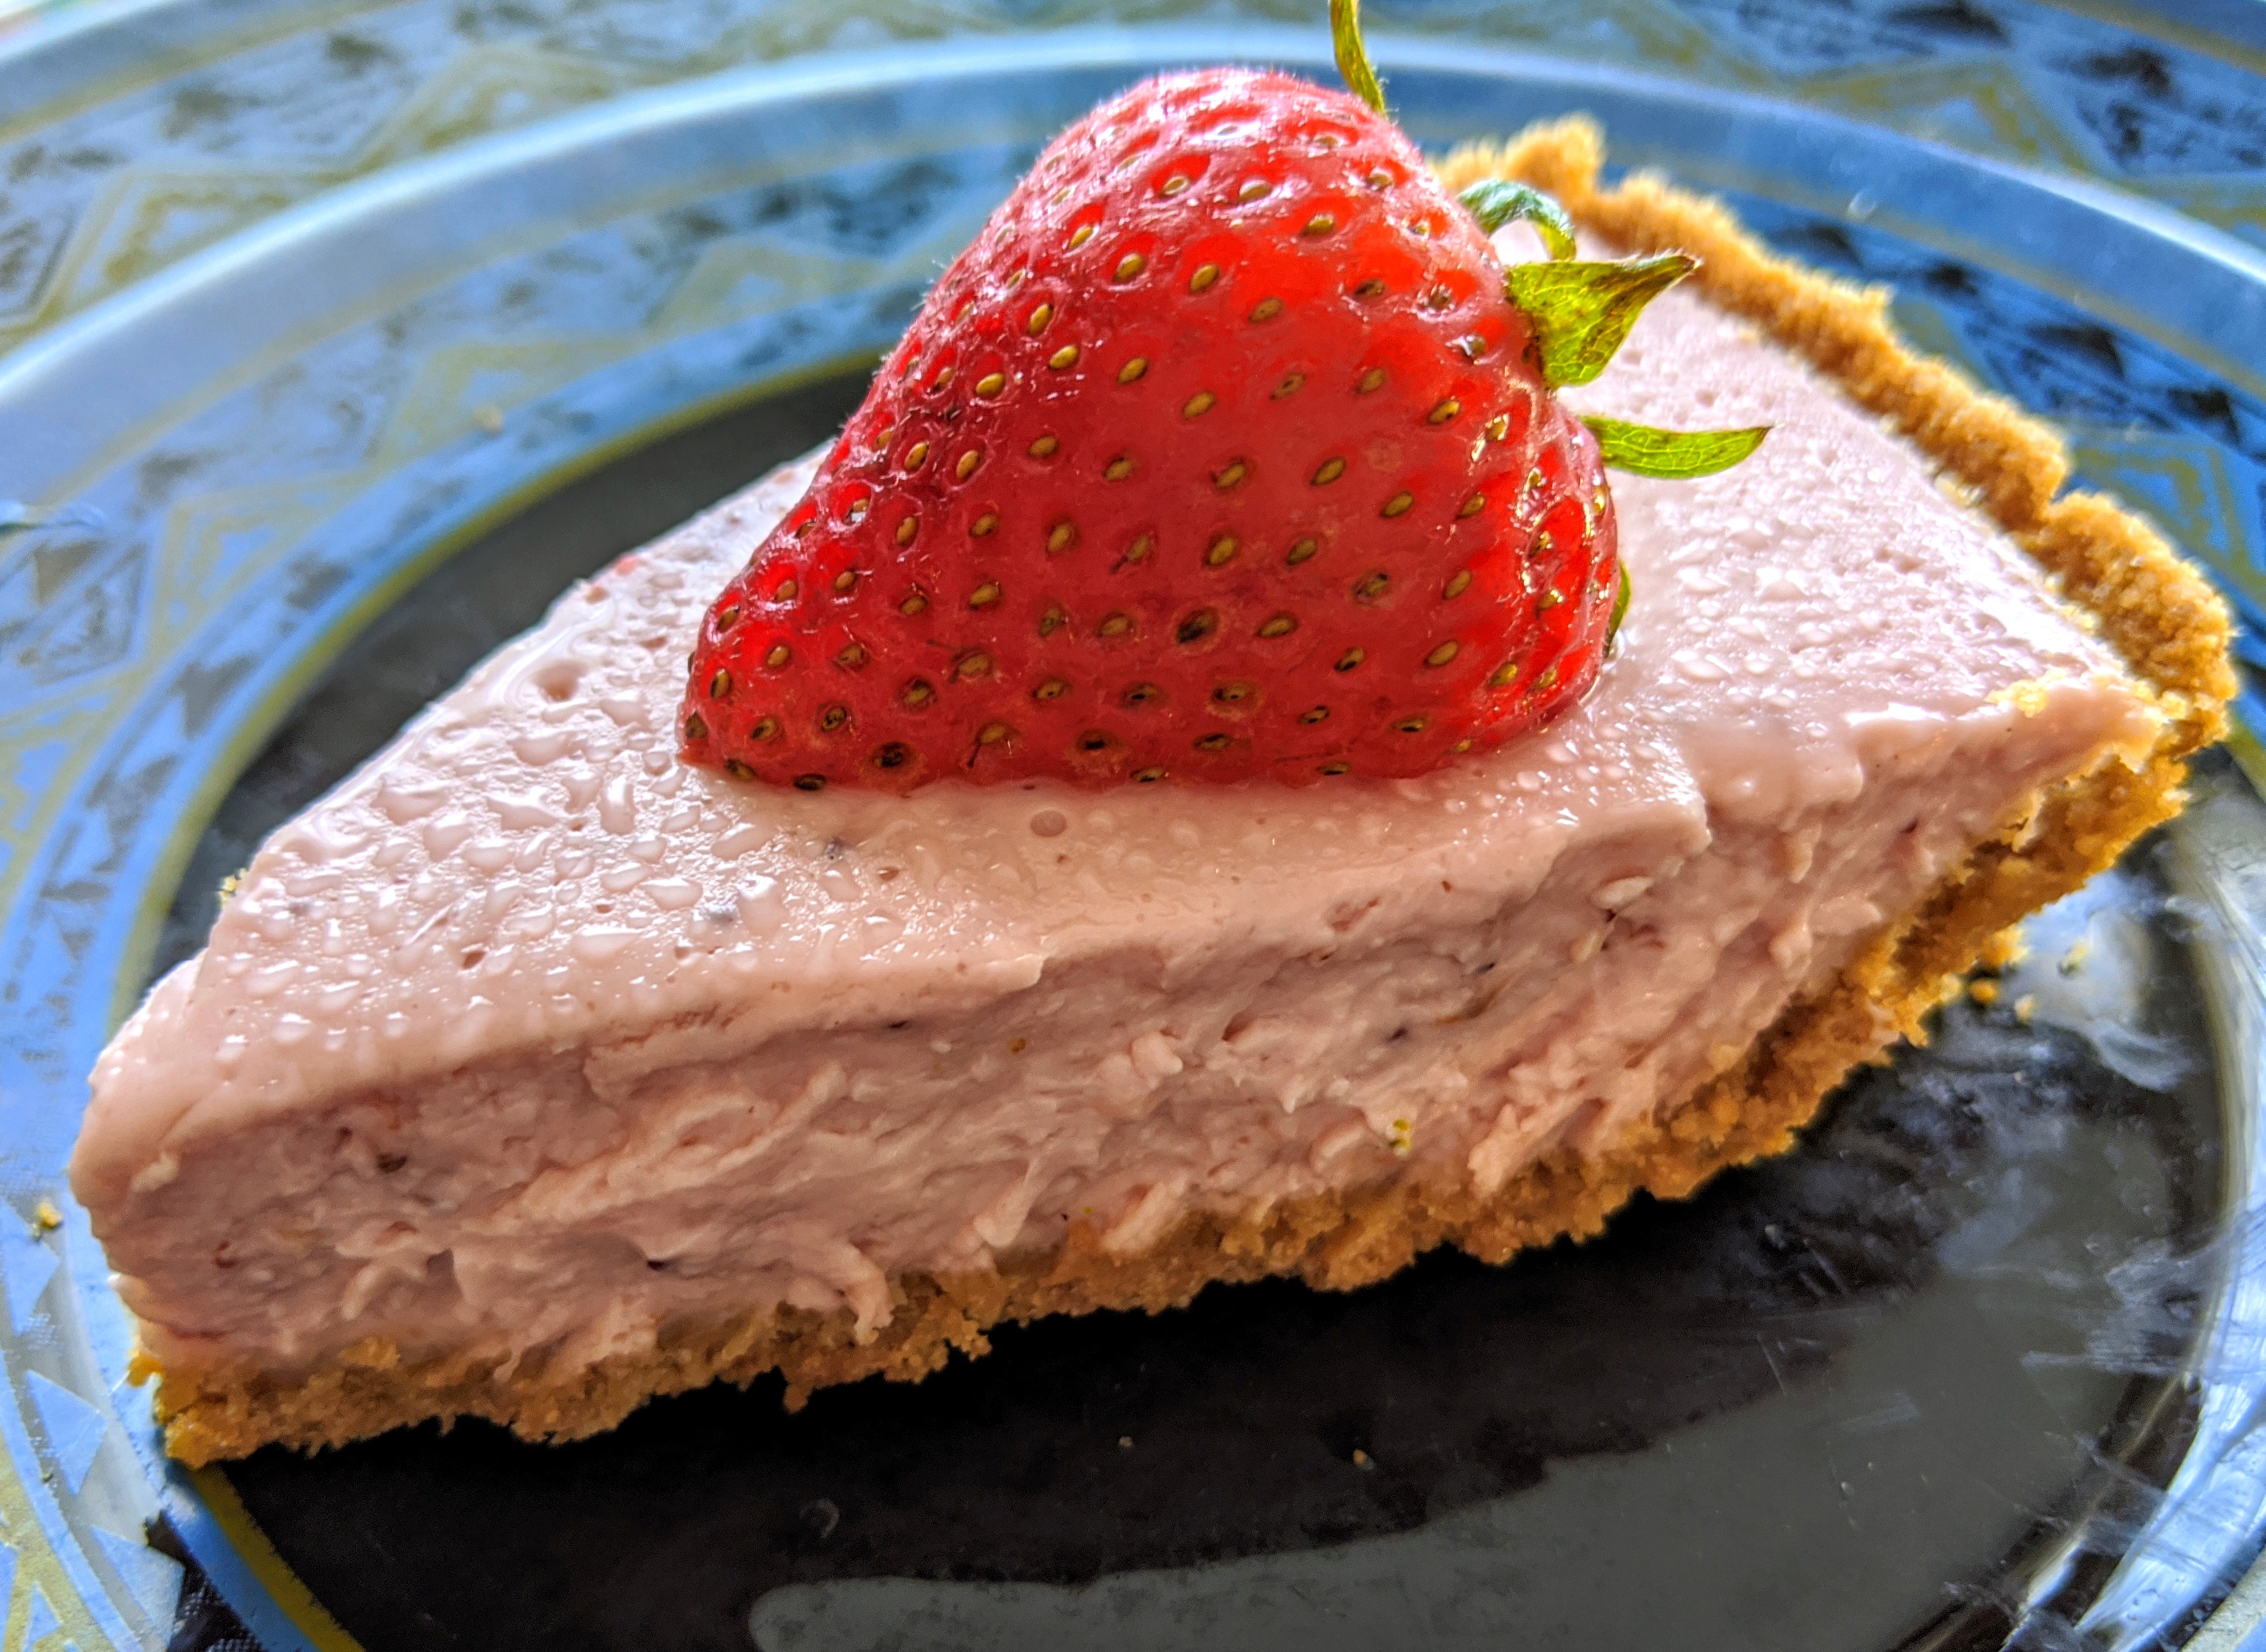
Jan’s Dill Pickles

Dill Pickles

My Cucumbers are done for the summer, but my pantry is almost full so we are happy!

Jan’s Dill Pickles

45- 50 Cucumbers ( I like Straight 8, for pickling, about 4-5 inches long)

Soak Cucumbers in an Ice water Bath for 30- 40 minutes before packing into jars.   (I use an Ice Chest to do this)

12 Cups Well water ( or non- chlorinated water)

6  1/2 Cups White 5% Vinegar

1 – 6.5oz. Package Kosher Dill Pickle Spice Mix (Make sure it is Kosher, and does not have any gluten ingredients. I use Mrs. Wages or Ball)

3 Teaspoons Alum

1/2  Cup Canning Salt

1 Tablespoon Minced Garlic

3 Teaspoons Dry Dill Weed

Before packing sterilized jars, Then add 2 small Cloves of Garlic to each jar ( I like to use wild garlic)

And 1 Flower stem of fresh Dill Seed ( just as it is going dry) to each jar.

Bring all ingredients ( except the garlic cloves and Dill Seed) to a boil. Pack cucumbers into sterilized wide mouth quart Jars and pour boiling brine over cumbers. With in 1/2 inch to the top of jars. Cover each jar with a sterilized cap and ring. ( be sure to add the garlic cloves and dill seed before sealing) Place filled jars into boiling water canner and process for 10 minutes in boiling water bath.     ( this is per my canning book) This should make 10 – 12 Quarts, depending on how tightly you pack the jars.

When processing time is up, remove from water and let each jar cool and seal. If a jar doesn’t seal, be sure and refrigerate that jar. Before I open a jar of pickles, I like to refrigerate it for about an hour to make sure the pickles get crisp.     

Grilled Skillet Apple Cobbler

Skillet Apple Cobbler

My Mom’s apple trees have a lot of apples this year, and we love Apple anything! This cobbler is so easy and making it on the grill adds to the flavor and keeps from heating up the house with the oven.

Grilled Skillet Apple Cobbler

Crust:

2 Cups Gluten Free Biscuit Mix

2/3 Cup White Granulated Sugar

1 Cup Water

1 Large Egg (beaten)

Filling:

4 Cups peeled and sliced Fresh Apples ( I used green cooking apples, sliced about 1/4 inch thick)

1 Tablespoon Ground Cinnamon

1/2 Cup packed Brown Sugar

1/4 Cup (1/2 Stick) Cold Butter sliced very thin ( or butter substitute)

Finish Topping:

1 Teaspoon Ground Cinnamon

1 Teaspoon White Granulated Sugar

Preheat Grill to 375 – 400* ( only use the outside burners)

In large bowl whisk together all ingredients for crust and pour about a third of the mixture into bottom of a greased 10 inch cast iron skillet. Just enough to cover bottom completely. Set aside the rest of the batter.

Then in another mixing bowl combine apples, cinnamon, and sugar. Then pour into skillet on top of the bottom crust. Then top apples with cold butter slices, spacing evenly over apples. When this is done pour the rest of the batter on top of butter and apples.

Place in the center of the top rack of grill and close lid. Remember to leave the center burners off and only use the end burners. Bake for 35 – 40 minutes or until crust is browned around the edges and a knife inserted into apples are soft.

 10 minutes before removing from grill sprinkle top with remaining Cinnamon and Sugar. Enjoy!

Jan’s Gluten Free Salsa

IMG_20190628_101835

These aren’t the prettiest Tomatoes we have ever raised, but with all of the rain we’ve had, I’m happy just to get them!

Jan’s Salsa (Medium Heat)
(For HOT salsa add 1 or 2 Habanero peppers)

6 – cups chopped onions ( about 3 large onions)
2/3- cups minced garlic (if you use fresh garlic it’s about 18 cloves chopped)
5-6 jalapeno peppers chopped ( use 8- 10 if they are small peppers 1 to 1 1/2 inches long)
( I leave the seeds & veins in, it gives them more heat)
6 chili peppers chopped ( or 2 tspns. Chili powder not chili seasoning)
1 large or 2 small seeded & chopped bell pepper
2 table spoons paprika
2 table spoons salt
2 table spoons garlic powder
2 teaspoons cilantro
1 table spoon white vinegar ( make sure it is not malt vinegar)
1 gallon peeled & chopped tomatoes

In large sauce pan on medium to low heat cook and stir garlic, onions, peppers, vinegar, & spices until onions turn clear. Then add tomatoes, turning up heat & stirring constantly, bringing it all to a boil. Cook at a rolling boil ( stirring continually) for about 20 min. to desired thickness.
(If you would rather have smooth salsa, put onions, garlic, & peppers in blender & blend to liquefy before cooking. Do the same to the tomatoes, before pouring them into sauce pan)
This should make 5 – 6 quarts, process in boiling water bath for 35 min.

Please note: if you live in a higher altitude you must refer to a canning chart for processing times. They will be different than the times I use here in Oklahoma.

Easter Egg Cake Pops!

Gluten Free Easter Egg Cake Pops

eggs

Easter Egg Cake Pops ( only without the stick)

1/2 Cup Plain GF Greek Yogurt ( or 4oz. cream cheese)

1 Cup Sugar

3 eggs

1 Cup All-purpose Gluten free Flour  (I use Better Batter or Tom Sawyer Gluten Free/Betty Crocker GF Flour Mix  ½ & ½ mix)

1 Teaspoon Gluten Free (Clabber Girl) Baking powder

1 Teaspoon pure Vanilla

Cream yogurt, sugar & eggs. Add remaining ingredients & mix well on high speed until blended. Let dough set in fridge for about 30 min.  When ready to bake preheat oven to 350*F. Butter both sides of non-stick cake pop pan and fill bottom half of pan with batter. (without the holes). Place top on, and lock together. Place in oven and bake for 9 minutes, then turn pan over and bake another 9 minutes. (18 minutes total). Remove from oven and let cool 5 minutes before removing top.  If batter comes through holes in the top be sure and remove those little bits before cooling. After 5 minutes remove from pan and lay them out to cool on the seam side down. This causes them to have more of an egg shape.( It may be necessary to trim the seam side of pops) When cool dip in melted GF almond bark and decorate. This is a fun decorating project for the kids!

Please note: Butter is the only thing I’ve found that will keep the pops from sticking. Also, its important to use the yogurt or cream cheese in the batter. Even if you choose to use a cake mix, replace the butter called for with yogurt or cream cheese.

This will make 2 dozen cake pops.