Garden Duck Project
Garden Ducks
We have always had a very large garden, but it was just too big for us to take care of, so last year we decided to cut down the size of the garden. Actually we cut it in half and have been mowing one end of it. I know with all of the modern chemicals and additives they have now it makes gardening easier, but I absolutely refuse to use any herbicides or pesticides in or around our garden or my herb beds! If you have ever gardened, then you know it can be exhausting back breaking work to keep up with the grass, weeds harmful bugs, and feeding the plants in your garden! Even though we did cut down the size, it was getting to be more than I could keep up with….So I had an idea!

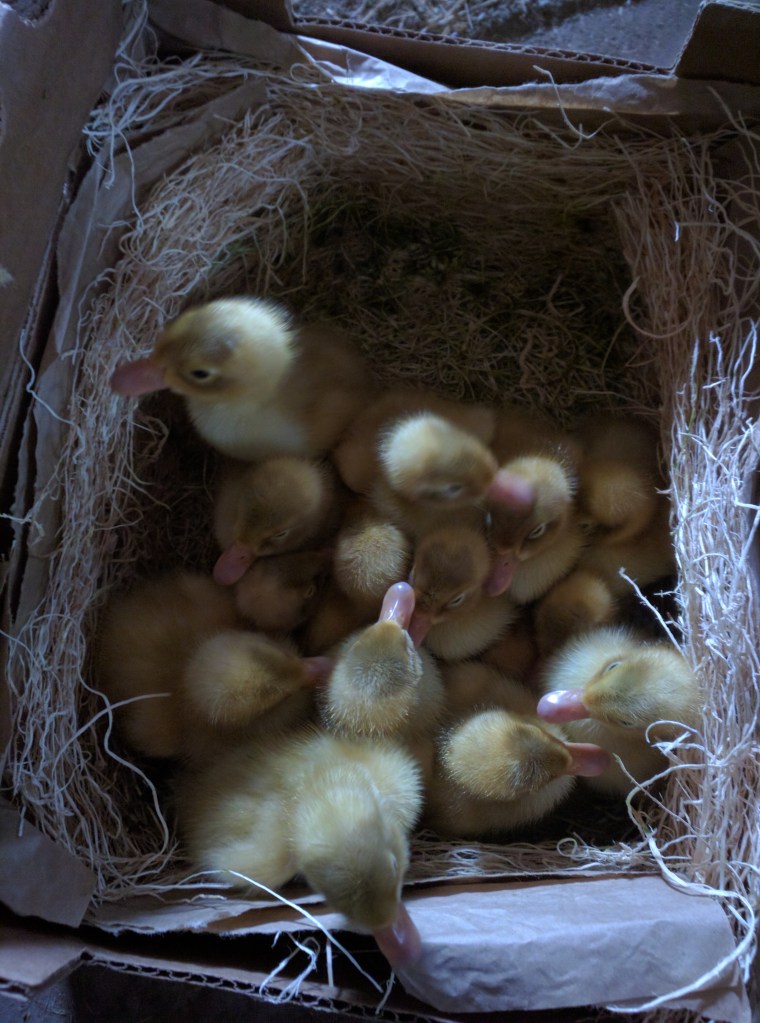
Earlier this year, my Mom decided she didn’t want the two Rouen Ducks she had; ( they didn’t get along with her chickens) so guess what? Yep I took them. What can I say I like Ducks, and I had heard that they are sometimes used in the garden to help control insects and grass. So I did some research and with the help of my Grandsons we put up a fence around the end of the garden that we had been mowing and lined the outside fence with chicken wire. I put the two Rouen Ducks that Momma had given me at that end and they got busy, but it was still too large of an area for only the two Ducks to take care of. So I jumped off into the deep end and ordered Fifteen more Ducks! (By the way, my husband thought I had lost my mind!) I got fifteen baby Runner Ducks from the Hatchery. They were one day old, and thus the Garden Duck Project started!
If any of you have raised Ducks I would love to hear from you! Even though I was raised on the farm and ranch all of my life, we never had Ducks. So I’m learning and can use all of the help I can get!
The Runner Ducks are now Two Days old 3-23-2017
I had no experience with ducks and my Mom only had limited experience with the two Rouen Ducks, so I asked the Hatchery to send me some info, and of course I went to Pinterest. The Hatchery recommended non-medicated Chick starter to feed them. *(Be aware that the feed does contain Gluten, so you may need to wear gloves and a mask)* Ducks cannot have any kind of medicated feed. Simply because they eat so much they will overdose themselves on the medication. Believe me they do love to eat!!! I gave them free choice as much as they wanted, and those 15 babies were going through A LOT of feed!
Ducks do grow much faster than chickens, but they still need heat like a baby chick. Since we didn’t have a chicken house or Duck house yet, and both barns are open, so I had to use the shop to put them in. Since we have predators,( coyotes, raccoons, owls, etc.) roaming around at night then I had to put them in a secure place. I rounded up an old stock tank with holes in the bottom, and lined it with newspaper, and drug it into the shop. Then found some heat lamps and put at each end of the stock tank. The ducks loved it! I had to change the newspaper out daily because they do like to splash their water and they do poop a lot. But that’s fine. That is exactly what ducks are supposed to do. (They will also help fertilize the garden.)
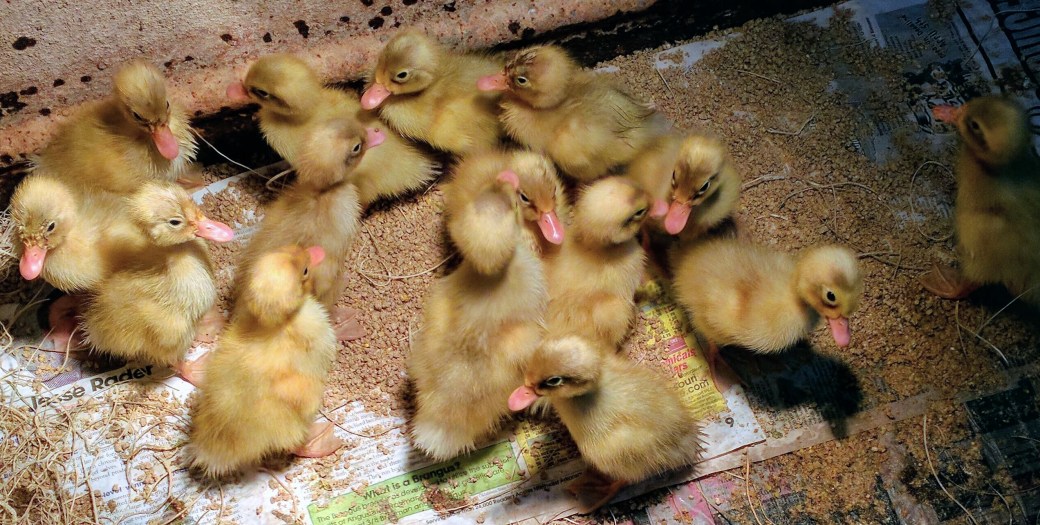
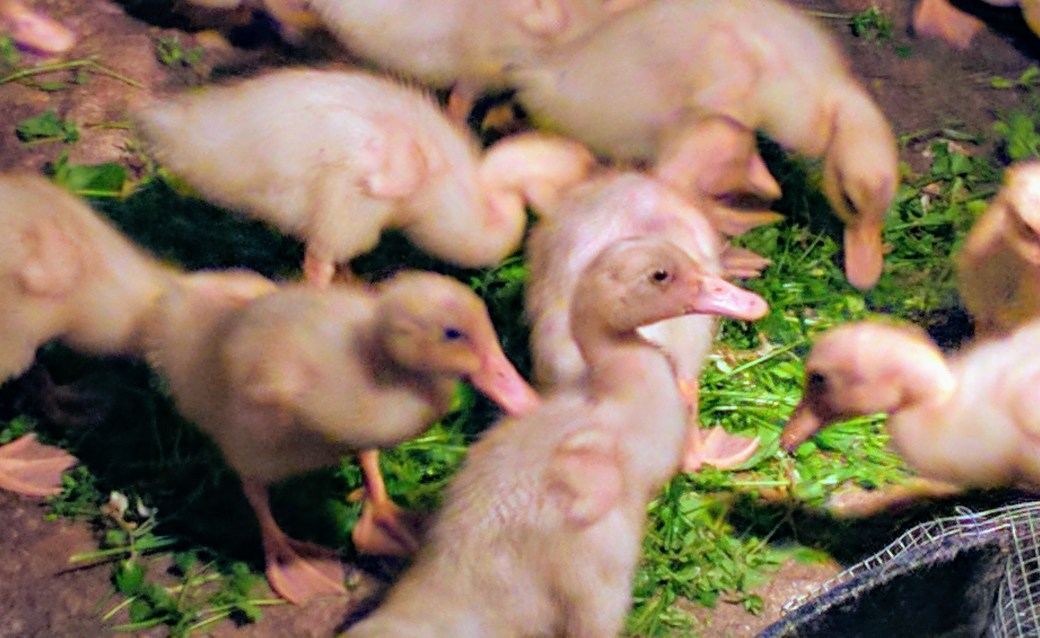
The Ducks are now Seven Days old 3-28-2017!
Ducks really have such a different personality than any other farm animals we have ever had. Notice the little smarty on the right!
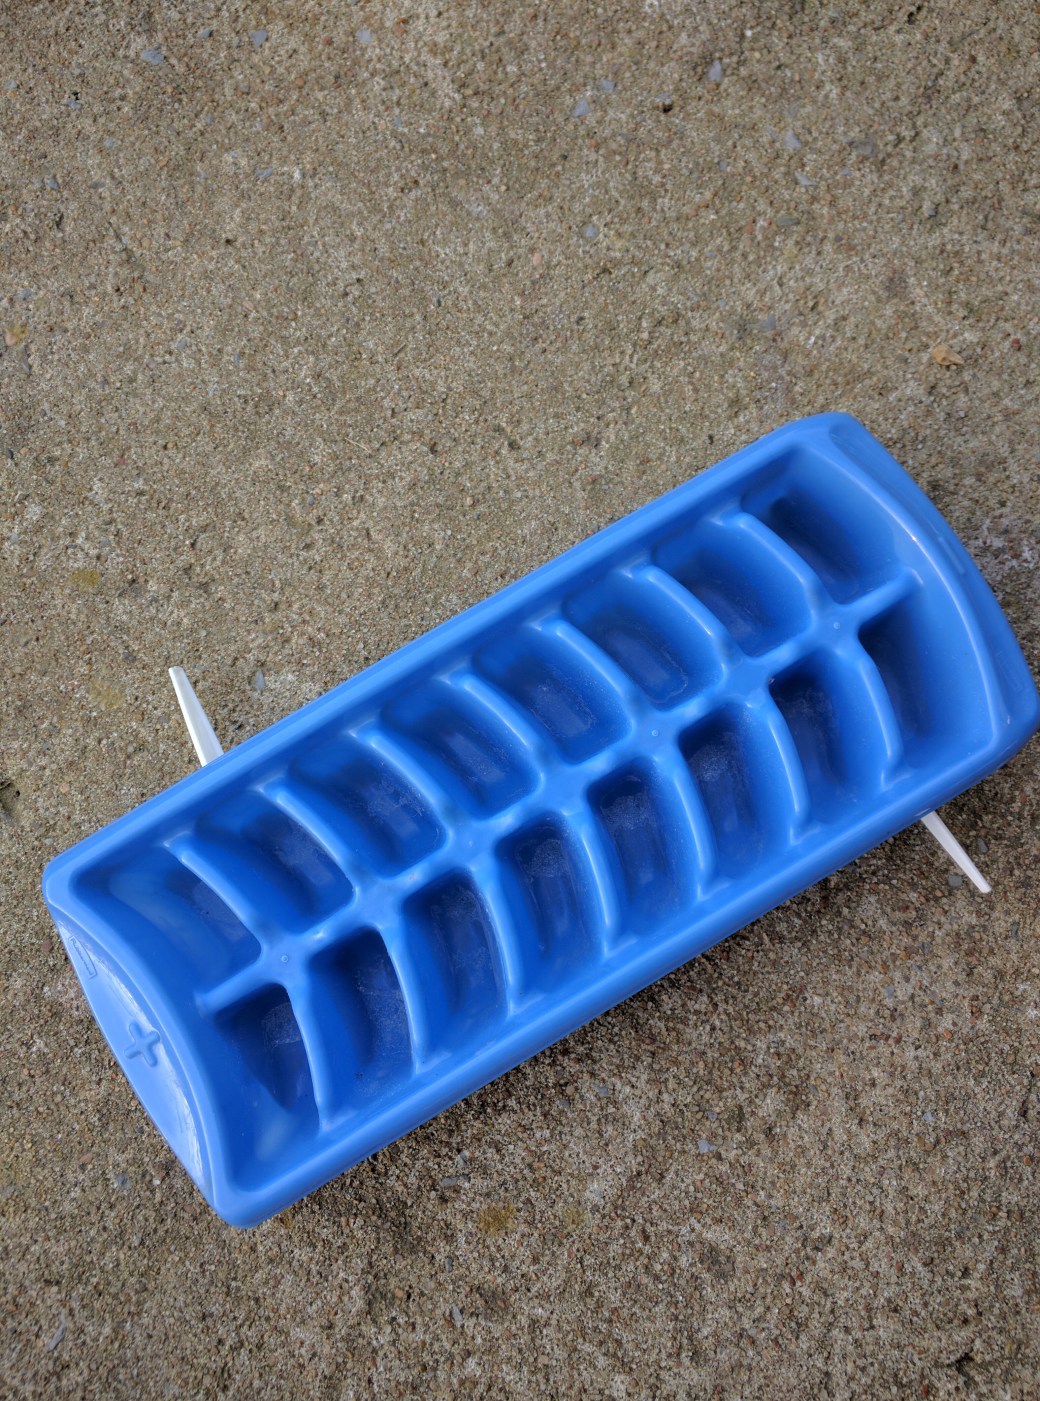
While the ducks are small you have to keep them warm and hopefully dry. That is not an easy thing to do with ducks! They really like to climb into their feed and water. At first I just spread feed on the newspaper and tried to water them in a shallow pan. Well they soon started climbing into their water pan splashing water everywhere! Also one of them flipped over on his back in the water pan and needed help getting out. The pan was very shallow with less than two inches of water, but still I didn’t want any of them to drown. So of course I went back to Pinterest and started looking for a low cost way to water them. Someone used plastic ice cube trays to water, but I knew they would tip them over so I taped a plastic knife to the bottom at each end of them for stability. It worked great! ( Oh and yes I did use Duct tape.)
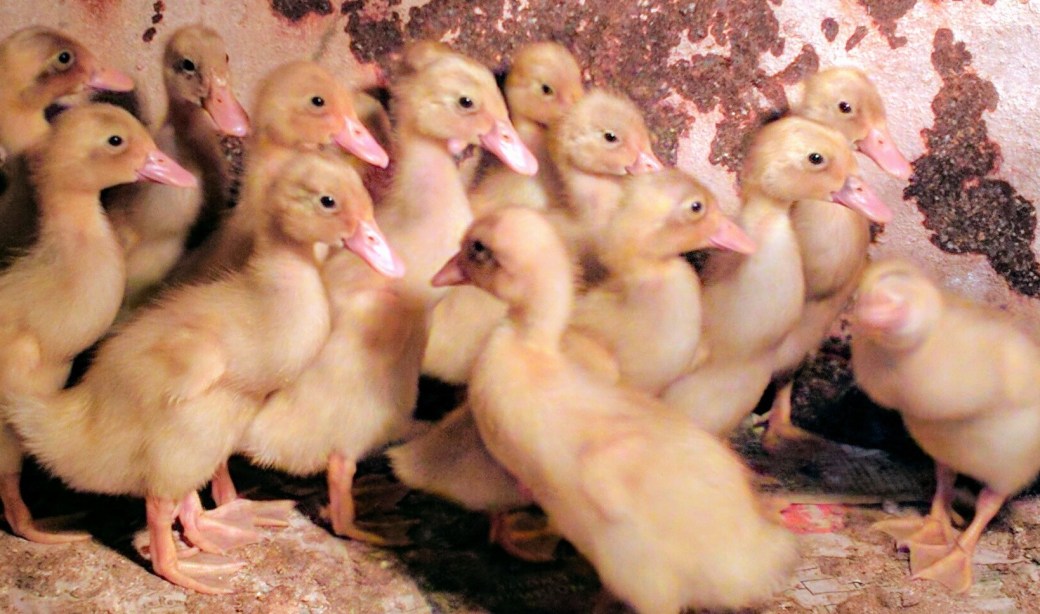
The Ducks are now 2 Weeks old 4/4/2017
They are growing so fast and since it is getting warmer and I’m pulling weeds anyway, I thought I’d try giving them some Chickweed grass. They loved it! It was so funny they ran to the grass and just burrowed down into it while eating around themselves. I’m still feeding them Chick starter and a lot of water! They are up to almost a gallon of water a day. It is very important to keep water out for ducks, because they need it before they can swallow their food. I’ve seen them eat a lot of chick feed and hold it in the side of their throat then run to the waterer and stick their head all the way under water, then they stick their little beaks straight up in the air then swallow. LOL, then the lump on the side of their little neck will disappear. 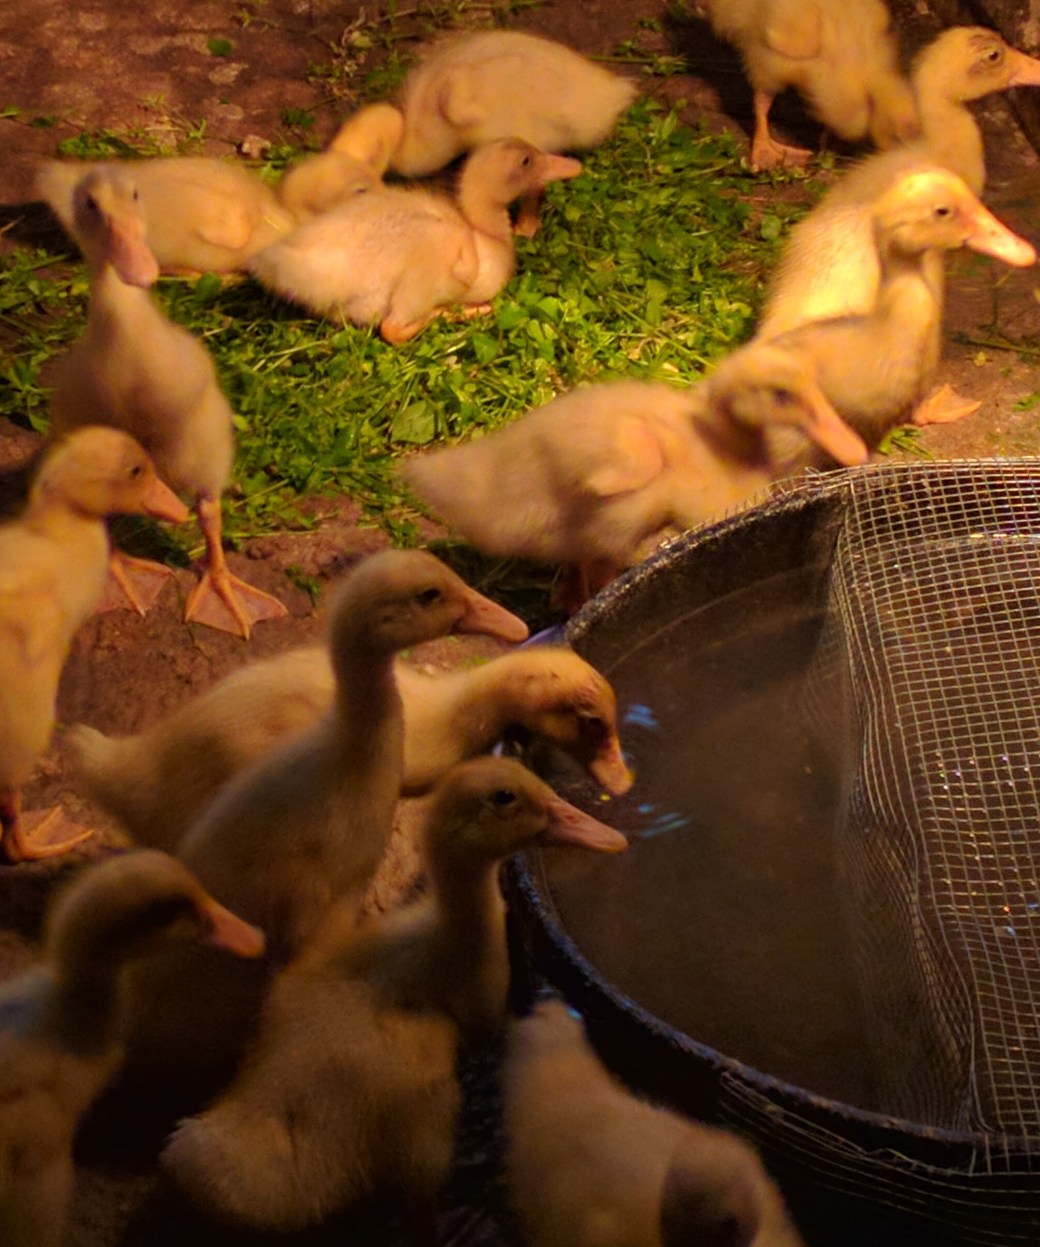
Since they are drinking so much water, I’m also trying a new water system. They still climb up into the ice cube trays, so in order to keep them from splashing so much water out I used a 3 inch deep rubber tub with wire over the top so maybe they won’t climb into it. We will see if it works?
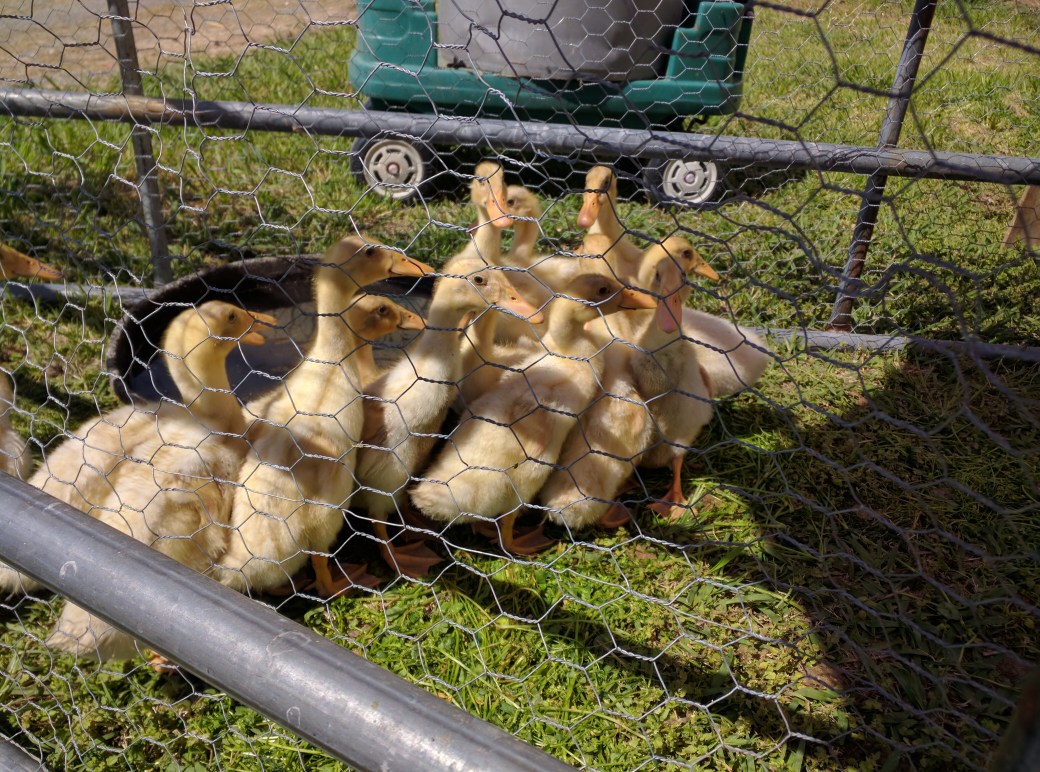
The Ducks are now 3 Weeks old 4-11-2017, and they are outgrowing their area in the shop very quickly! Since we are having some warm days, I made a temporary day time pen for them outside the shop. The task of moving 15 ducks from one location to another is not easy though. I found the little wagon I had used for my Grandson’s when they were little and a plastic half barrel and put each duck into the barrel. They did not like it at all! In case you didn’t know, baby ducks do not quack. They peep and if you put them in a barrel they squawk! Loudly! And it gets even louder when you start pulling the wagon and the barrel slips to one side, nearly dumping them on the ground. We recovered quickly though and made it to the pen. Once I put them out onto the grass, they loved it! The Ducks immediately started picking bugs out of the grass and were very content. I also took the wire off of their waterer and they soon made a swimming pool out of it.

The Ducks are now 4 Weeks old, 4-19-17 and it is unbelievable how fast they are growing! I’m finding out that Runner Ducks are very hard to catch even in a small pen, and until they lose all of their down and get their regular feathers, we will have to keep them warm and in the shop at night. So I had to find a better system of moving them outside during the day, than the wobbly half barrel. Ta! Da! The Duck Wagon was invented! I found a pet carrier that fit perfectly on the little wagon and connected a board and plastic fencing with zip ties to make a little loading ramp. I’m finding out that Ducks learn very fast! I sprinkled a little feed in the bottom of the carrier and put them in. It only took a couple of times and they were running to get in. We have graduated from the stock tank in the shop, to a small pen. So no more chasing them around to catch them! This is great!
Drying Herbs
Drying Herbs
This is a long post, but I’ve had several people ask me how I preserve my Herbs. So here goes! One of the ways I put them up for winter and to give away to family and friends is to dry them. I have also frozen certain kinds of Herbs, but that’s for another post.
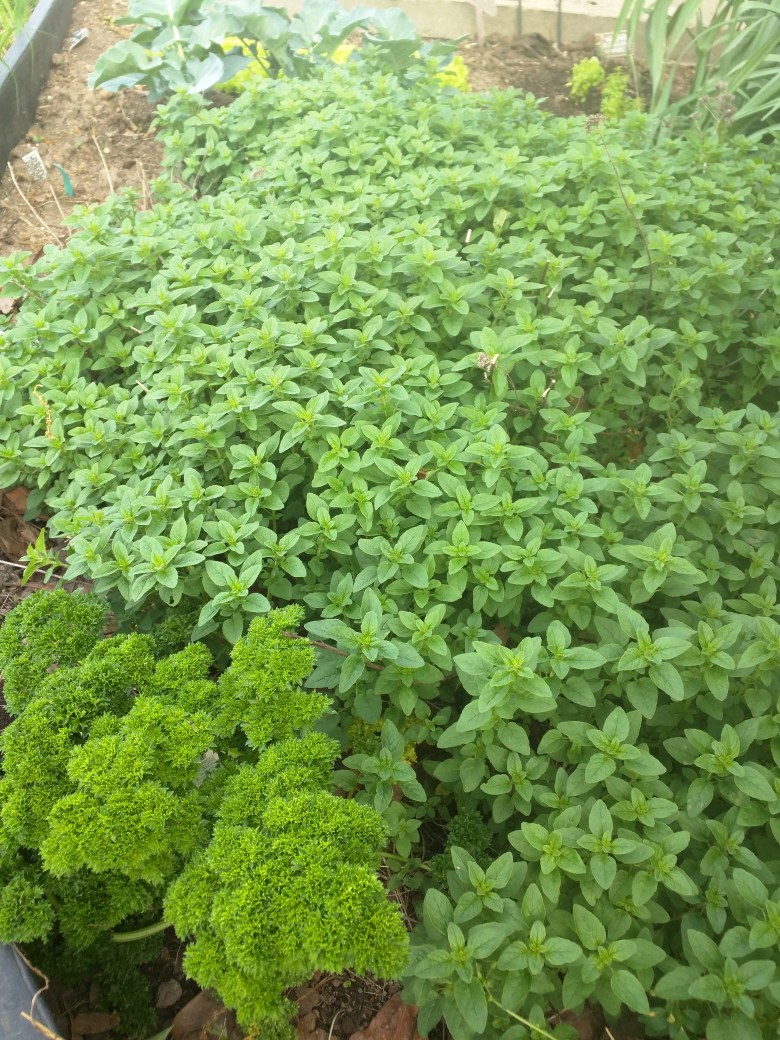
I start by picking my Herbs in the morning before it gets too warm. Usually by 10:00 am. Here in Oklahoma it starts getting warm really fast, and you want to start out with a fresh product. I bring a large bowl (it’s about 2 gallons) half full of ice water out to my Herb garden. I start picking out which stems I want to cut, by checking to make sure the leaves are not wilted and I also snip off any leaves that have bad places in them or have been eaten by insects. I cut the stem just above a leaf nod (that is where 2 or more, leaves are intersected together on the stem). And about 1 – 3 inches from the ground (depending on how big the plant is) for example Oregano is much taller than Thyme, so I leave about 2-3 inches of stem still on the plant to the ground. For smaller plants like Thyme, I snip off the stem about an inch above the ground. For Sage, Basil, Parsley, Mint, Dill and Rosemary, I cut closer out toward the top of the plant again just above a leaf nod, using only about 4-5 inches of the leaves and stems. This lets the plant continue to branch from that leaf nod and doesn’t stress your plant. If you cut below a leaf nod it leaves a bare stem sticking out from the plant that will die back and possibly let disease get into the dead stem and move on down into your plant.
As I cut the herbs that I want to dry I place them directly into the cold water. For drying I always keep the leaves attached to the stem. If you don’t, you will drive yourself crazy trying to pick up those tiny leaves off of your drying rack and end up wasting most of it.
The reason I use Ice Water, is to wash the stems and leaves, and kill any bugs that might be on the Herbs. Some people use vinegar to soak their Herbs in, (the vinegar is supposed to break down any pesticide residue on the Herbs) but since I don’t use any pesticides on my plants at all, so there is absolutely no need for me to use anything but water to wash them. Because there is nothing on them except maybe a little dust and a few bugs. Also another reason I don’t like to use anything stronger than water, I think the acid in the vinegar starts to break down the tender leaves and changes the taste and flavor of the Herbs.
Then when I’ve picked as much as I want, I then take the bowl into the house and put more Ice and Water on top of the Herbs, completely covering them. I then anchor them down in the water with an inverted saucer or small plate. I let them soak in the Ice Water for at least 30 minutes. I then Line an area on my counter with a towel or paper towels. I use both, placing a clean kitchen towel on the bottom, then lay a couple of layers of paper towels on top of the towel to soak up any remaining water. Then take the bowl of Herbs and Ice Water to the sink and pull each of the stems out of the water one at a time and inspect it again for any bugs or bad places, like a dark spot or wilt. (Herbs have very few bugs, or at least mine don’t, bugs don’t like Herbs very well). Removing any undesirable leaves and discarding them. Shake out any excess water into the sink and lay the stems and leaves onto the paper towels to dry. Spreading them out as much as possible. See Photo below.

When all of the water is drained off, after about 30- 45 minutes. (the more moisture that is on the Herbs the longer it’s going to take to dry them.) You can then start loading your Herbs onto the drying racks.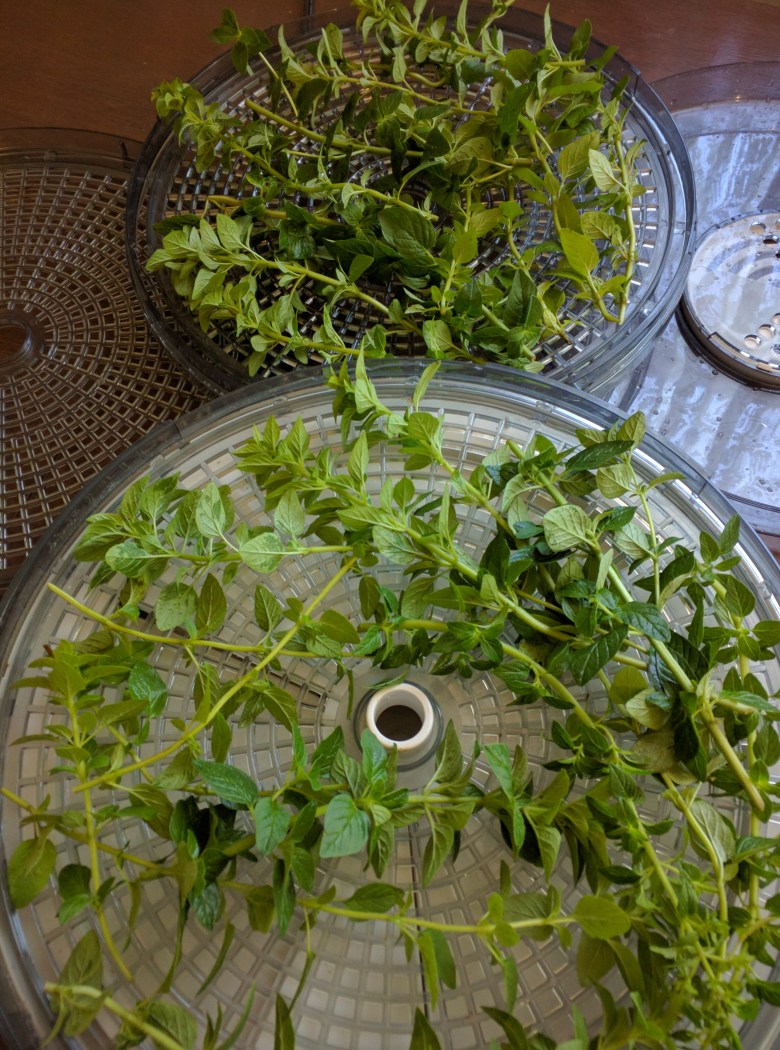
I use a dehydrator. Simply because it takes so much longer in the oven, and I don’t like to heat up my house with an open oven door. Plus it ties up my oven for several hours. My dehydrator has 5 trays or racks, which I load with my Herbs, spreading them out as much as possible. After I get them loaded I stack each tray on top of the other and place the lid on top. My dehydrator lid has a lever that you can open or close, I always leave mine fully open, the Herbs dry much faster that way. Then turn it on (My dehydrator only has one setting, off or on, it’s very simple). Depending on how thick your leaves are or how full you fill each rack, with all 5 trays fully packed, mine will take 8 – 10 hours to fully dry the Herbs. I always check the trays after about 2 hours, starting with the bottom tray or rack, I will rotate it to the top. And continue to check them throughout the day. The bottom rack will always dry out first, so in order to keep them drying evenly I continue to rotate them until all racks are completely dry. If I get busy and the bottom rack gets completely dry, I just remove it and set it aside until they are all done and all the leaves are dry and crispy. If you have any leaves that feel soft or rubbery, they are not done.
When all the Herbs are dry turn off the dehydrator and remove the lid and start with the top rack first. Start taking out the stems one at a time. Handle them gently, so that you don’t lose the leaves as you transfer them to a bowl. Remove each dried leaf from the stem and place it into a clean dry bowl.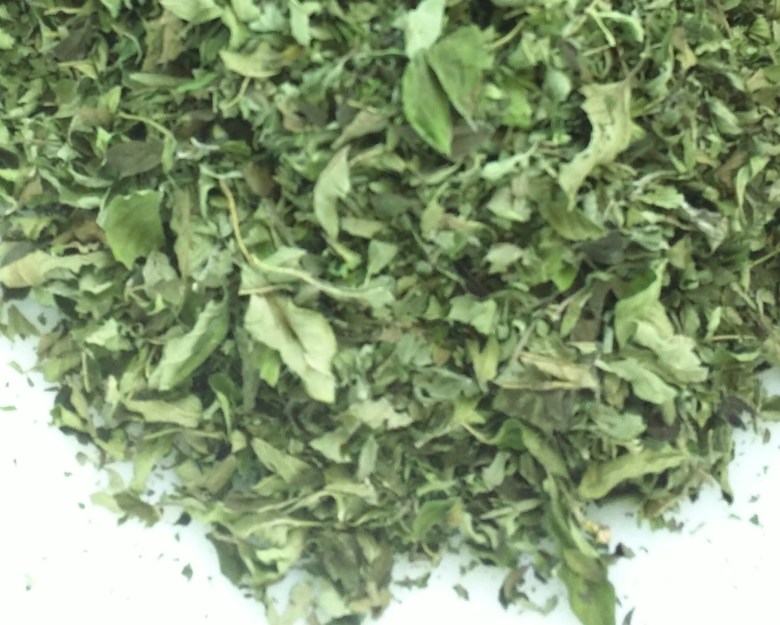

( Make sure your hands, bowl, jars and all utensils are sterile and DRY.) Discard stems and continue this process until you have emptied all the racks and all the leaves and stems are separated. I use my hands to crumble or rub the dry leaves and make sure there are no small stems hiding in the pile of dried Herbs. (be careful, those dried stems can become very sharp) Then I use my sterile tongs to fill the clean dry jars with dried Herbs. Label each jar and either place them in the freezer or store in a cool dark pantry until you are ready to use them. I like to check my jars once in a while just to make sure there is no discoloration or mold. The experts recommend using them within 6 months to a year. So far in all the years I’ve been drying them, I’ve never had any to go bad. Even though we live in such a humid climate.
Besides using my Herbs to cook with, I love to share them as gifts to family and friends. I hope you give my methods a try. It is time consuming, but well worth the effort. The flavors of drying your own Herbs are so much better than the little store bought bottles that have been sitting on shelves for no telling how long.
Note: All machines are different, so depending on the Herbs you are drying, and how many trays or racks you have in the machine, will determine the drying time. For example if you only fill 2 drying racks and you are drying Dill Weed, it could only take a 2-3 hours. So check your machine often.
Just a little history of how I got started with Herbs:
Both of my Grandmothers were unstoppable gardeners, but my Mom’s Mother was the one that had an Herb garden just outside of her kitchen door and all along the path to the garden, beside the garden fence. Where she had a huge bed of Garlic right in the corner of the garden. My sister, cousins and I grew up helping my Grandmother in the garden and helping her tie those Herbs and hang them to dry. She had a building (actually their old house that had all of the rafters in the ceiling exposed) that she used just for drying Herbs and storing treasures. (and Grandpa’s home grown tobacco) Grandma always had several balls of string that she had saved from everything. She would snip the lengths of string off and have them ready and laid out on the table to tie onto the ends of the stems once she prepared the Herbs for drying. She would bundle several Herb stems together and wrap one end of the string around one bundle, then wrap the other end of the string around another bundle. Grandma had a backward wrap that she used, to get that string just tight enough so that when the stems started to dry they wouldn’t slip out. Some Herbs she would put into paper bags to hang and dry just in case the leaves fell of the stems, the bag would catch them. Some of them she left open to dry in the air. We would then take all of the Herb bundles tied with string out to the old house and she would take one bundle and throw it over a rafter so that they would hang there in the air until they were dry. I remember those bundles gently blowing back and forth hanging from those ceiling rafters.
The old house was absolutely one of my favorite places at my Grandparents. It was well shaded with huge trees in their yard and it always seemed to have a breeze blowing through it. The smells inside that old house were so wonderful, to this day when I think about walking into the rooms it makes my mouth water.
I hope you have enjoyed my little piece of Herb history and preparation.
Fresh Garlic and Baby Squash
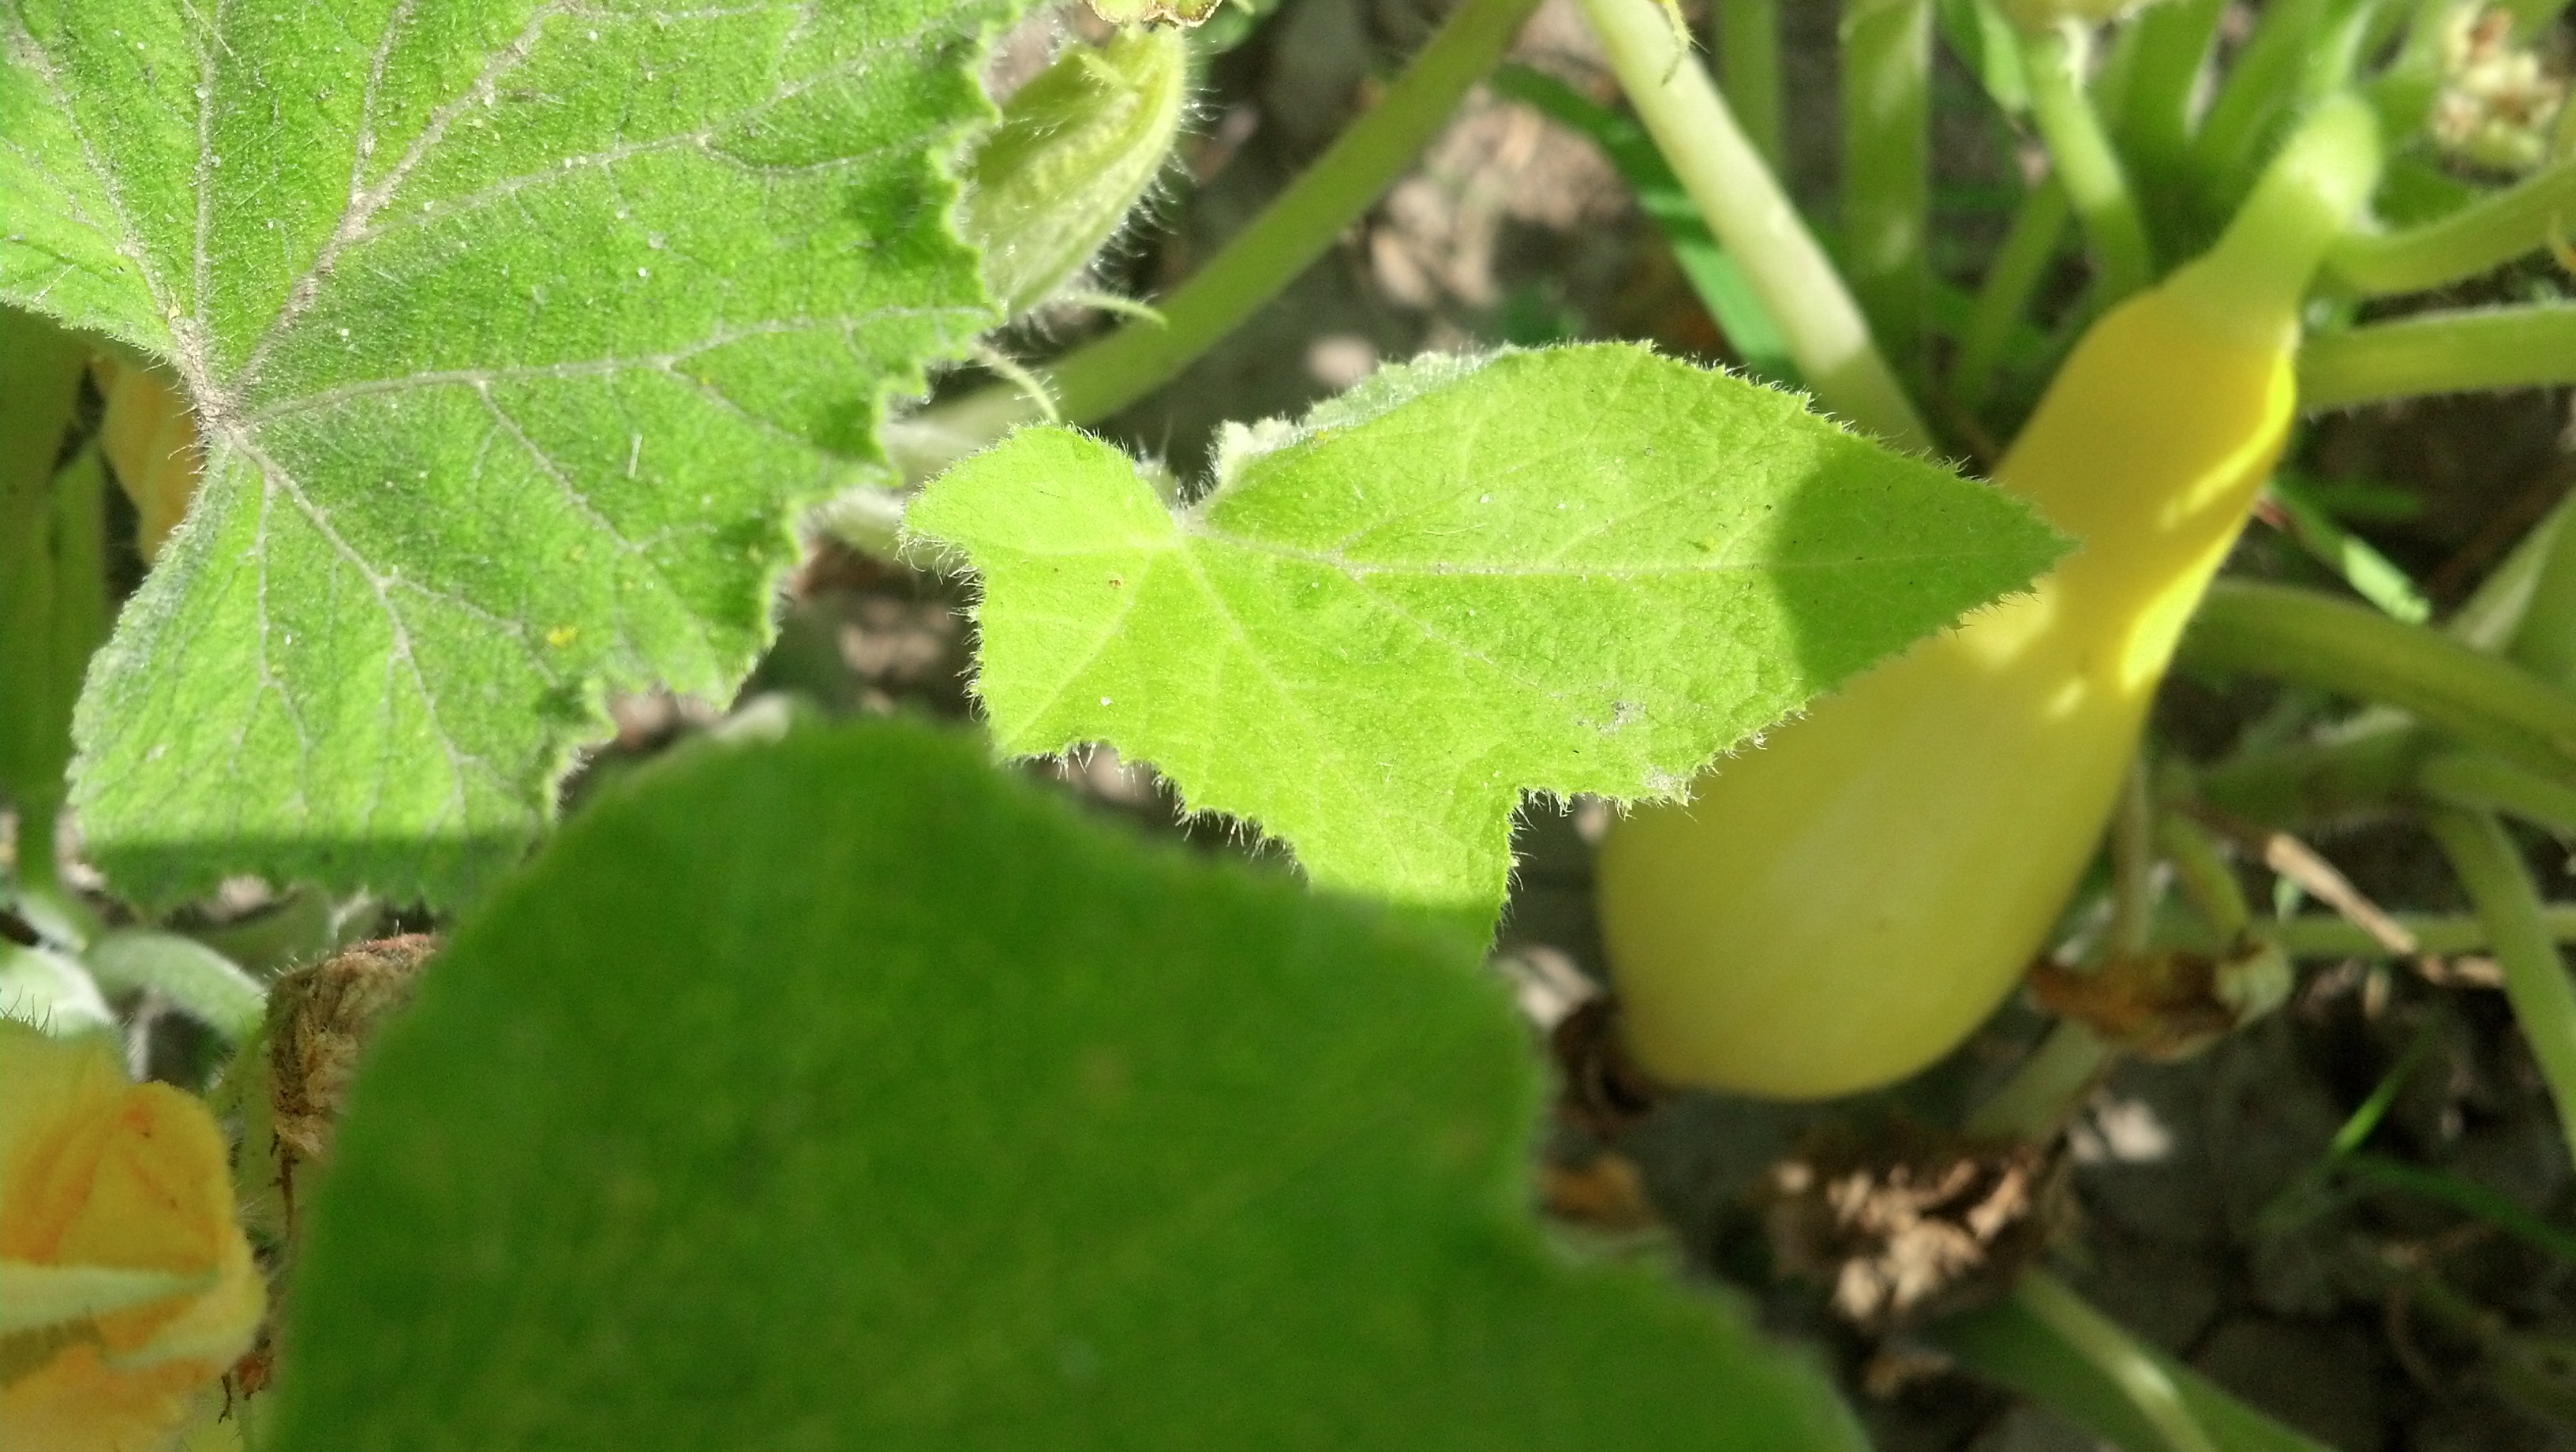
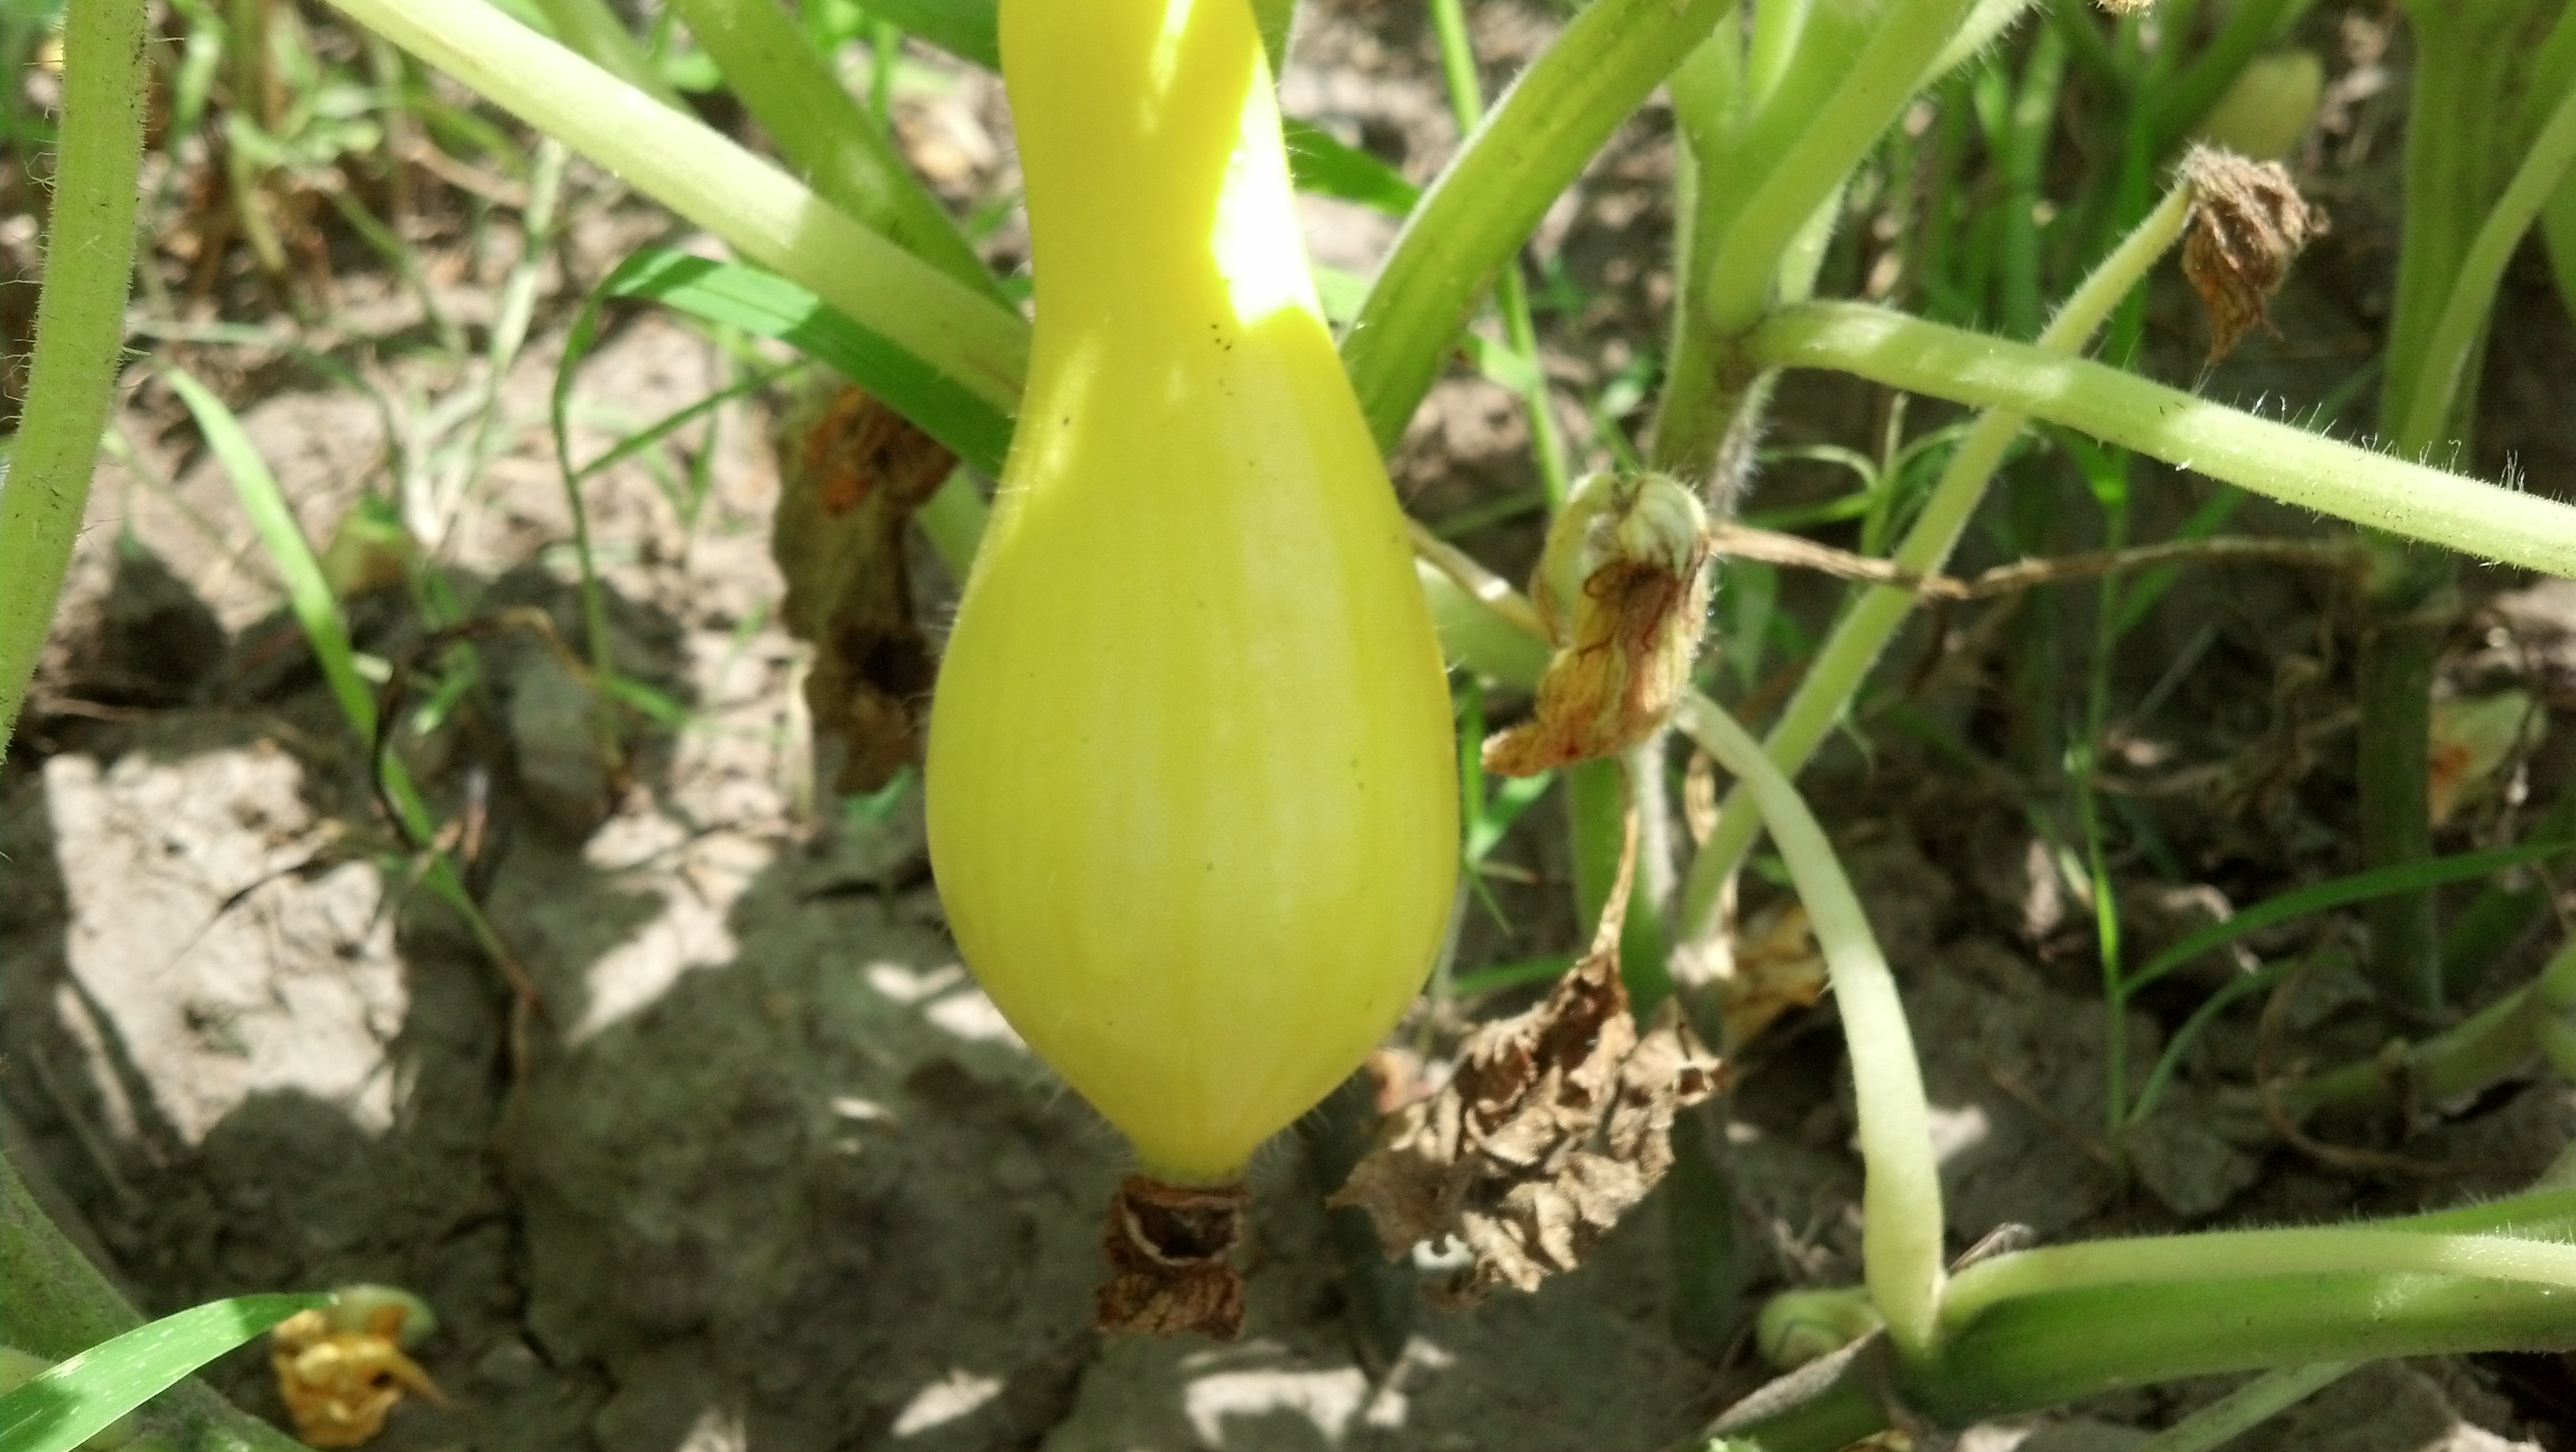

 Even with all the rain our garden is surviving.
This is the first garlic and squash we have gotten this year. I’m excited to start cooking, this garlic smells so good!
No need to worry about Gluten in this Garden
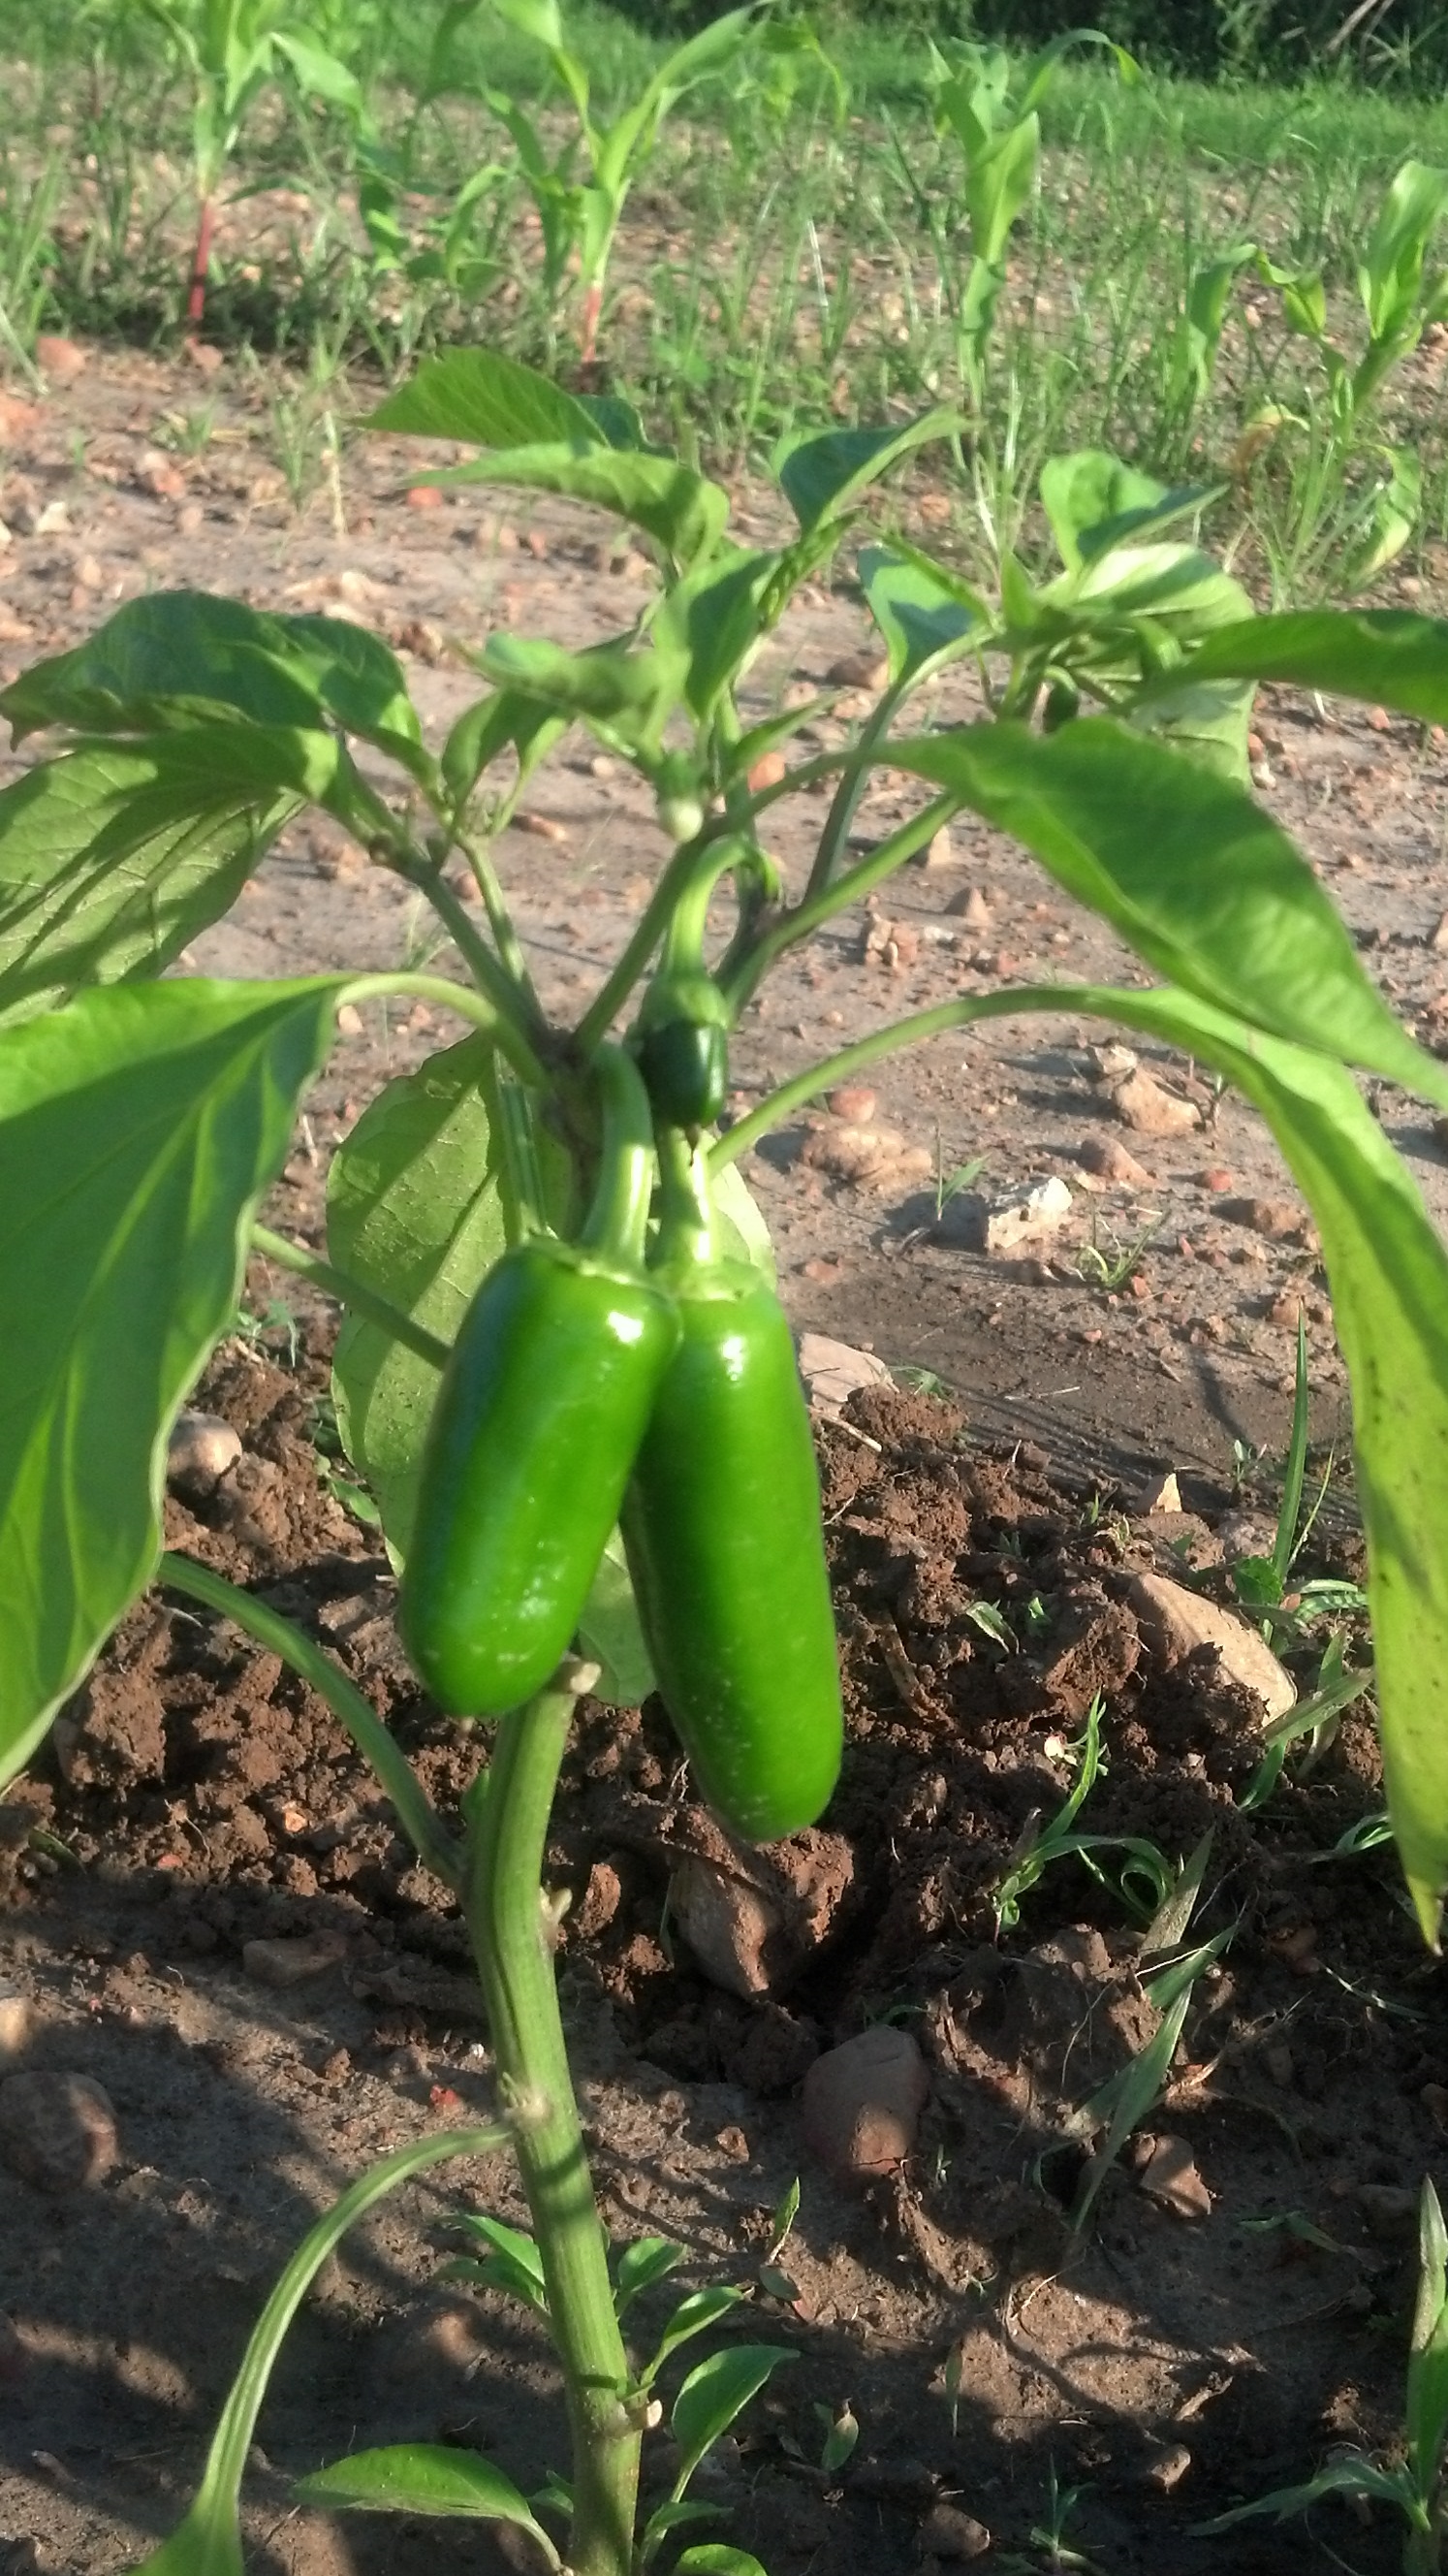
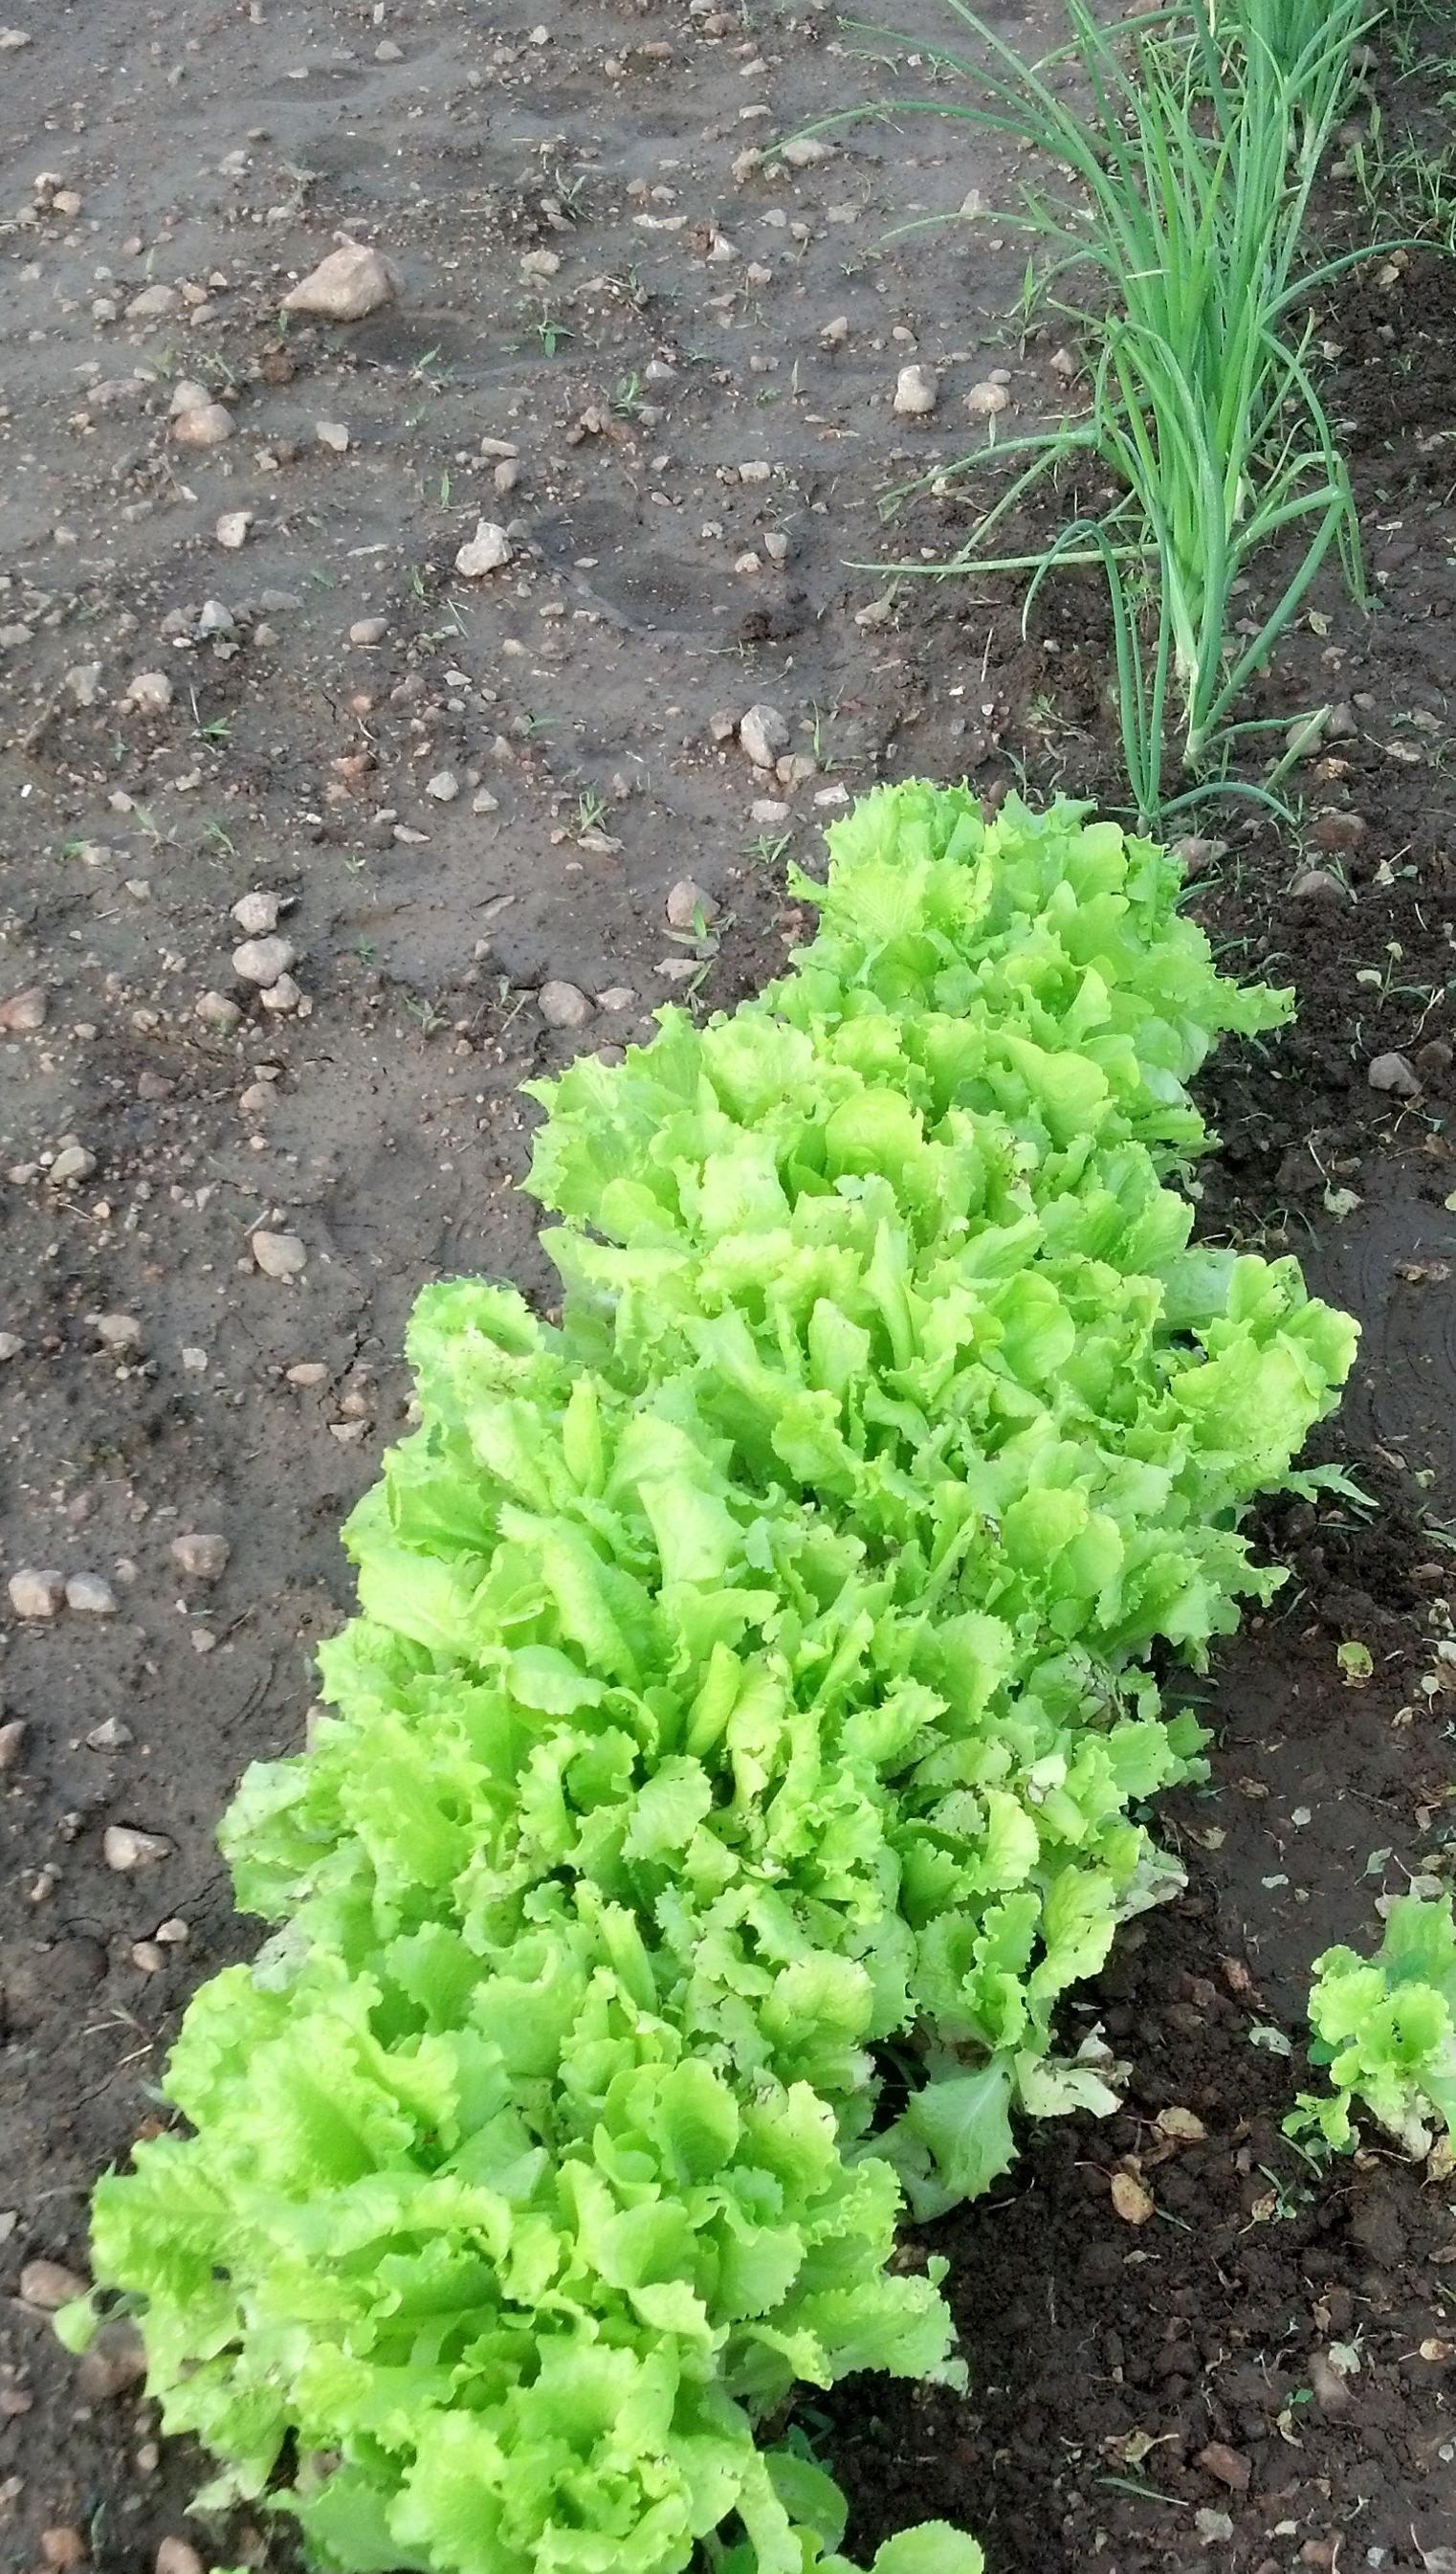
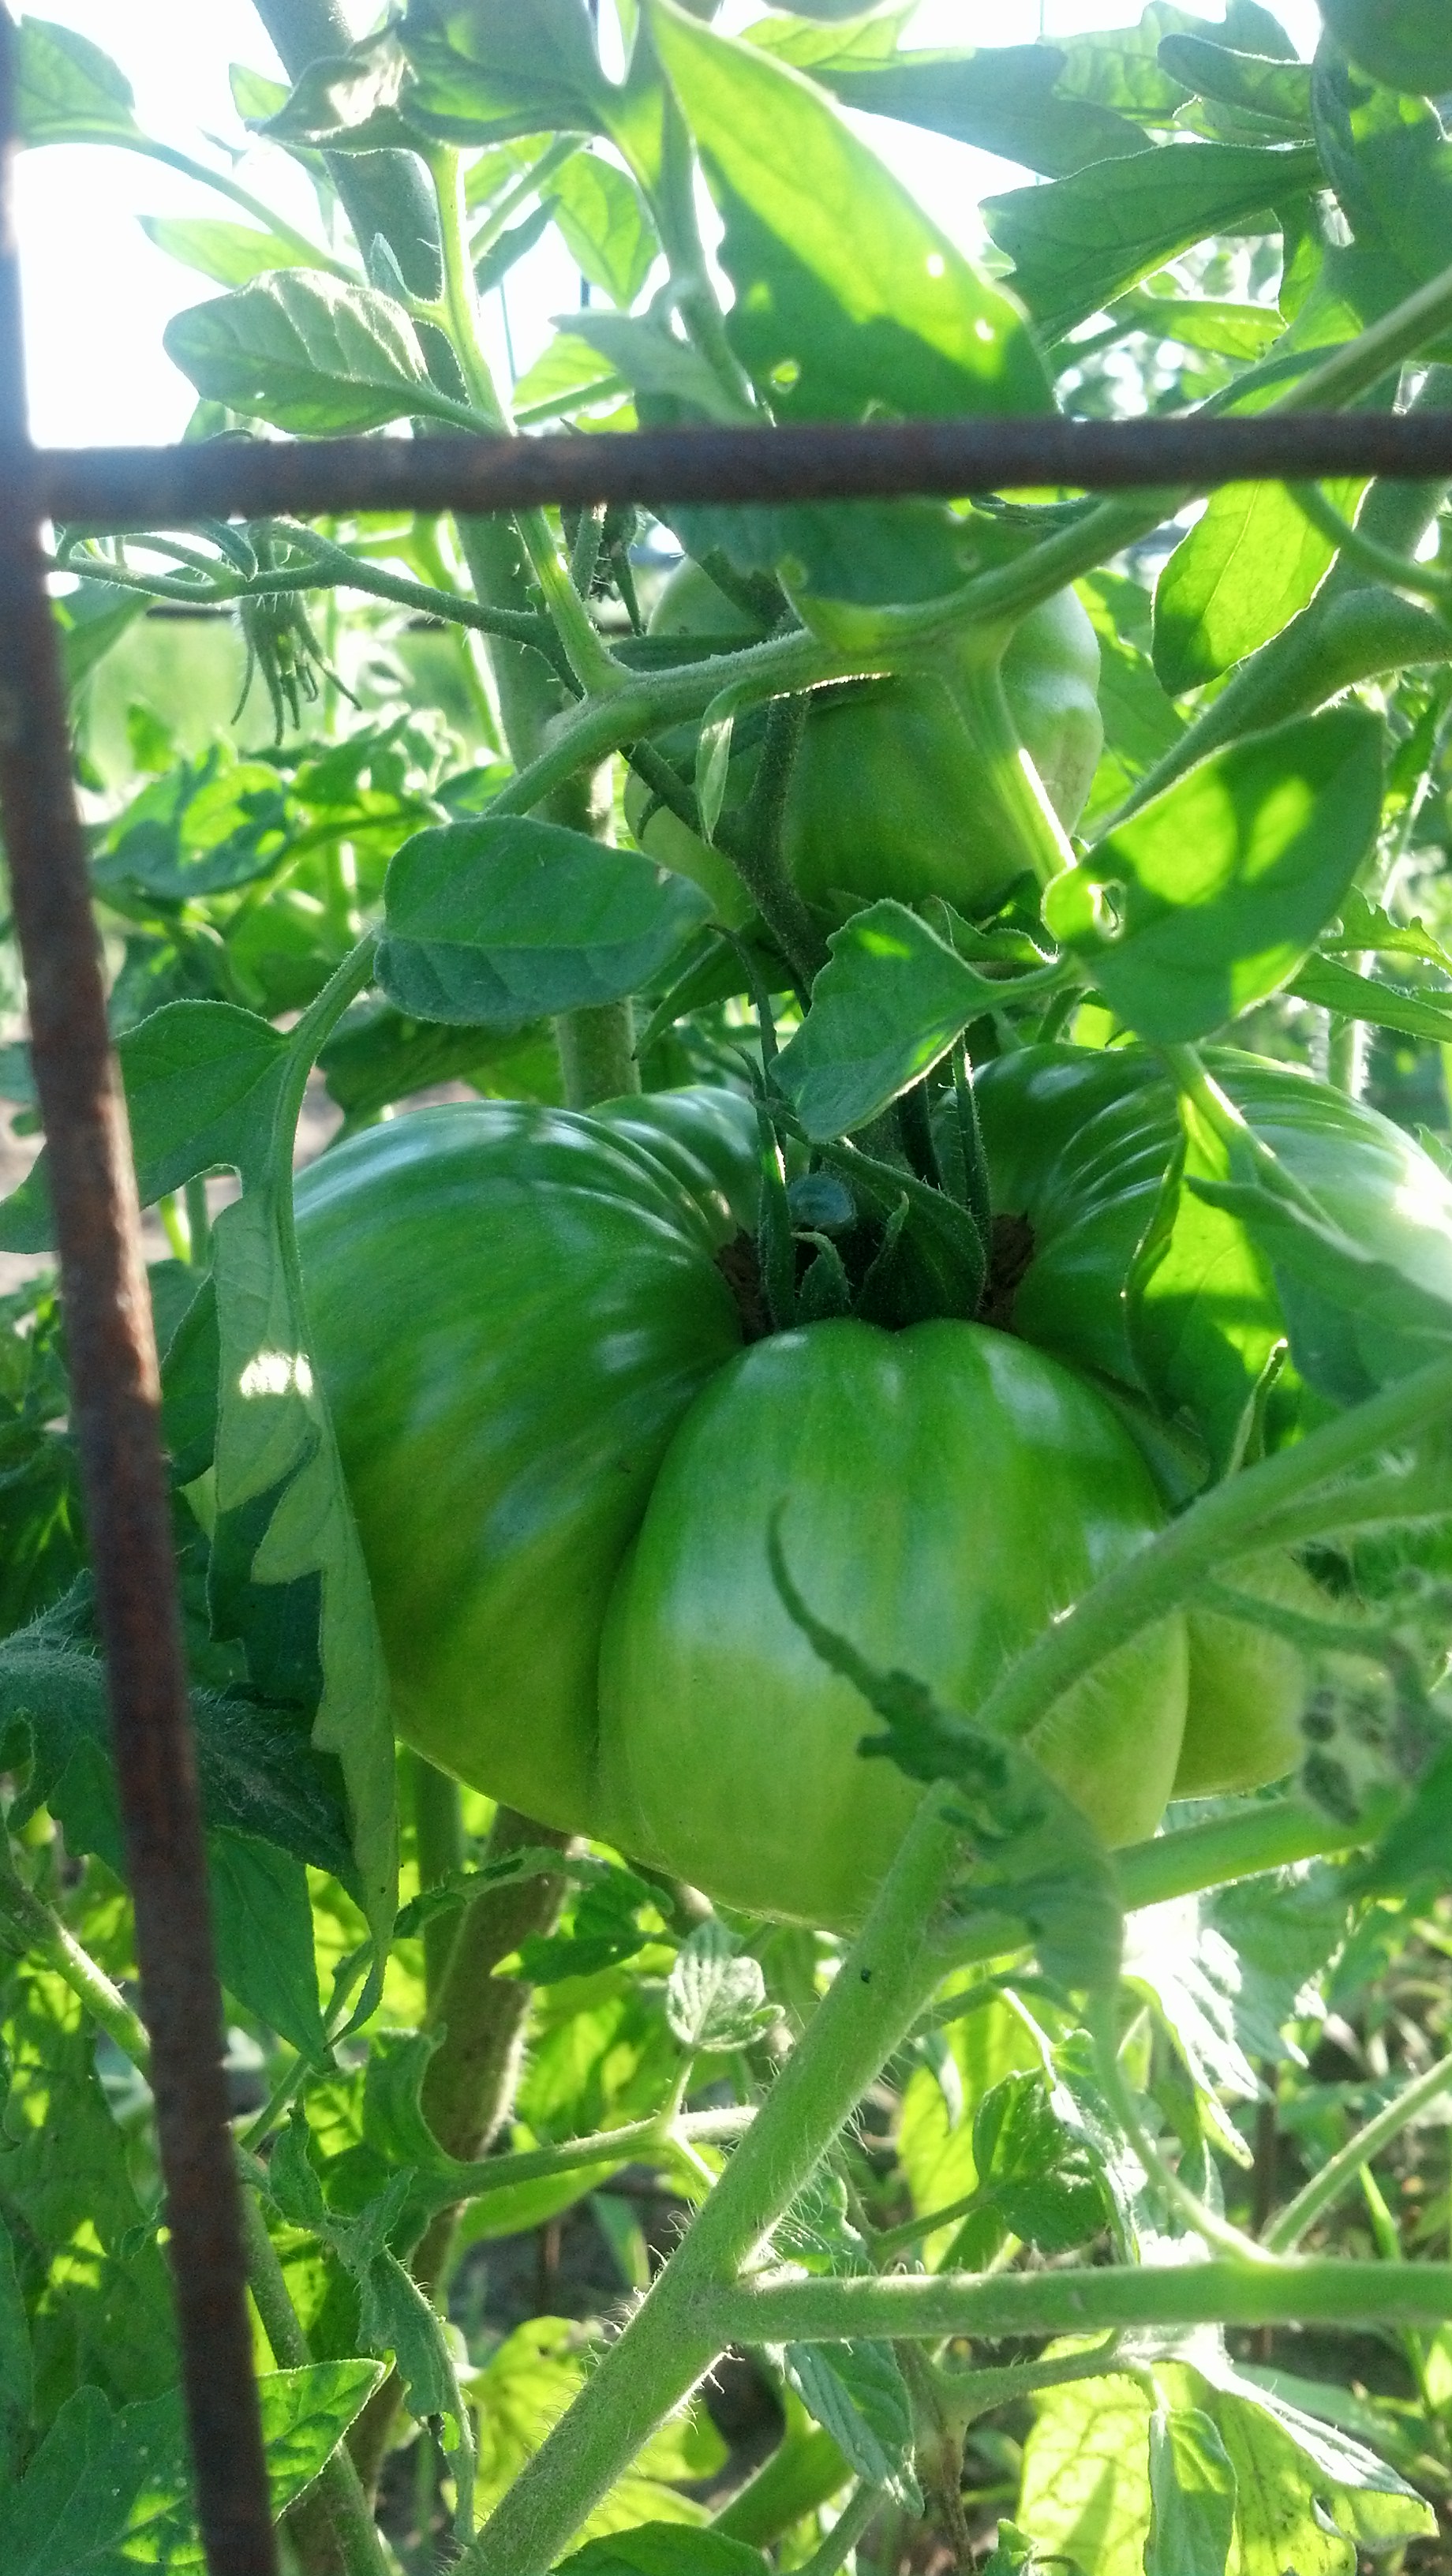 Just a couple of days of sunshine has helped our garden tremendously! Some of the lettuce was laying down and turning brown, but I cut it back and now it’s doing great! With the jalapeños and tomatoes doing good, I think I see some green tomato salsa coming soon!
Garden almost Planted


 The Garden is almost planted.
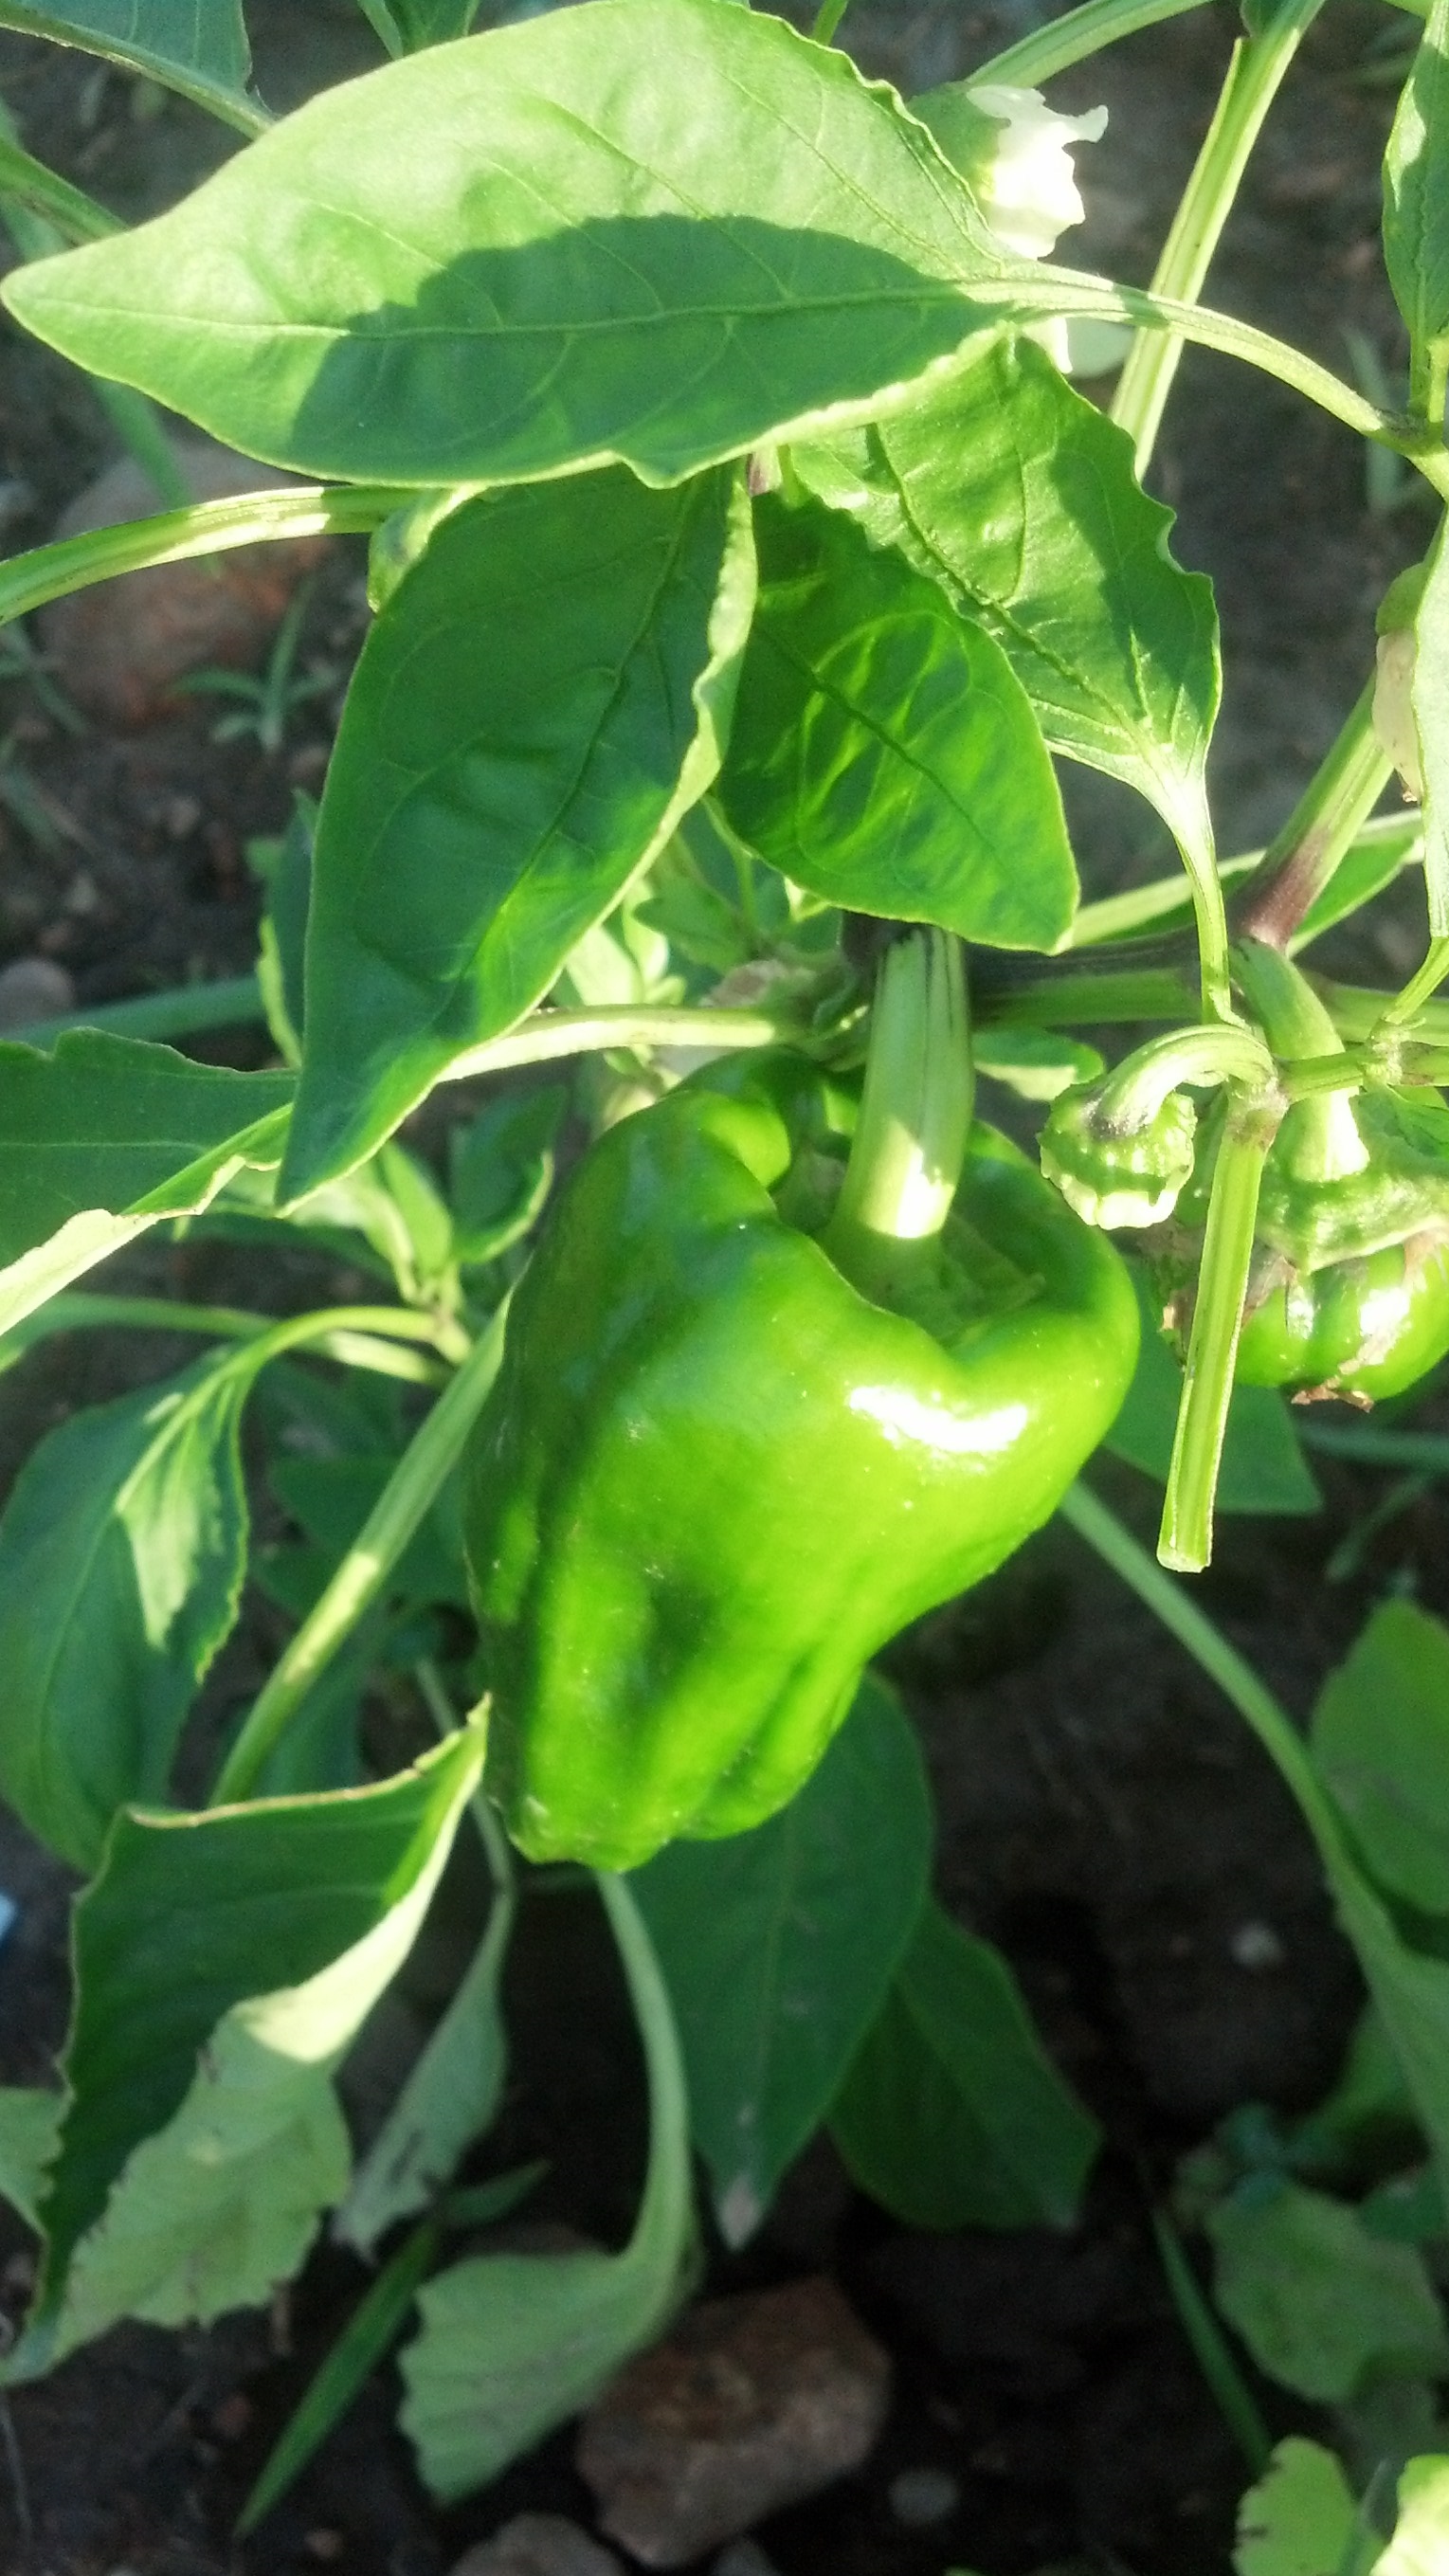
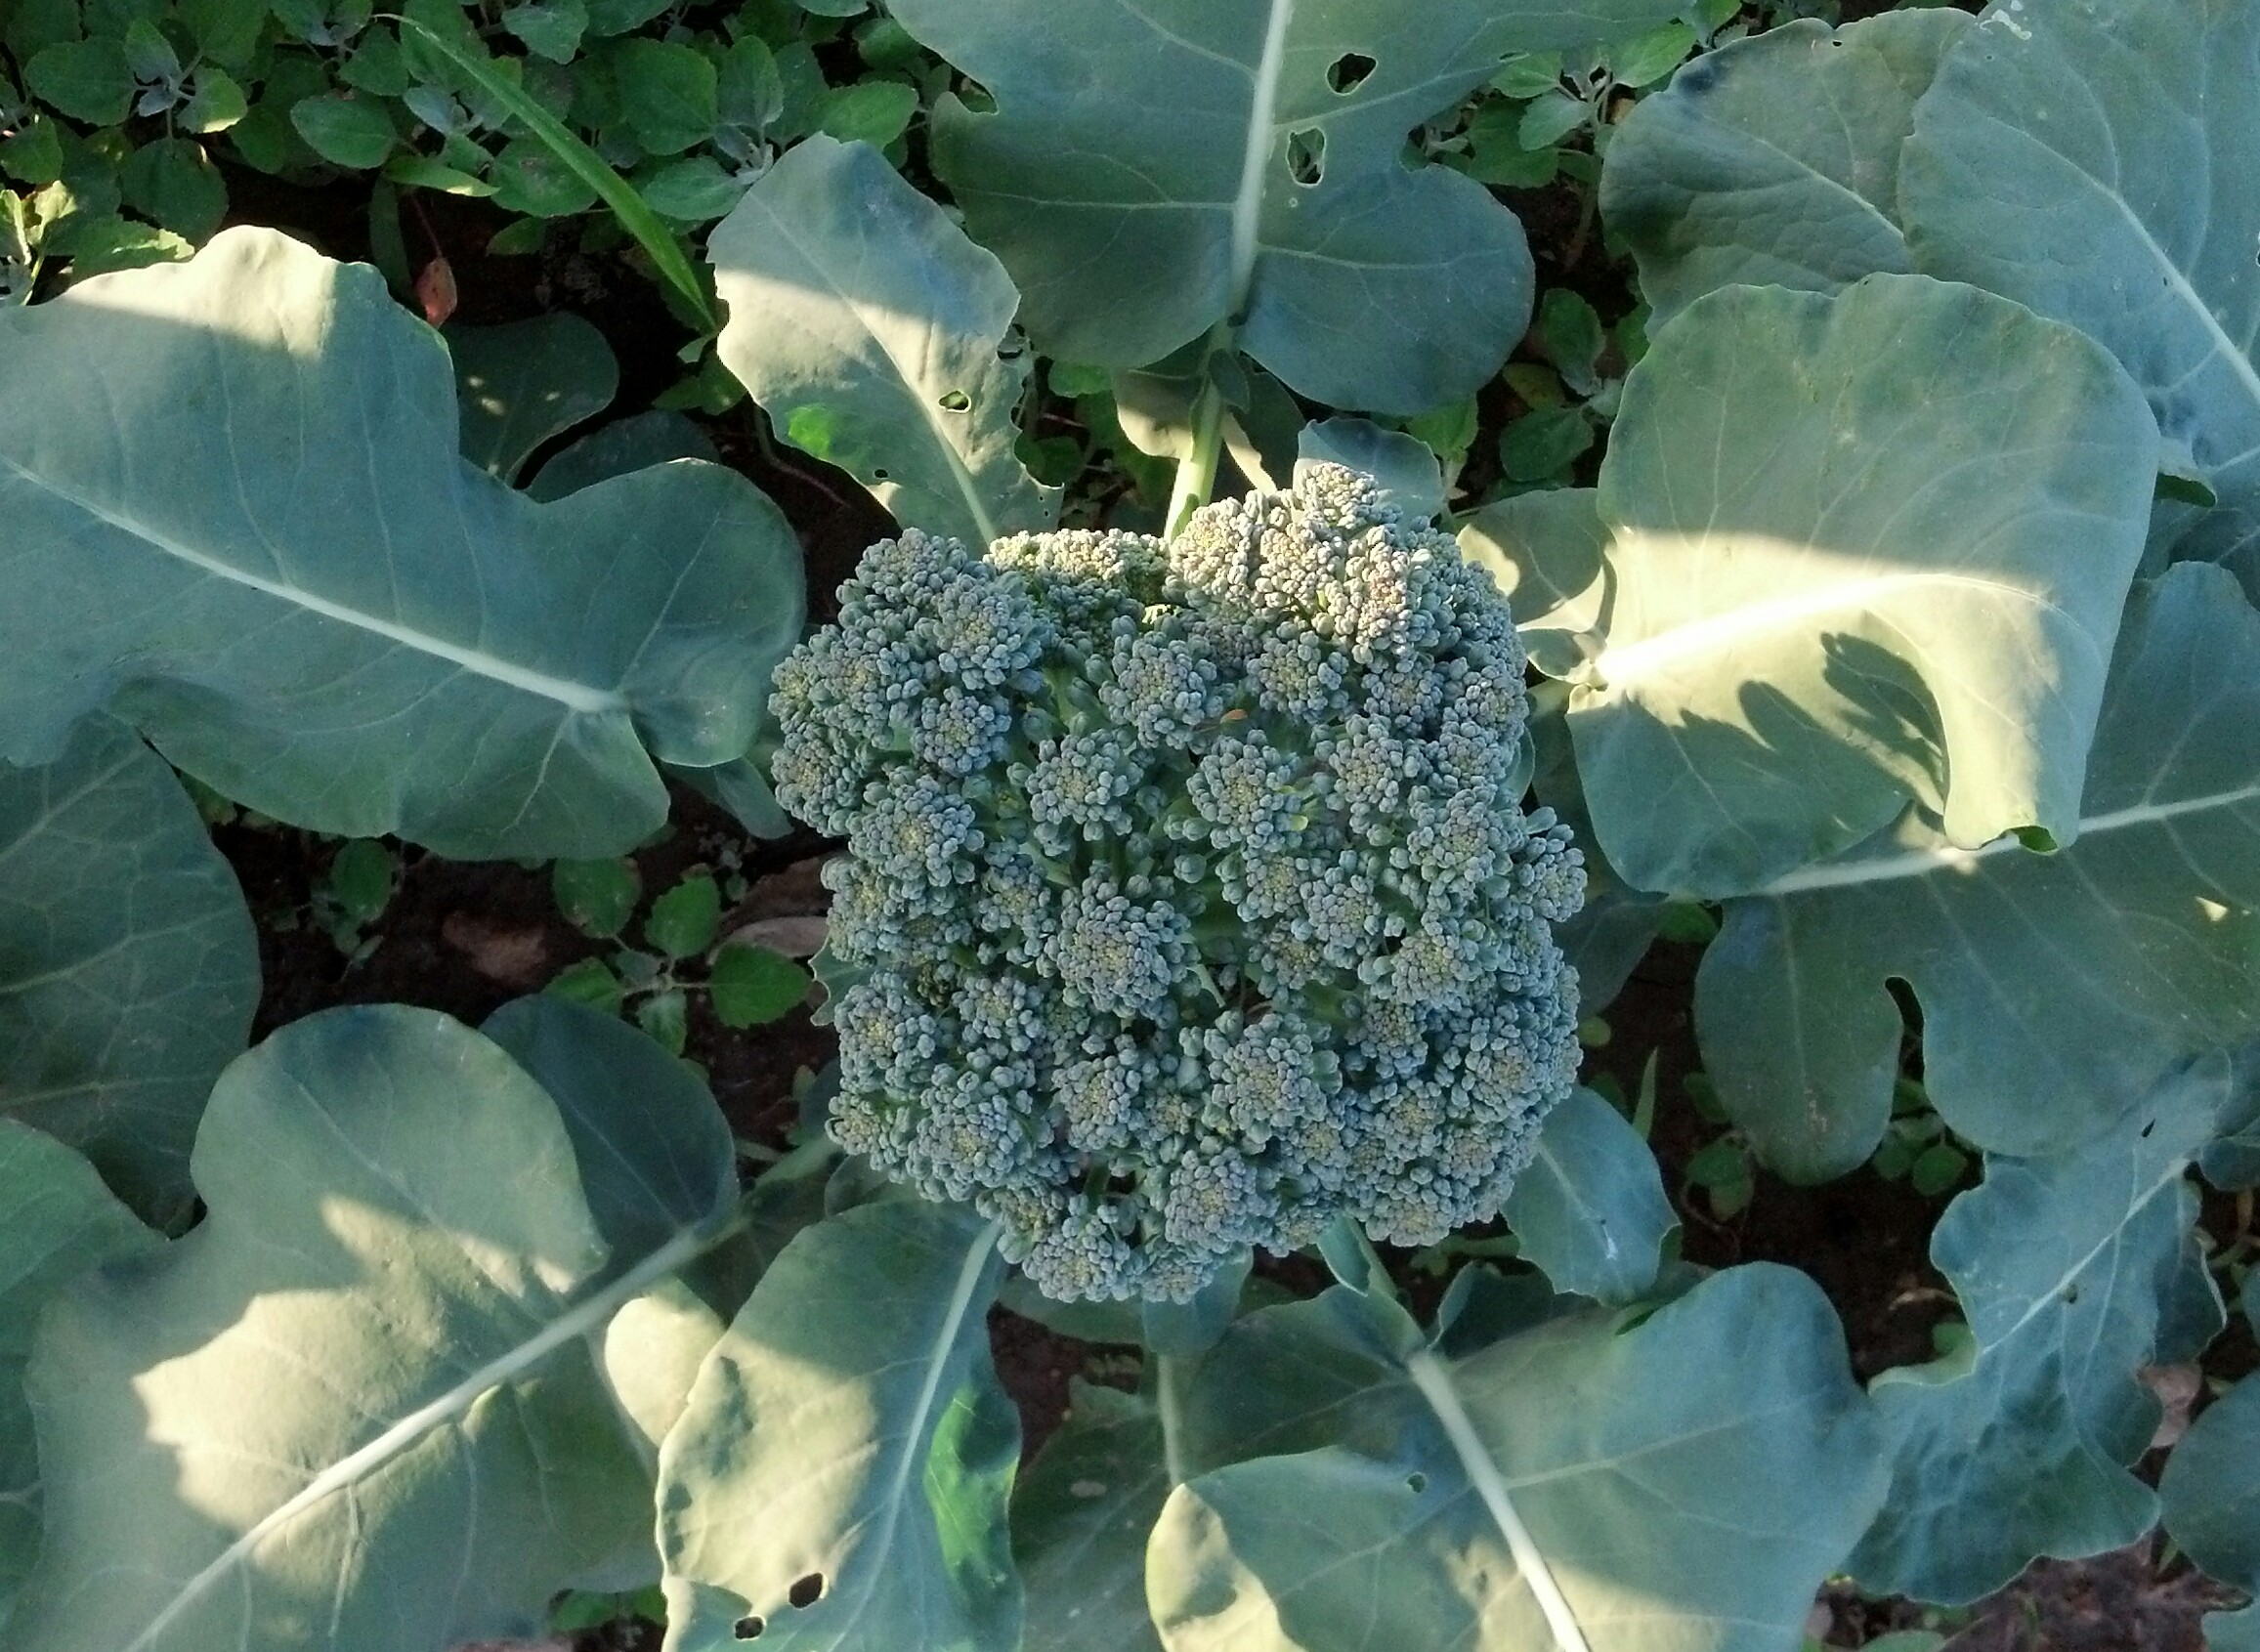
Earlier in April we planted onions, broccoli, and two kinds of cabbage. They are doing great. We had to wait on hopefully the last frost before we planted the rest of the garden. Today we planted three different kinds of tomatoes, 3 kinds of squash, bell peppers, jalapeno peppers, and habanero peppers. Also cucumbers, corn and beans. We still lack the okra, the row is ready, but I’m just going to let it warm up a bit more before I get it in the ground.
Our garden goes along way toward lowering our grocery bill. Plus having all of the fresh vegetables I don’t have to worry about preservatives, or gluten being added to any of the canned or frozen vegetables, because I control what goes in them.
Feb 28
on February 28, 2015
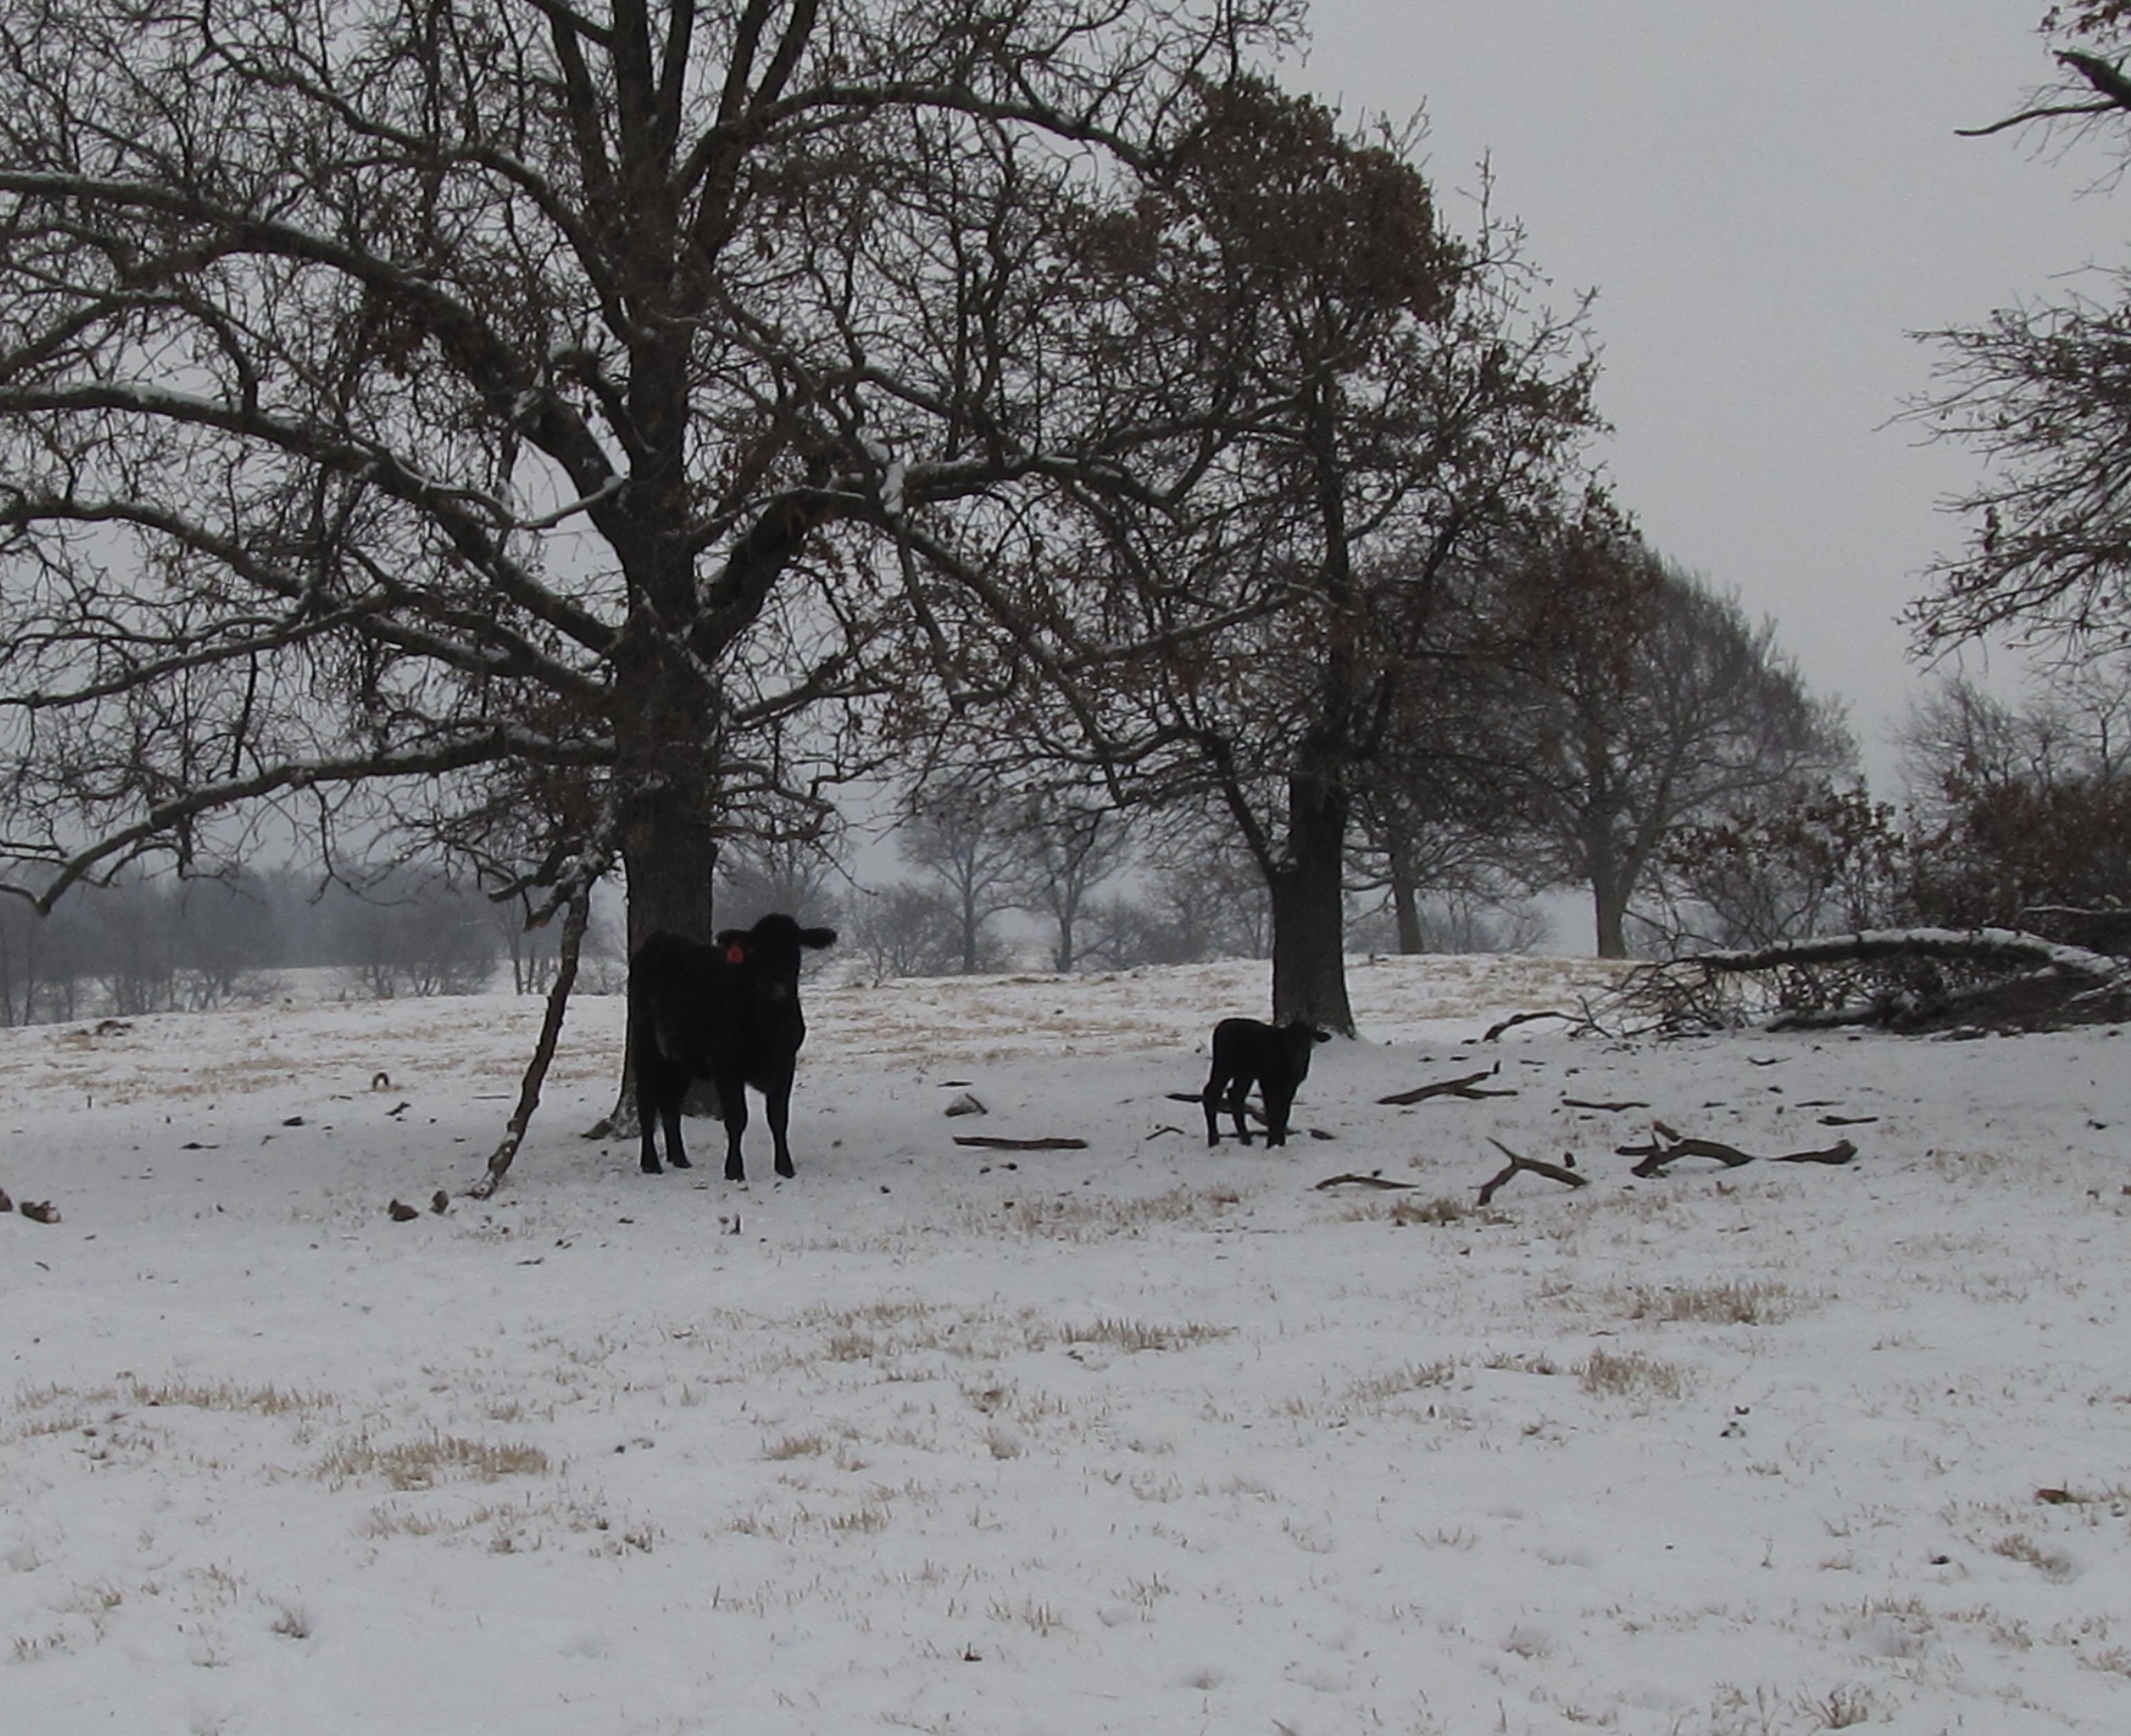 Checking on the new babies and making sure the have fresh hay to sleep on tonight.
Feb 16
Plants and Seeds
on February 16, 2015
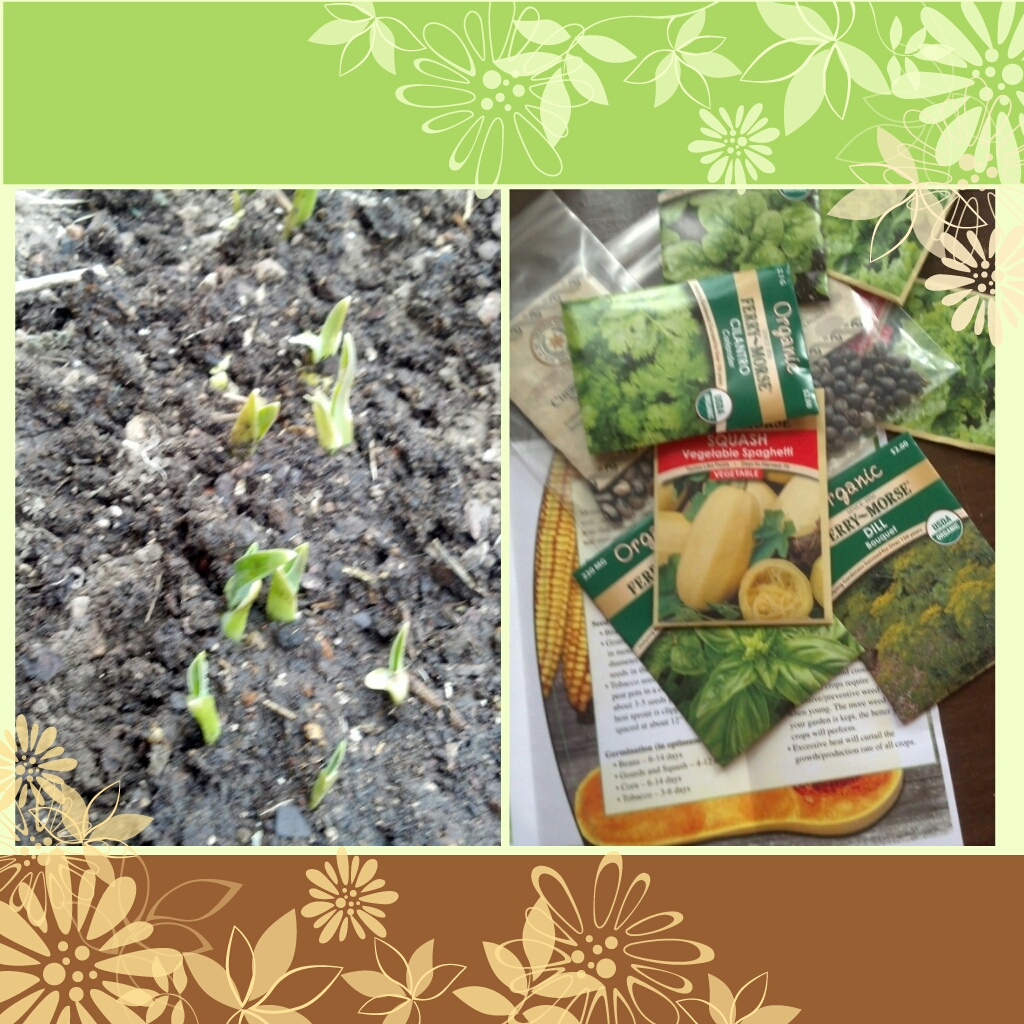
Plants and Seeds! Oh, the recipe possibilities!
I know it’s still winter here, and our weather channel just said we could possibly get six inches of snow, but the garlic I planted last fall (above picture on the left), is peaking through, and some of my seeds arrived this weekend! I’m so excited! The recipe possibilities are endless! This is so much fun! I know it seems a little ridiculous for a grown woman to get so excited about plants and seeds, as you can tell it doesn’t take much to make me happy! That’s probably one of the reasons we live on the farm. I love to garden, digging in the dirt is a great stress reliever, then watching the seeds come up and break through the soil is so satisfying! Harvesting what you planted and preserving, freezing or cooking it for you family is just so fulfilling. So be prepared, for more recipes to come!
Dec. 4
Living Gluten Free on the Farm
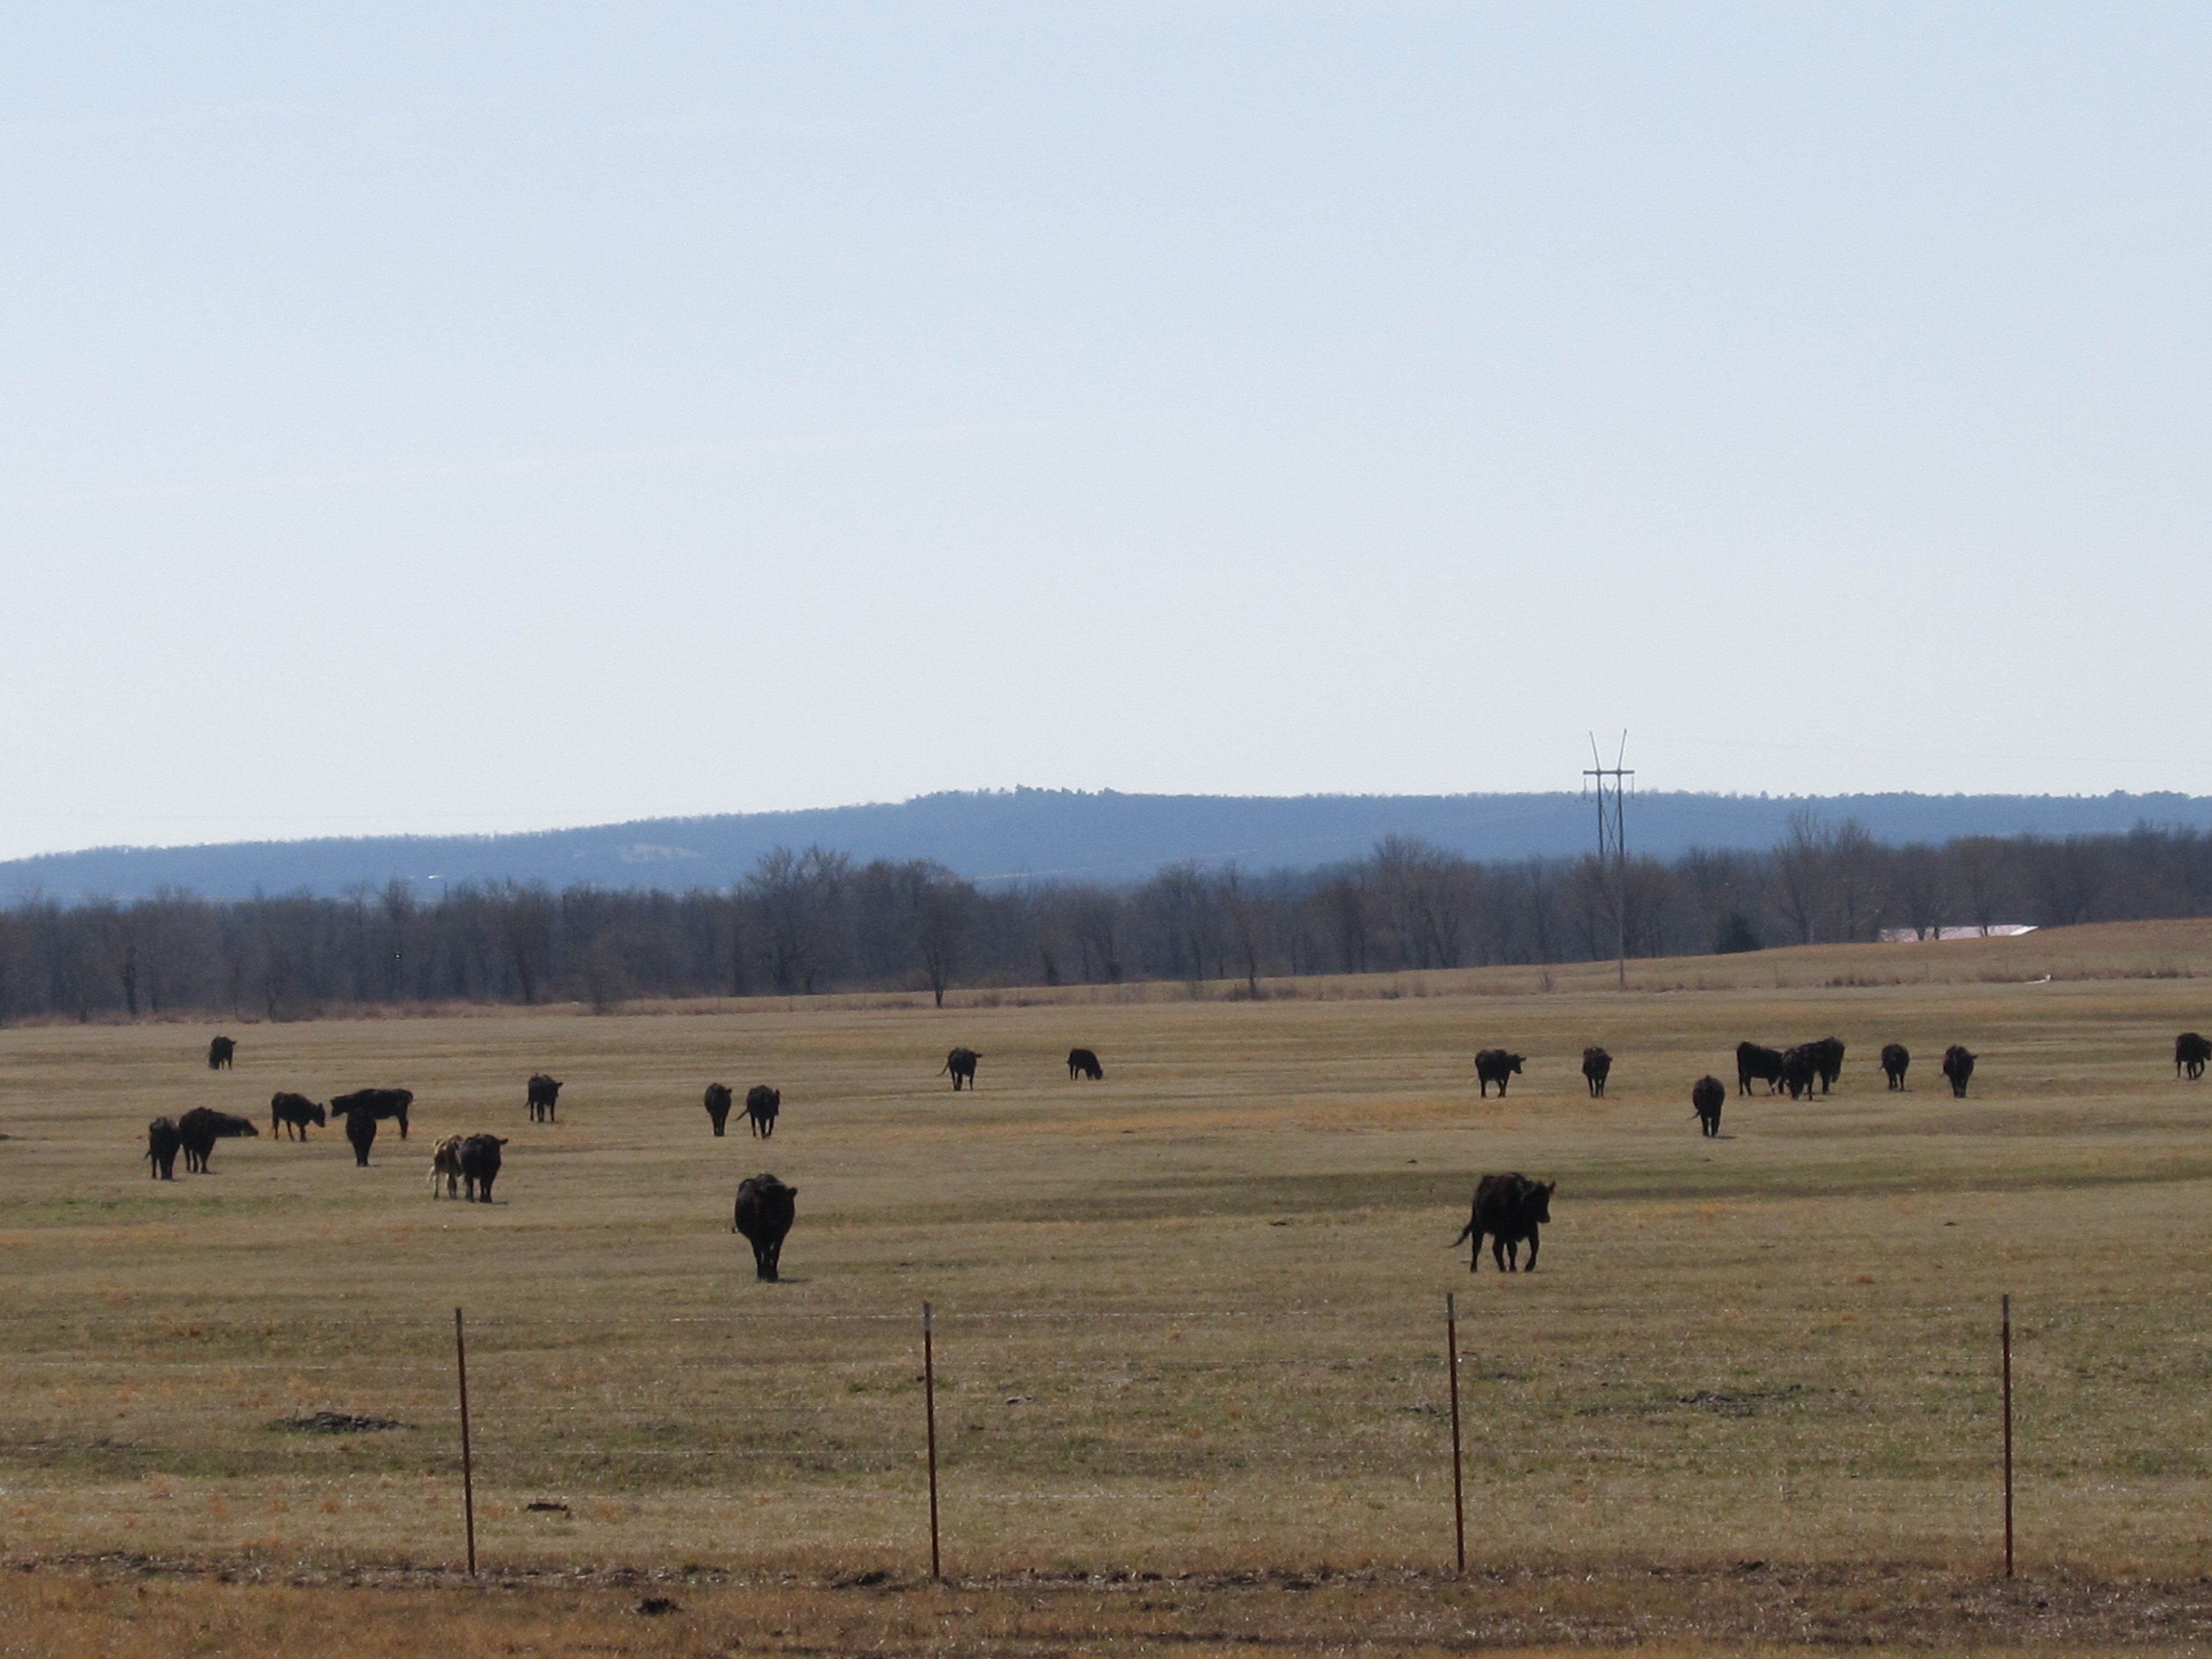 Good grass fed beef
Some of you have been interested in knowing a little more about my life and our way of living. Well I’m married to a great guy named Randy, and we’ve been married 38 years. I know that’s a long time. We have one Son and Daughter-n-law, four Grandsons, and my eighty year old Mother lives just up the road. I know we are very blessed!!
We live and work on our family farm/ ranch, within just a few miles of where we were both born, here in Northeast Oklahoma. Our little community is called Rose Prairie. Actually we live just at the edge of the prairie, where it meets the hills.
This time of year is spent getting the cattle ready for winter. We bring them in, deworm them, and take the bigger babies off of their momma’s, so they can be weaned to another pasture. This way their momma’s can build back up in body condition before the hard winter.
Below are some pictures of three of my grandsons gathering the cattle.
 The boys getting ready to bring in the cattle
 Bringing in a momma and baby
 Pushing in the rest of the babies
Dec. 12
Fishing
 Gone Fishing!
Even though it is getting colder here and all of the leaves are gone from the trees, the fish are still biting. With all of the lakes and streams we have around us, we just can’t resist taking off once in a while to go fishing. We love fish and sea food. It just doesn’t get any better than fresh wild fish!
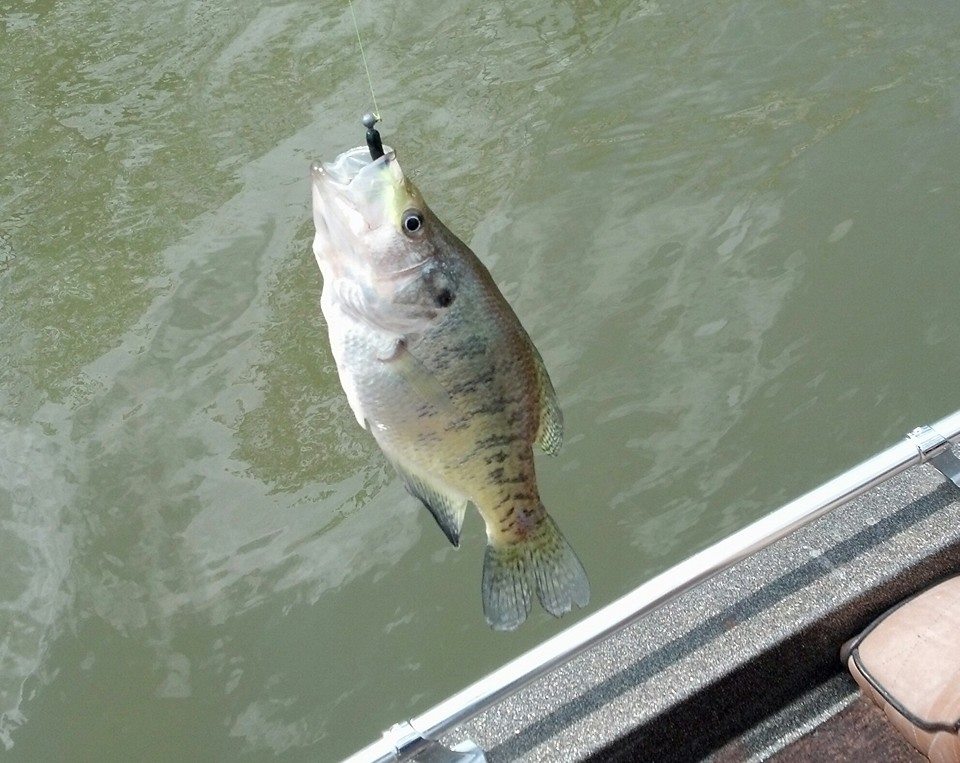 A nice Crappie
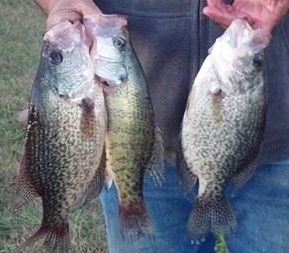 We caught more than this, but these were the better ones!
